Introduction
Another lovely Saturday, and today I decided to tackle the hard job of removing the brake master cylinder, and in order to do so I had to jack up the car and then placed two car stands under it to support it properly and safely, take time to find supporting points beneath the car.
Any time you work under a car, make sure to use car jack stands.
Here’s a video I’ve done showing how I prepared myself for the job by jacking up the car with car jack stands.
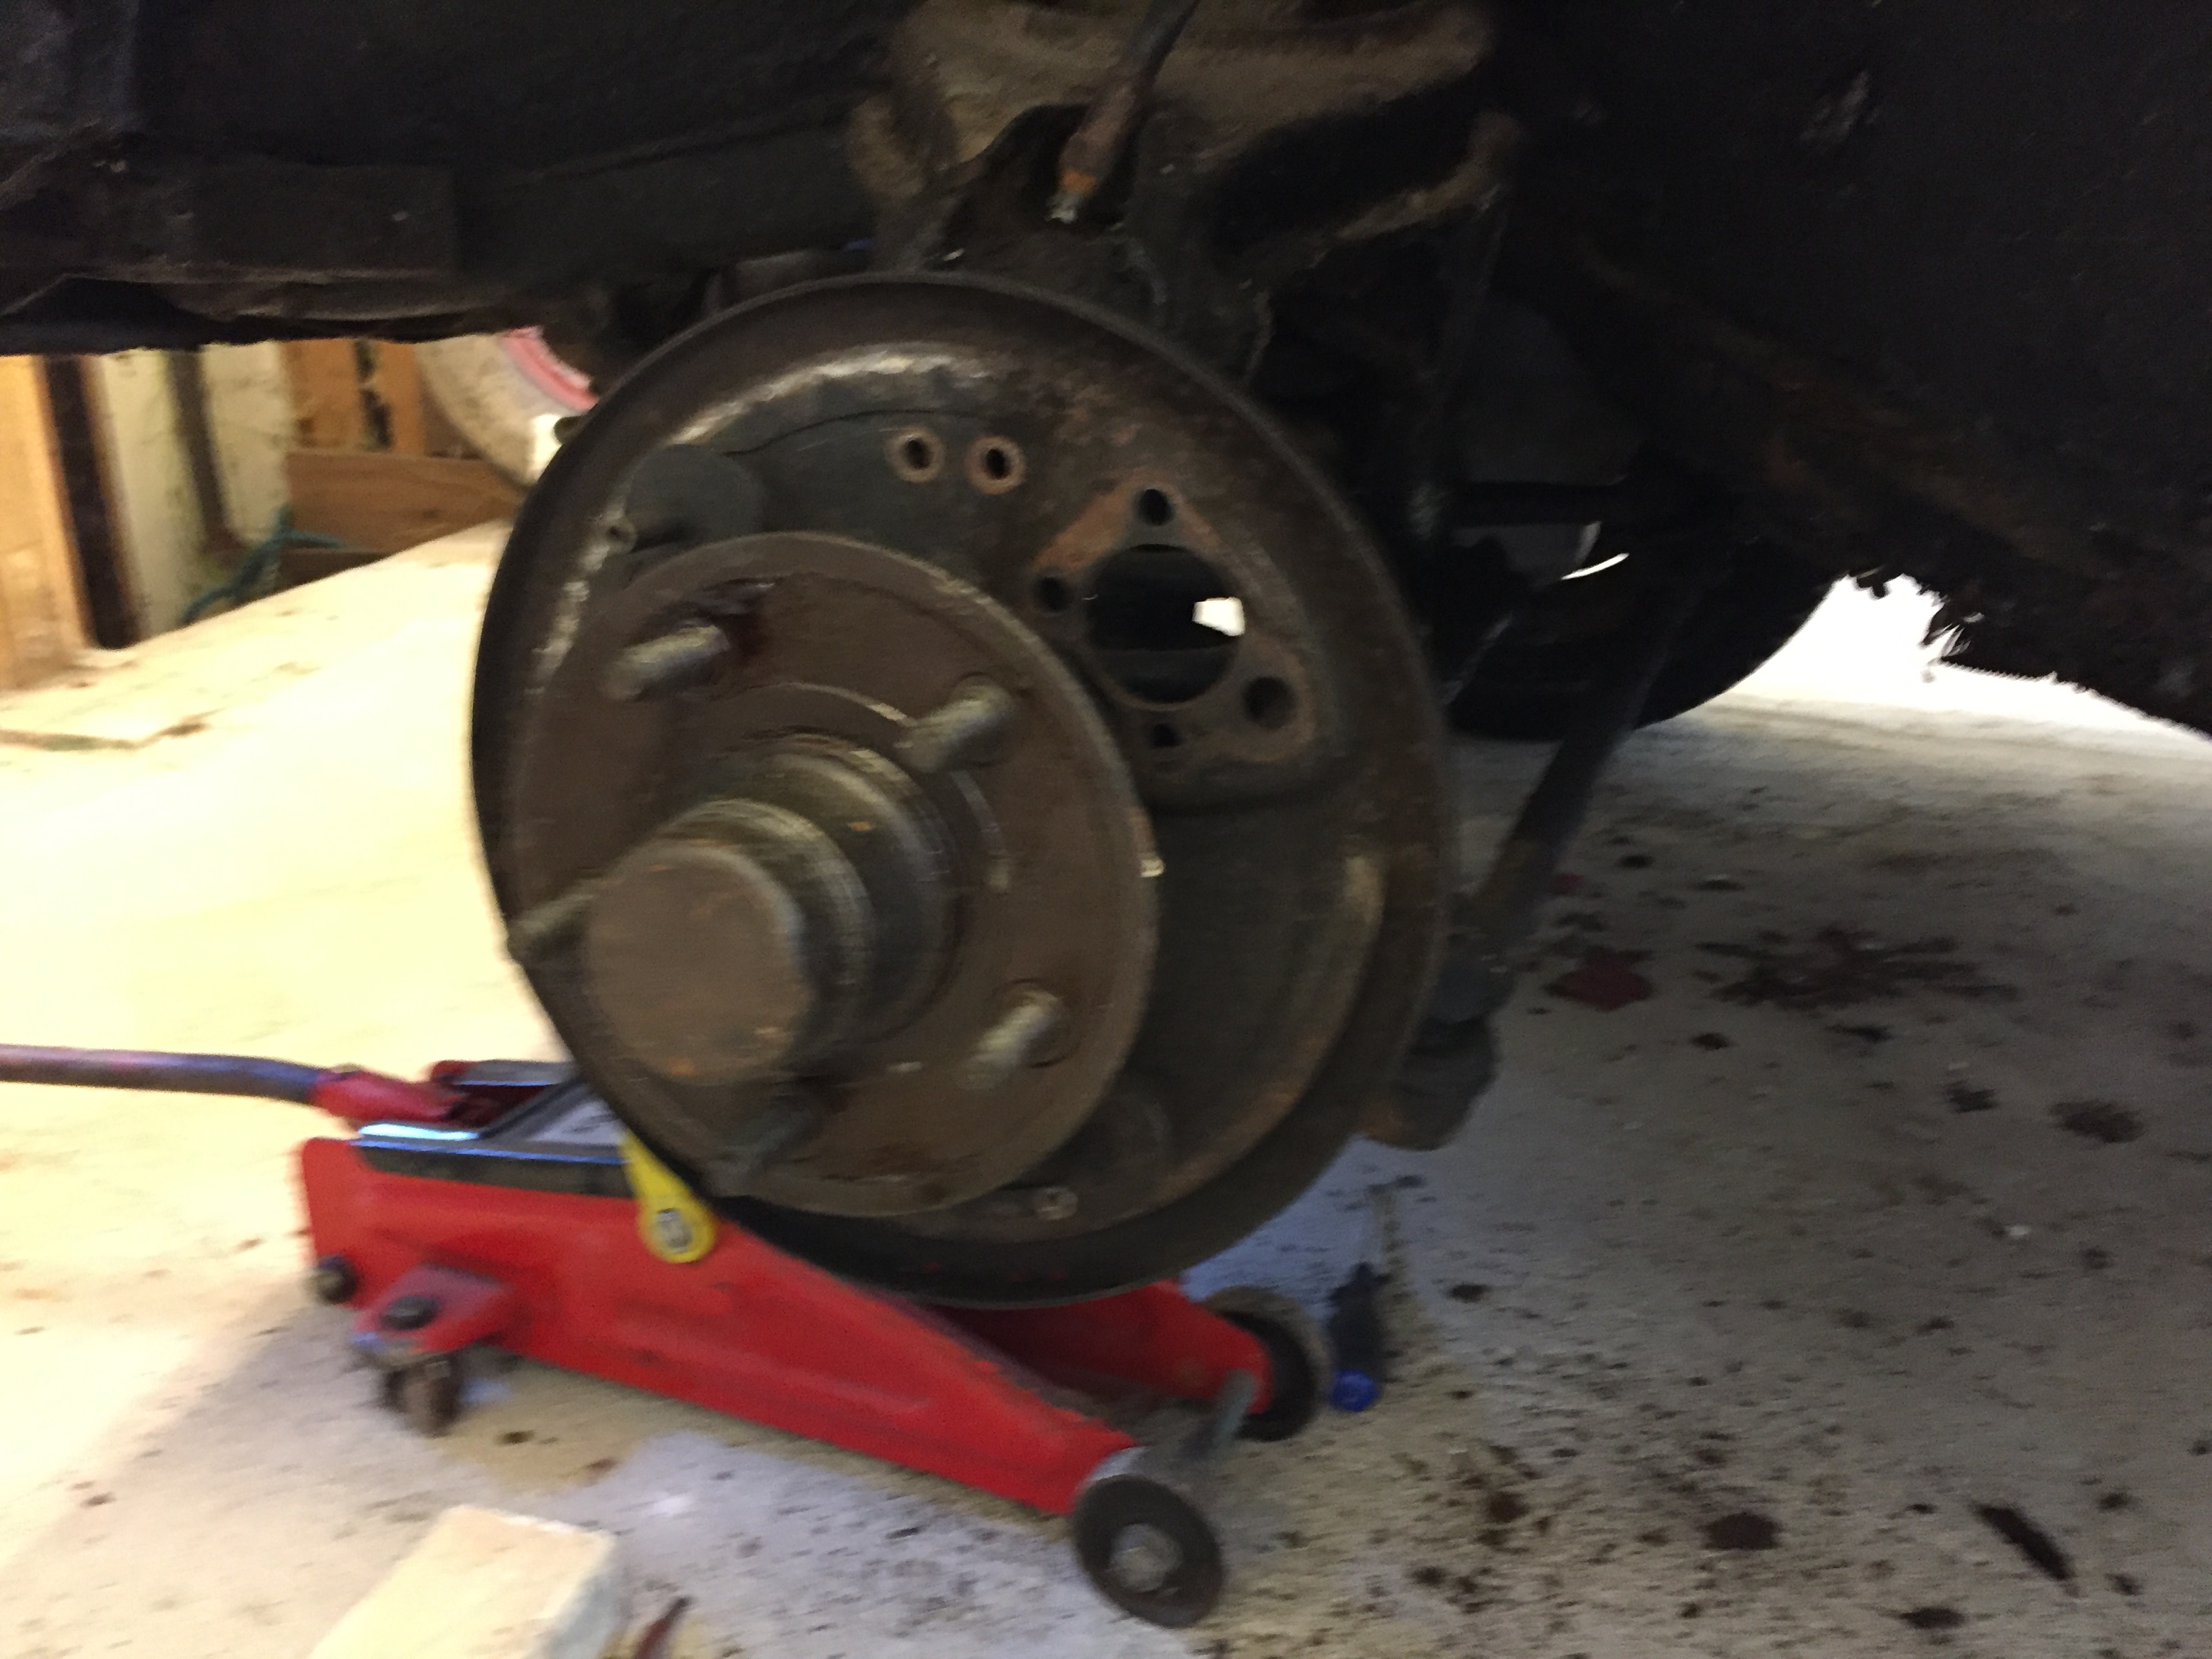
Once I had the car jacked up, I removed the wheel to get better access to the brake master cylinder.
Once I did that I removed 6 or so screws of varying length and rustiness, holding the brake master cylinder protective plate in place. It was really dirty, rusty and greasy, i’ll have to clean it up later and repaint it before refitting it.
and here you can see the rustiness of the brake master cylinder, it’s in a bad state.
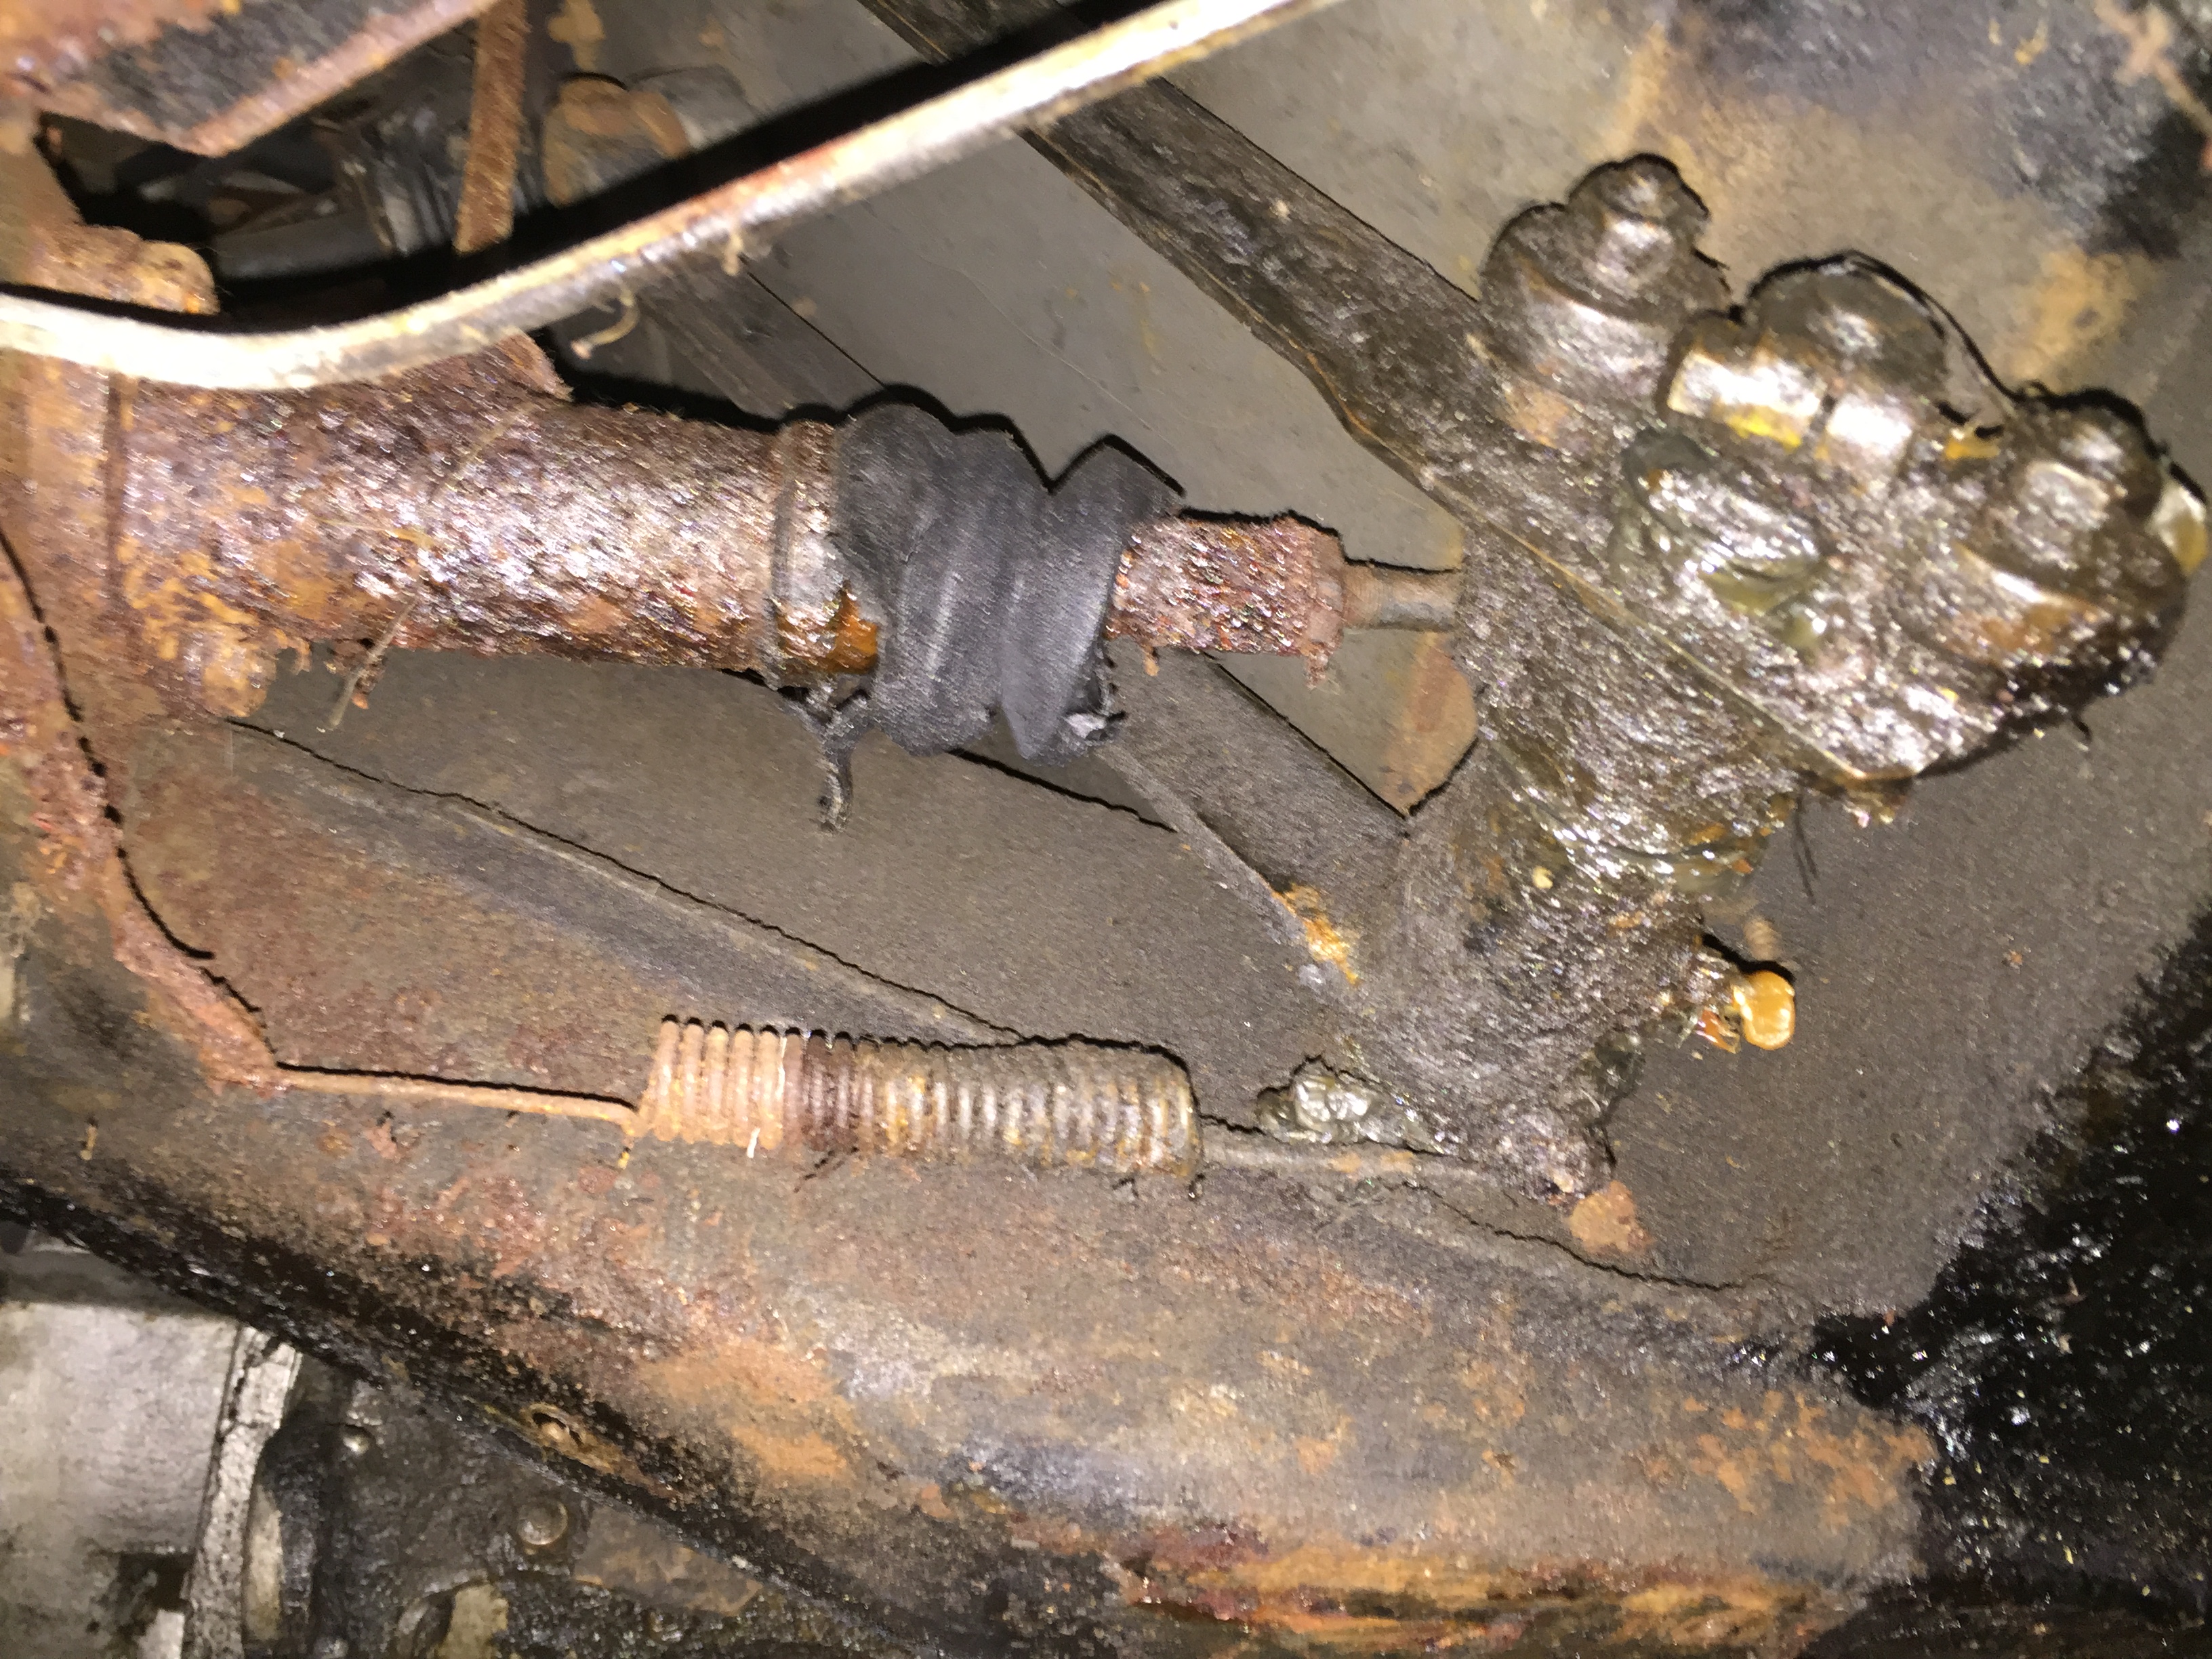
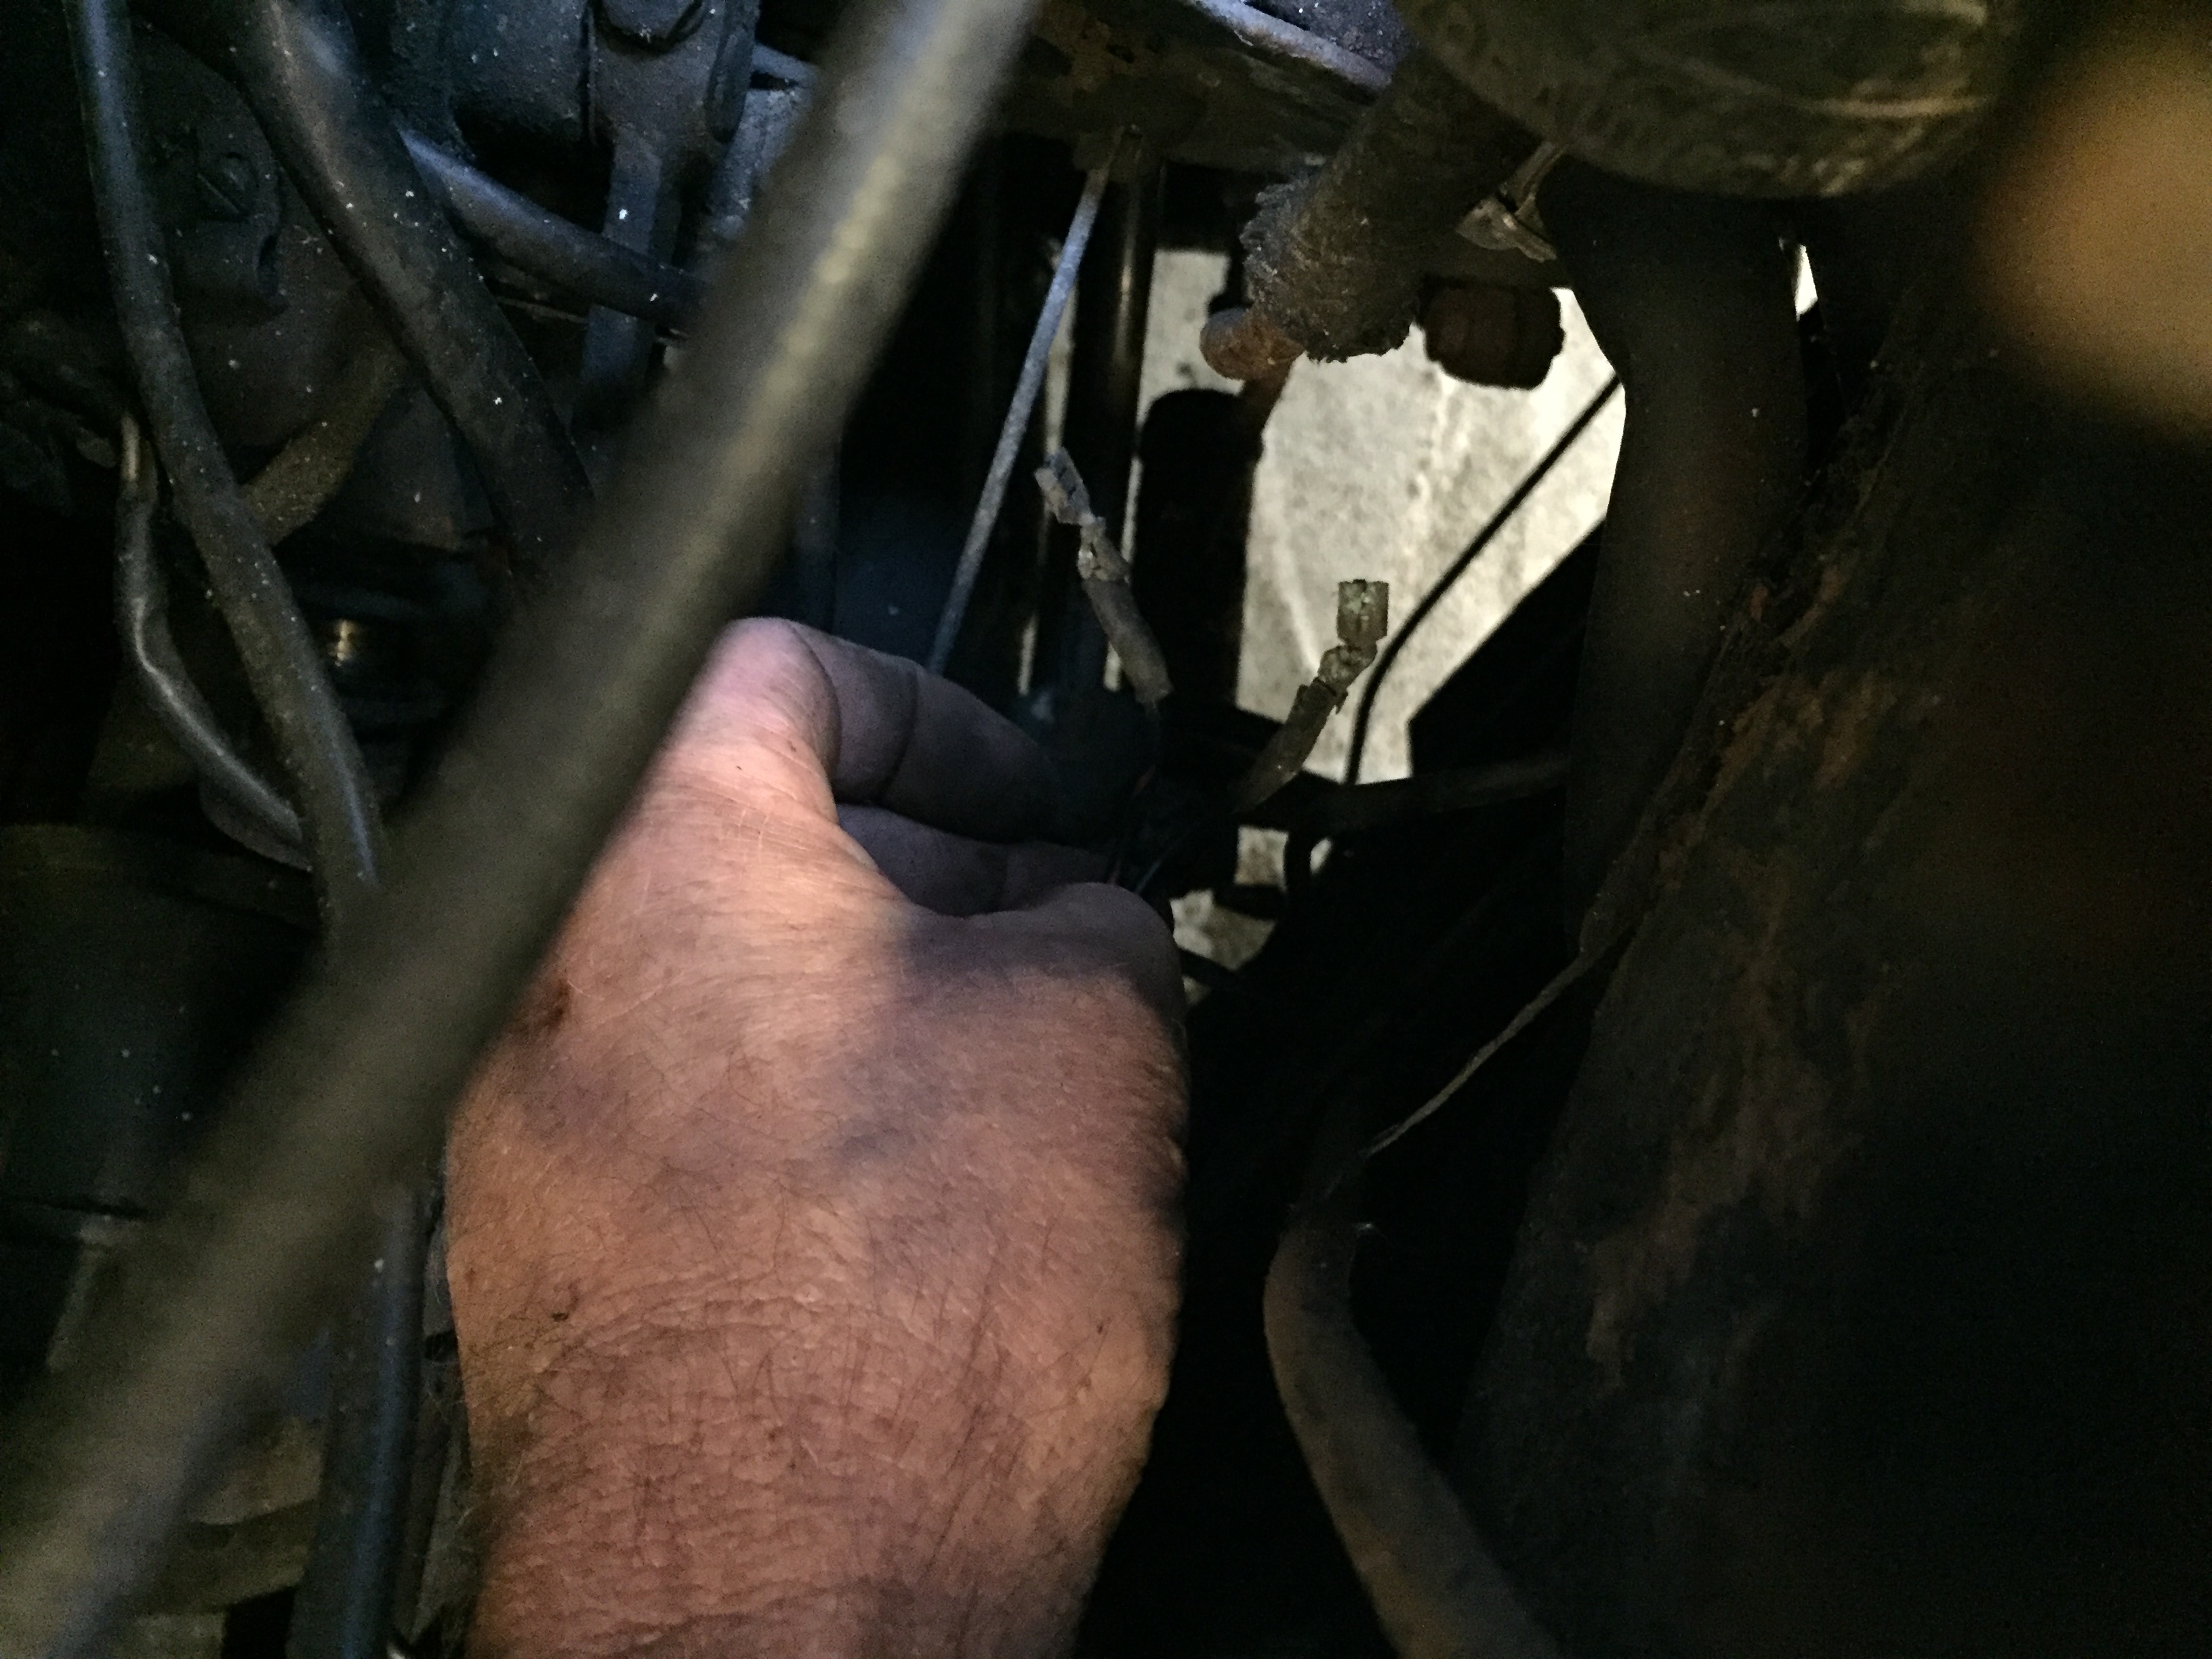
The rubber sheath is perished and useless, it will have to be replaced. In the shot below, you can see I’ve removed the two brake switch wires, they were not screwed in, but merely slide into place, I needed to disconnect the wires in order to remove the brake switch with a 22mm socket connected to an extender and an additional tool (which I show in the video).
Here’s a closeup of those connections on the brake switch wires.
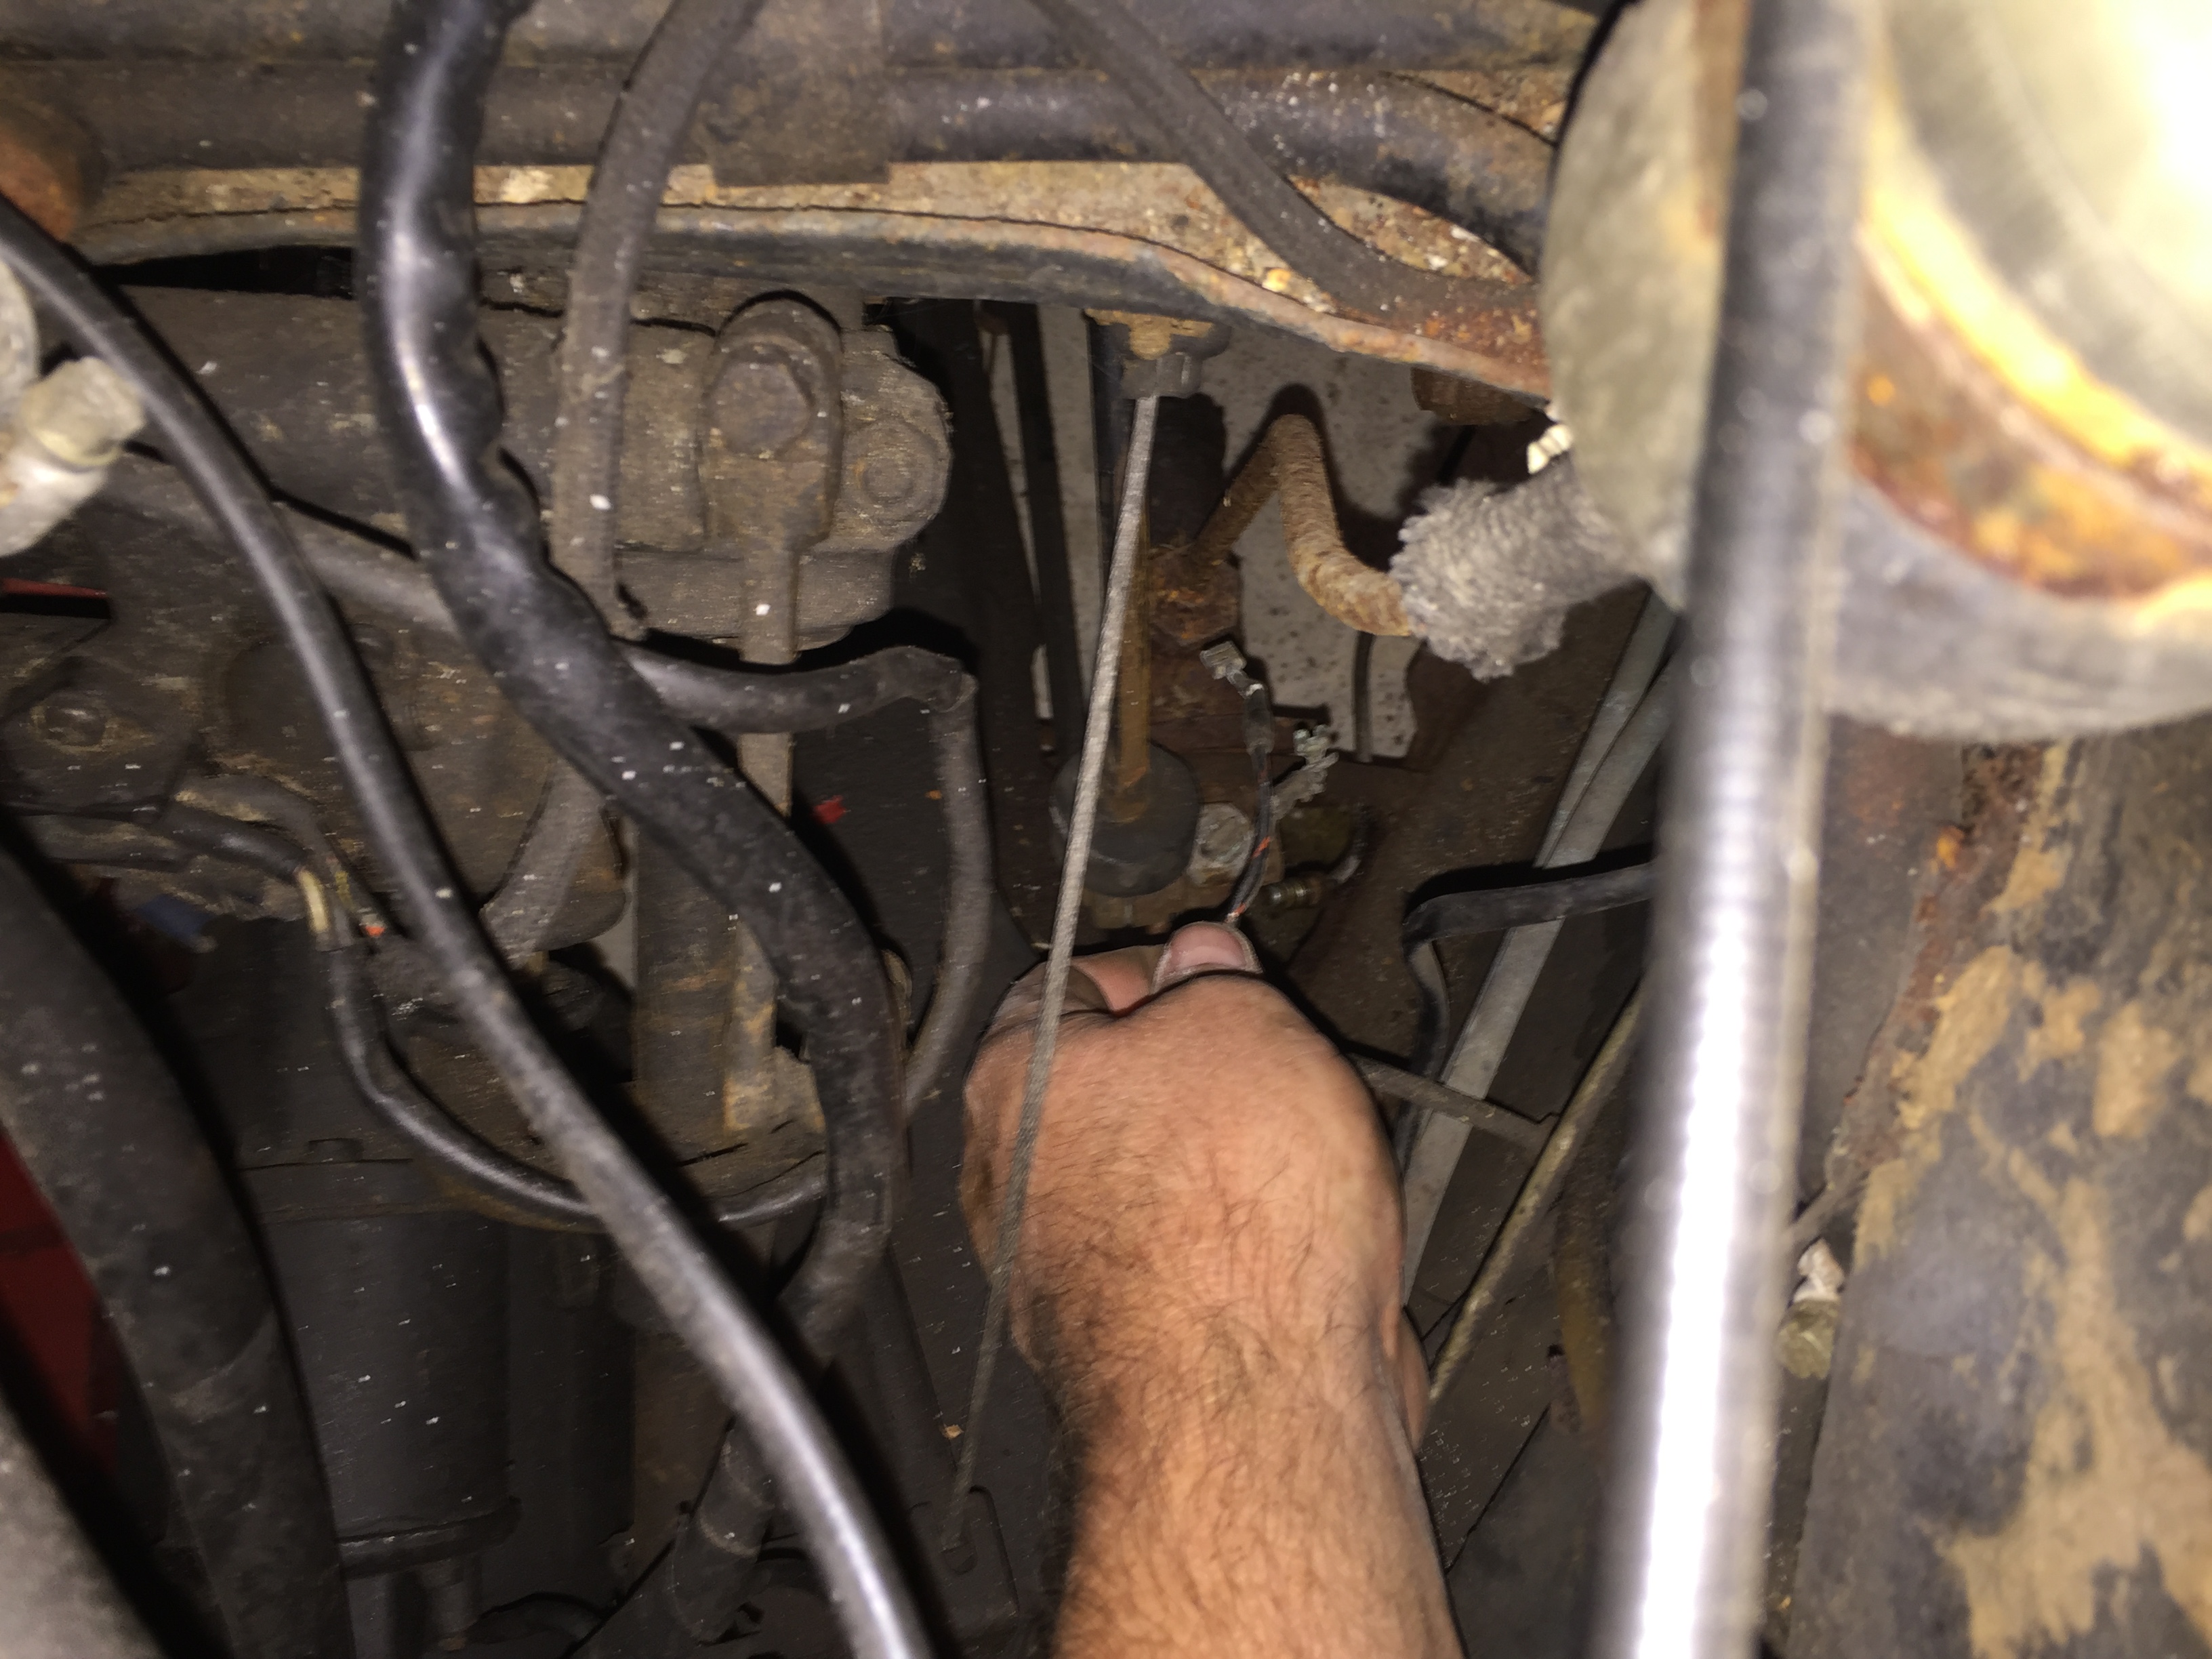
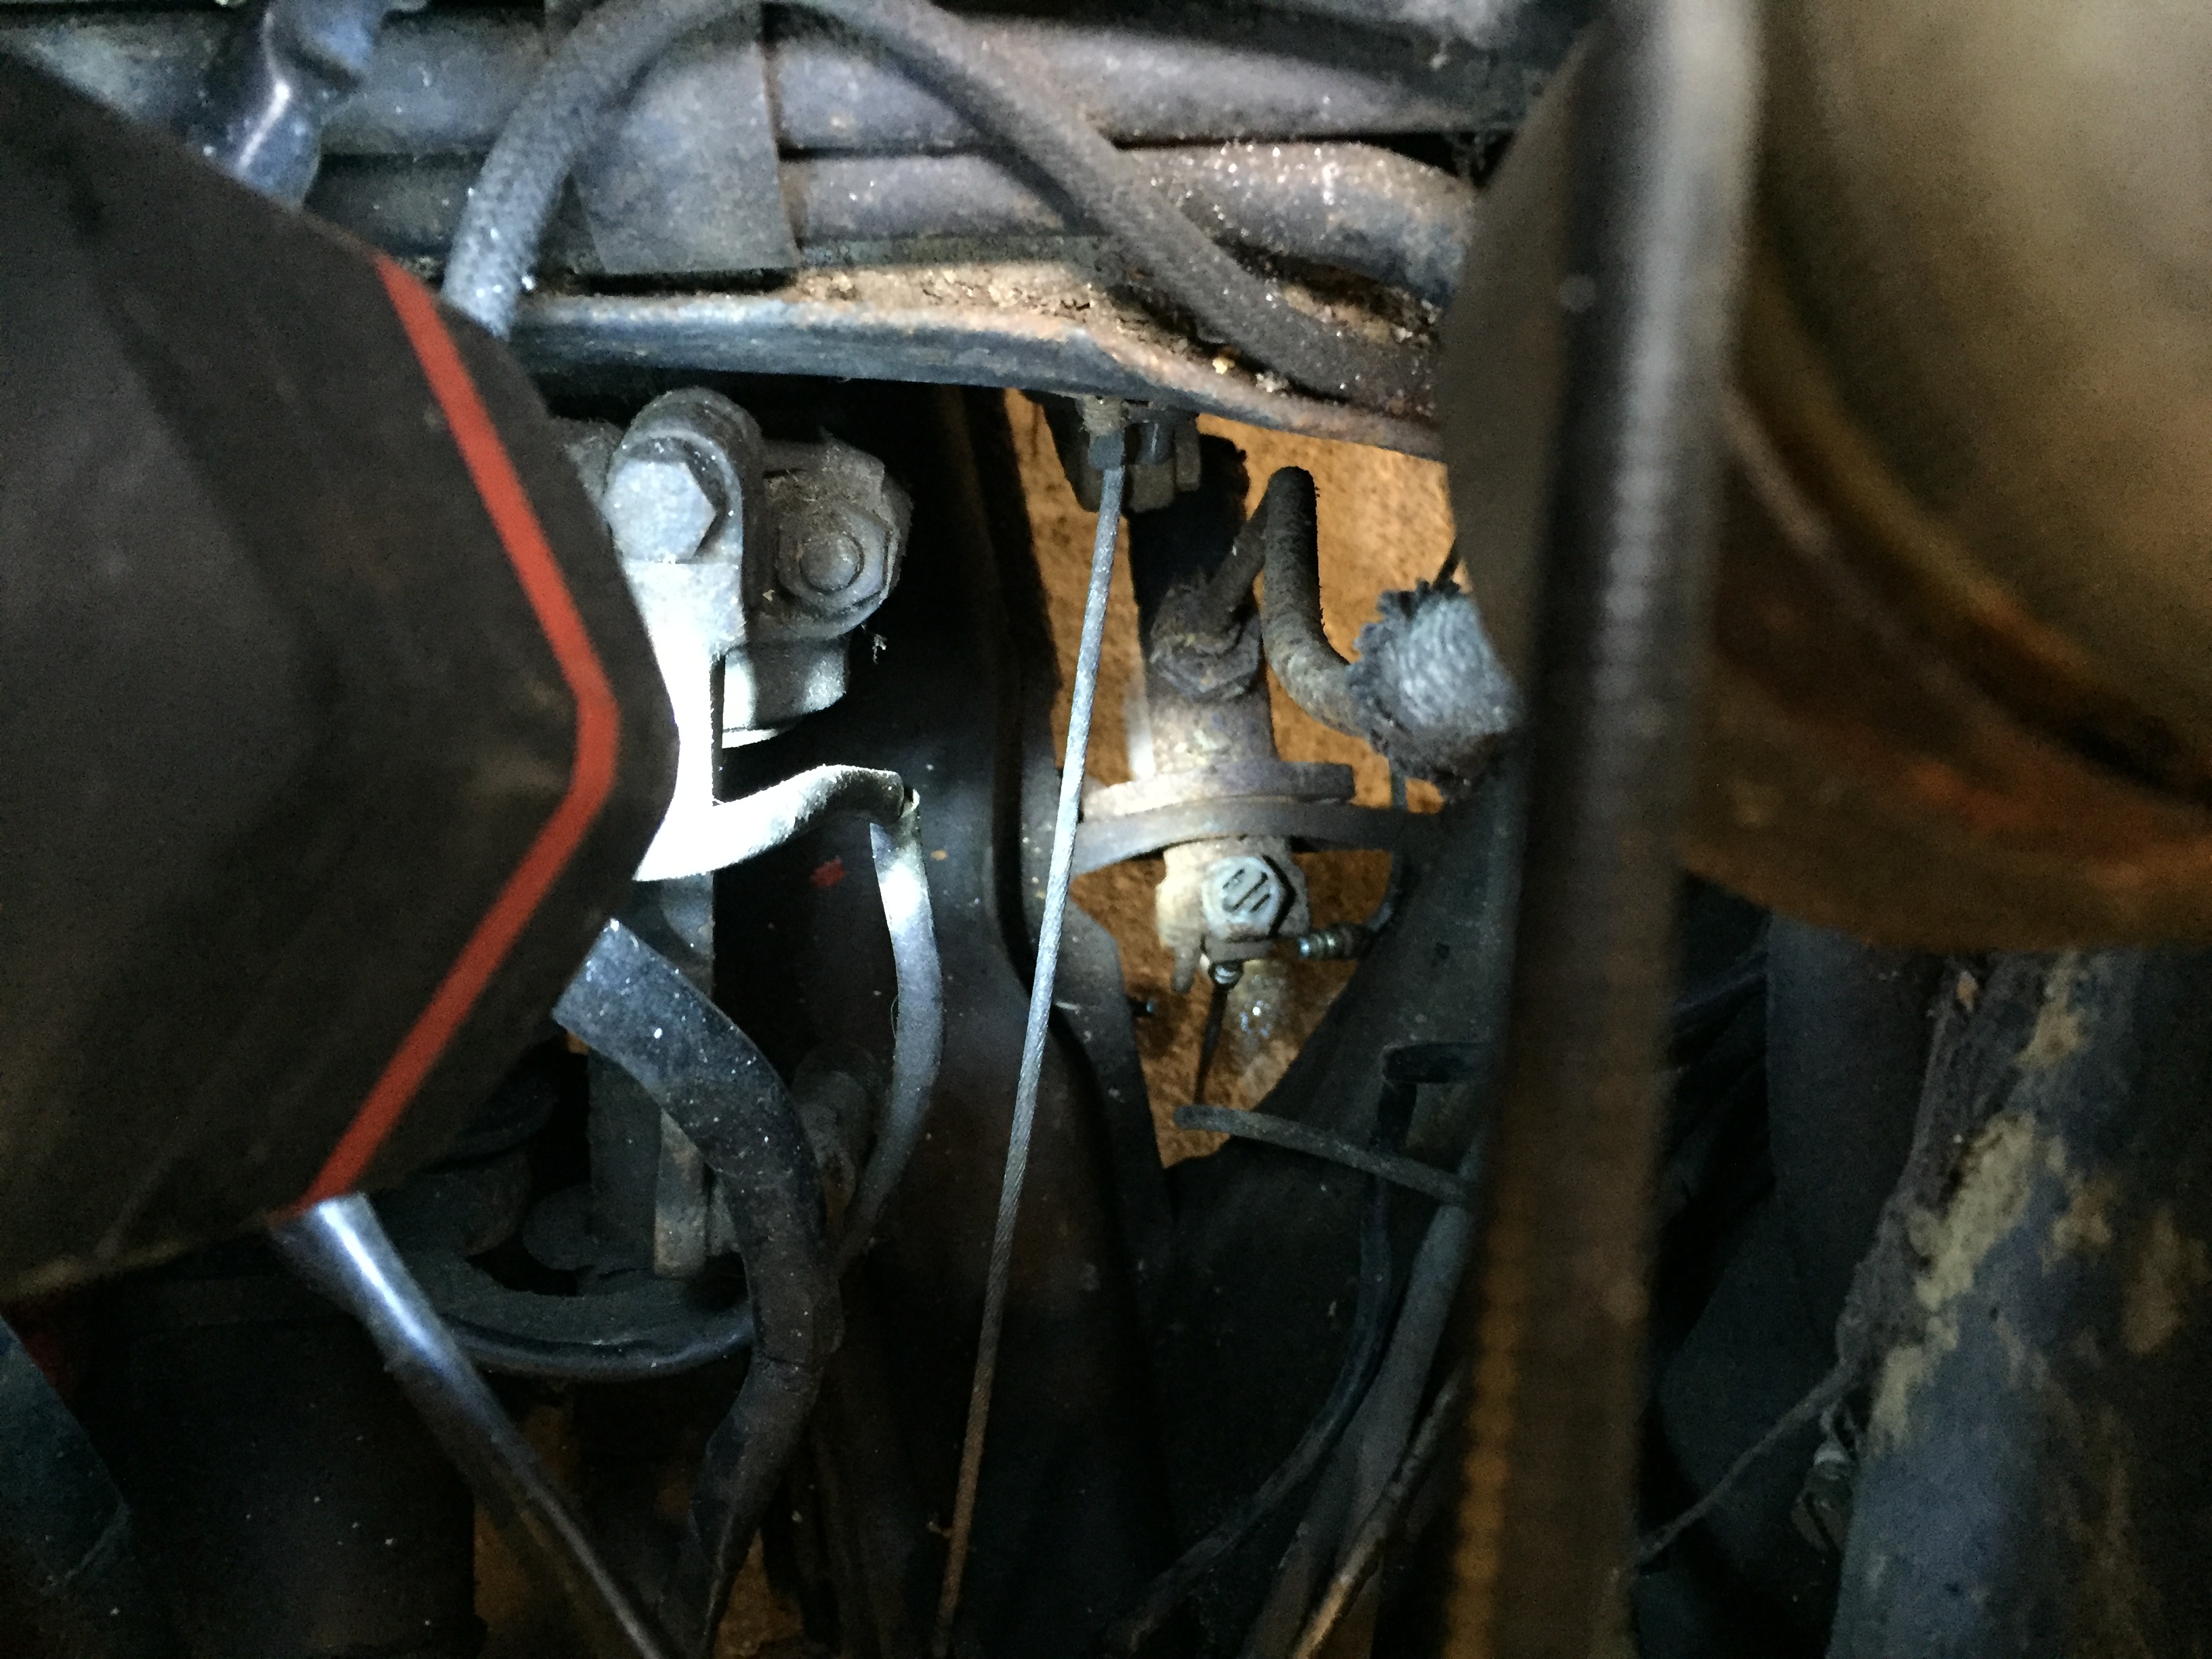
And here you can see the brake switch still in situ, but with the brake wires disconnected, you can also see the three brake lines are loosened too.
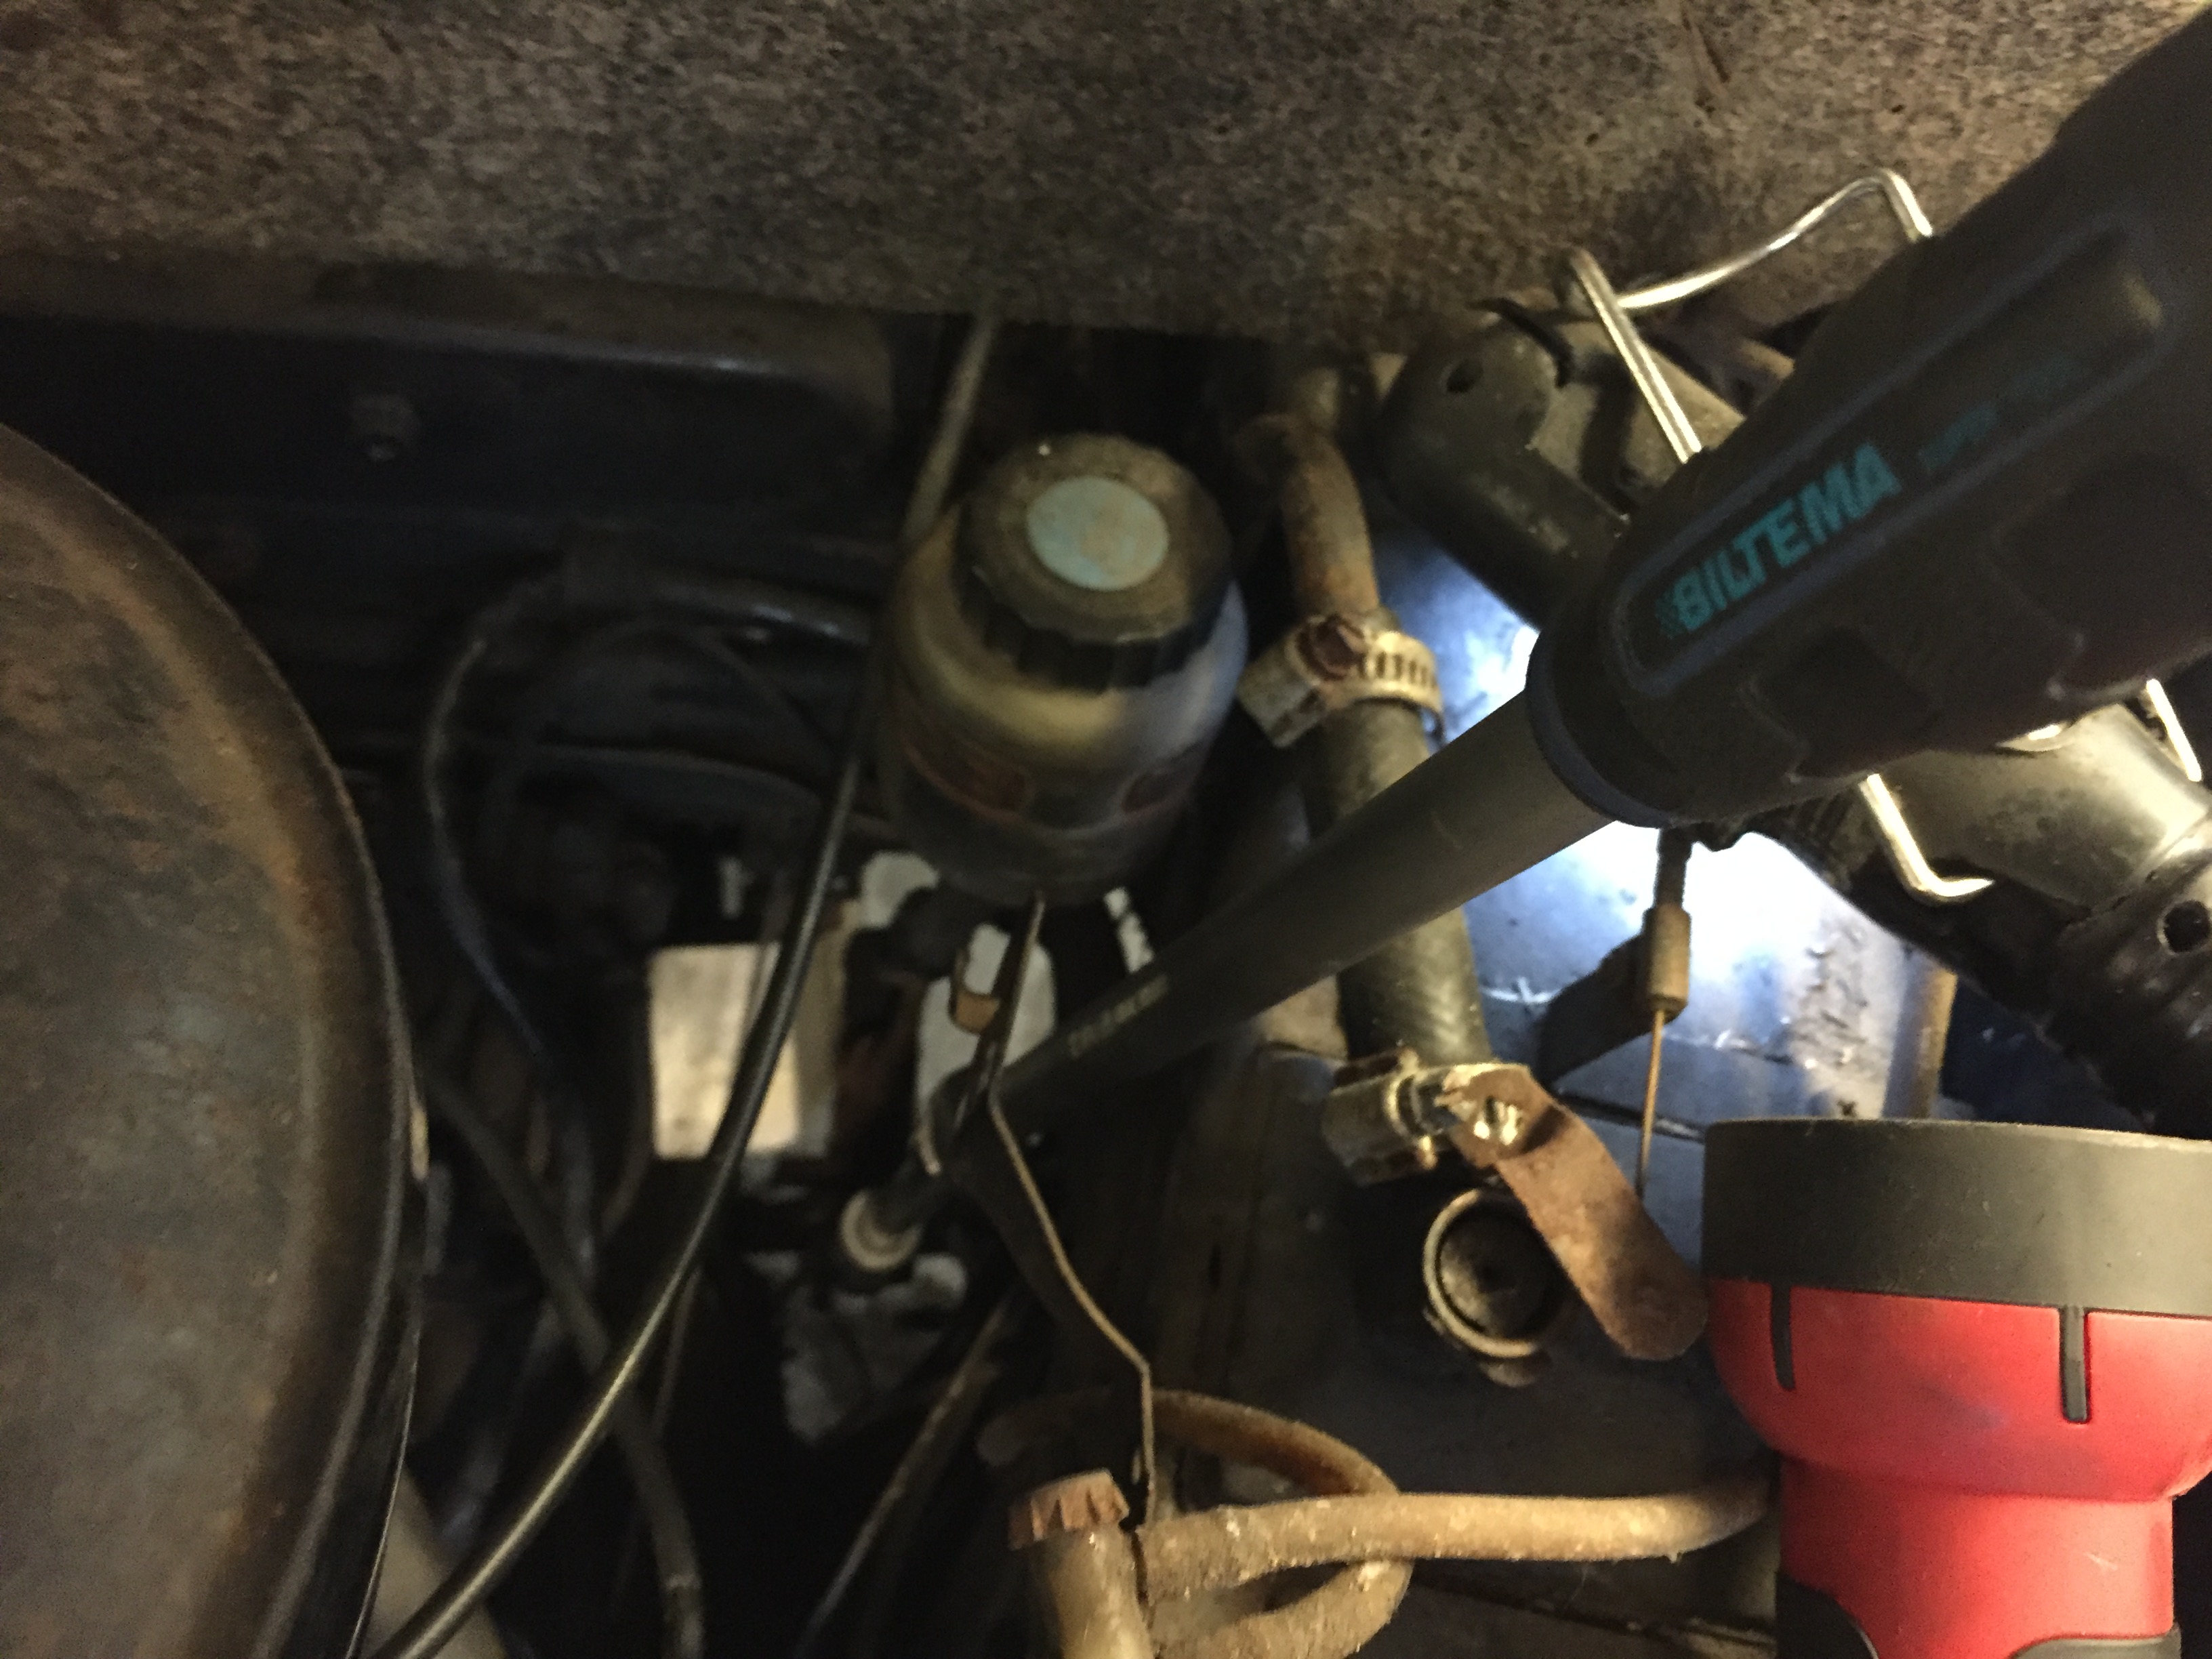
In the photo below you can see the tool I used (connected to an extension, and a 22mm socket) to remove the brake switch, it was a very awkward angle and I could have done with another extension. But with perseverance I managed to loosen and then remove the brake switch.
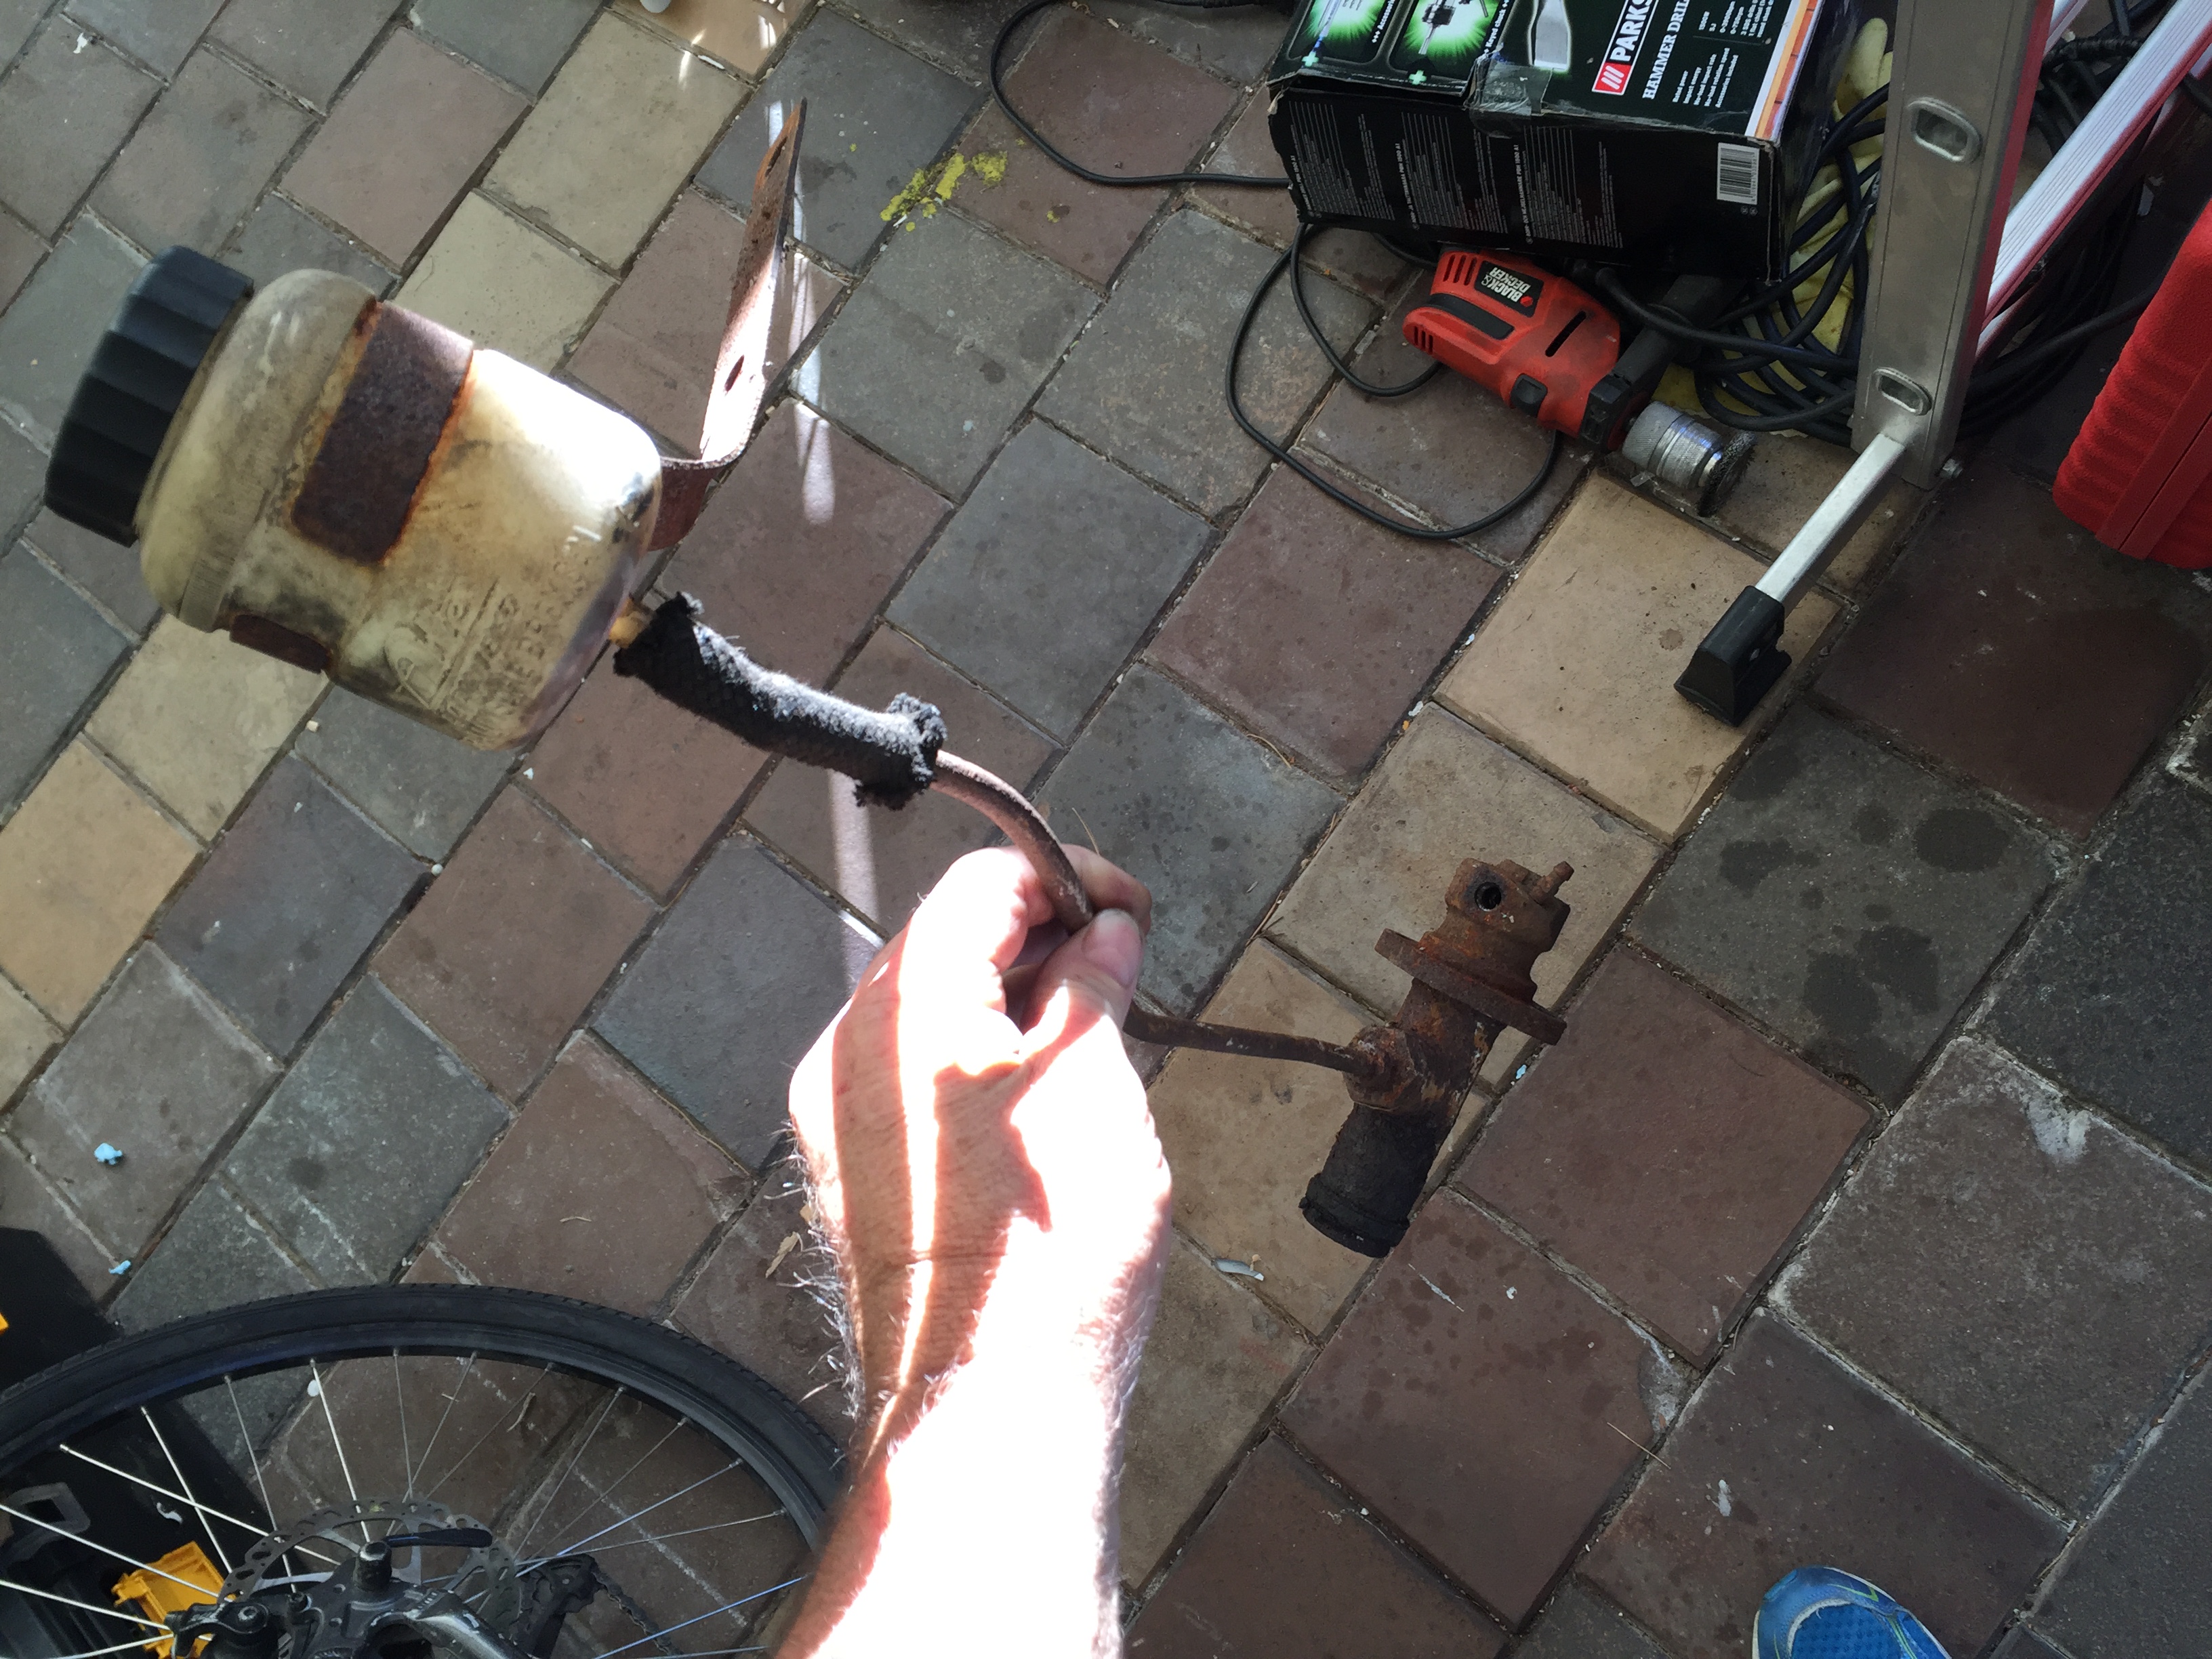
Once the brake switch was removed, I undid the 10mm bolt holding the brake fluid reservoir in place and now everything was ready to lift the brake master cylinder out. Here it is !

Doesn’t it look awful ! rusty as if it’s been at the bottom of the sea, it will take some work to get this back in shape but I will try at least.
Here’s a view of where the piston connected to the brake pedal pushes inwards to actuate the brake fluid.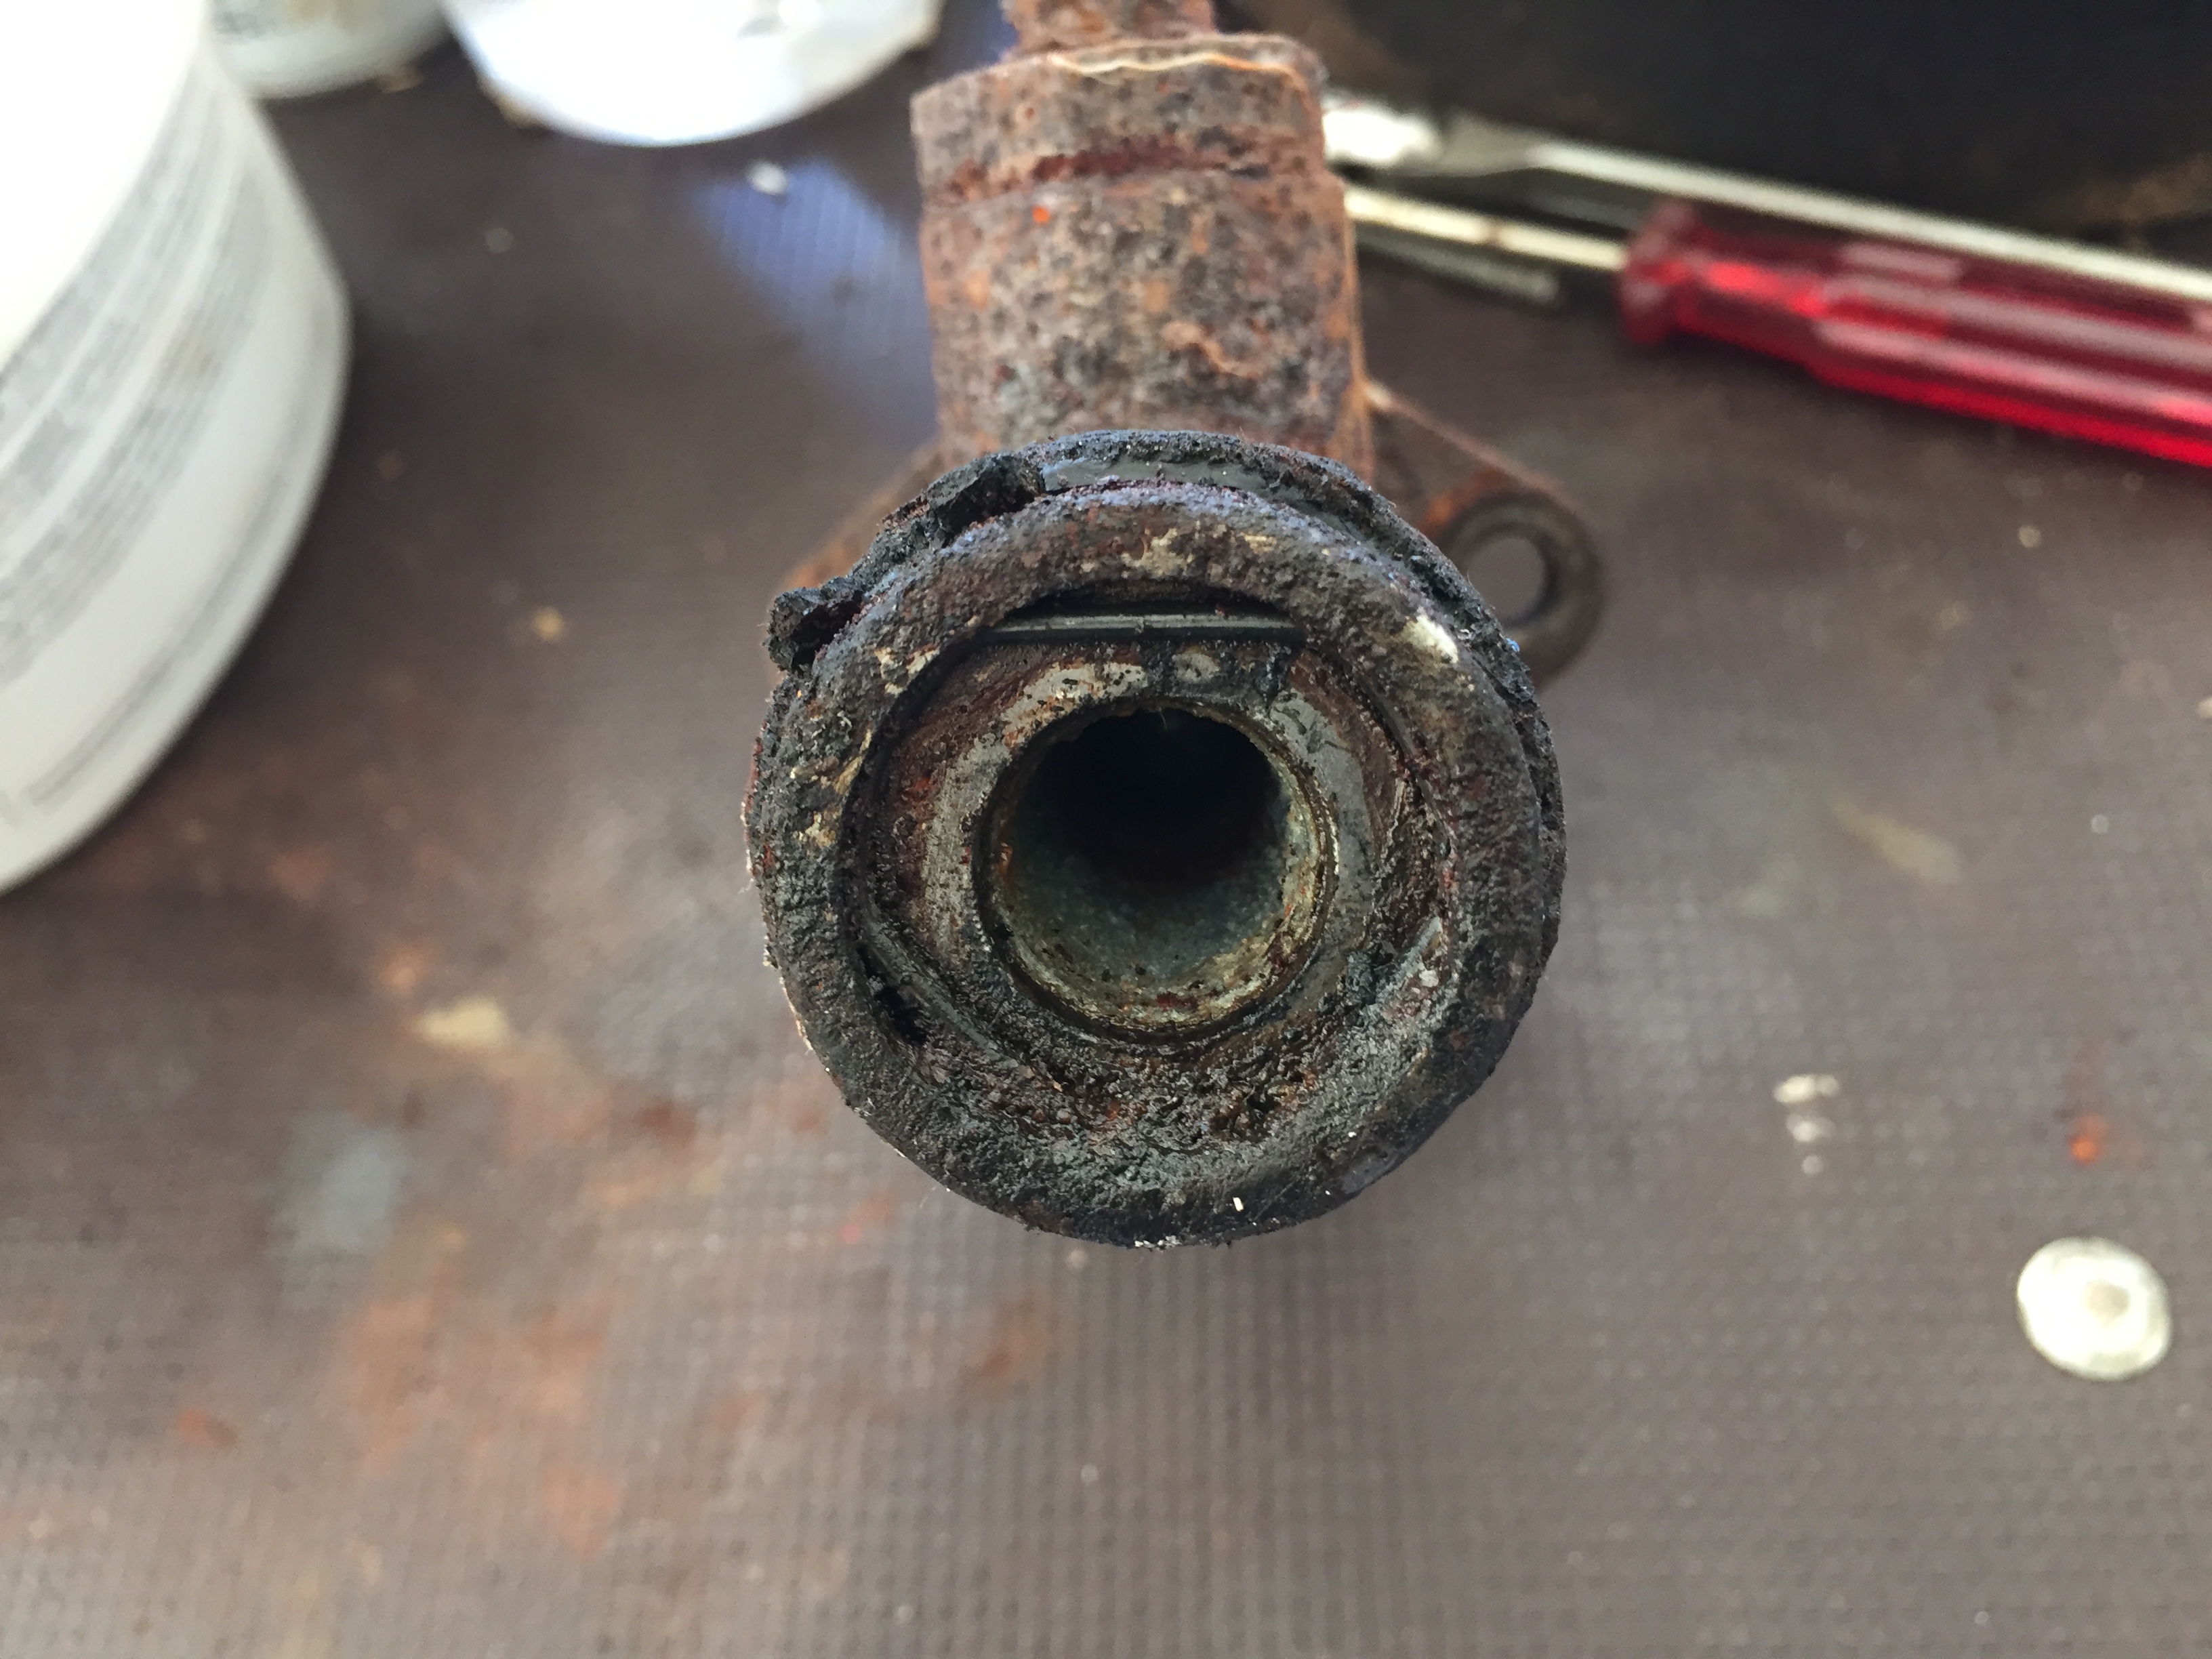
And here’s a view of the brake master cylinder, still connected to the brake fluid reservoir. I’m very pleased I got it out today.
Here’s a video I created documenting how I removed the brake master cylinder – https://www.youtube.com/watch?v=3xTiXYniceo
The following site seems to sell parts for Pontons and here’s their page dedicated to the brake master cylinder.