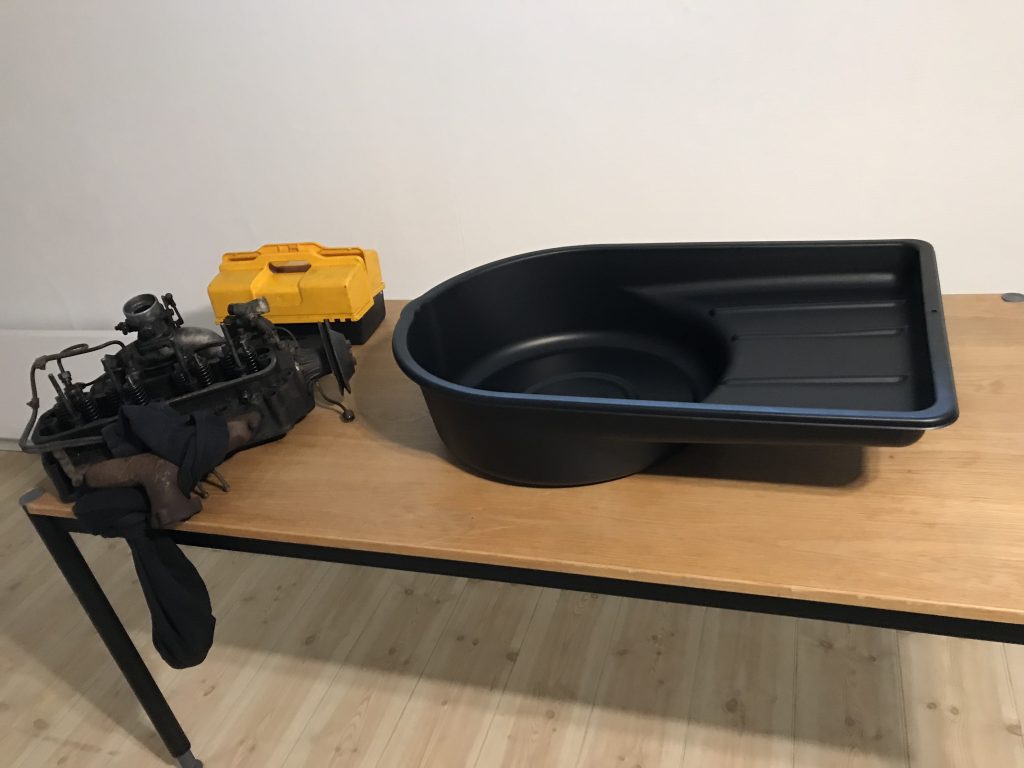
Well it’s been ages since my last update, but today I got the cylinder head out of storage and set it up for cleaning. So I got a table from storage and set everything up in the spare room.
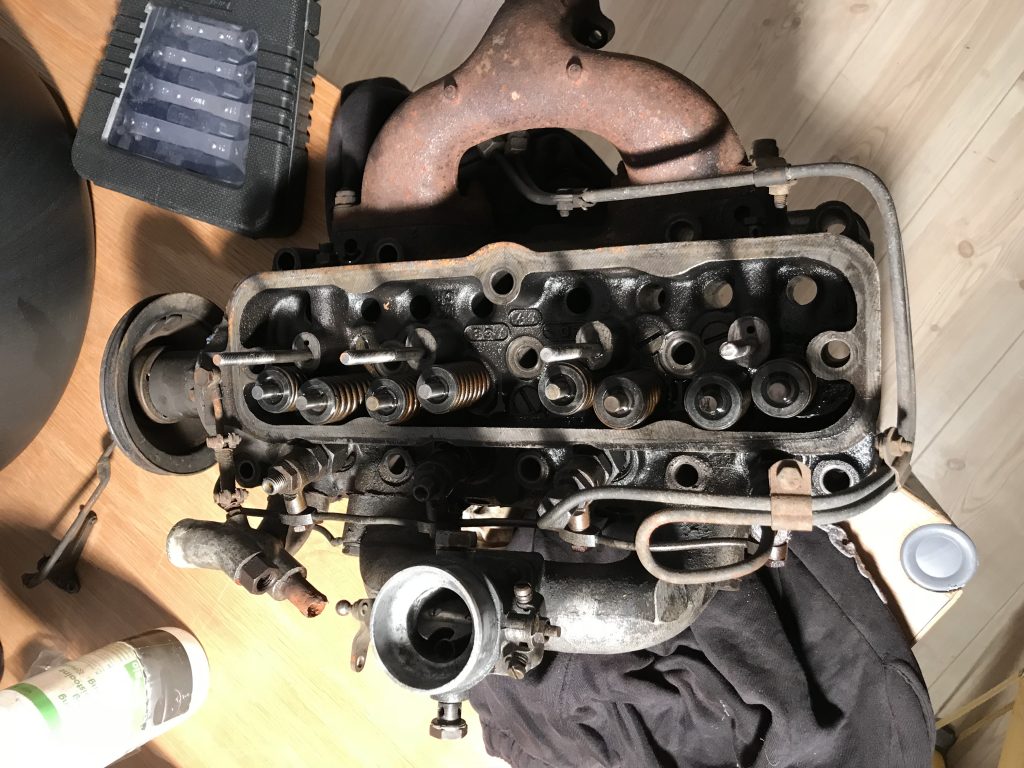
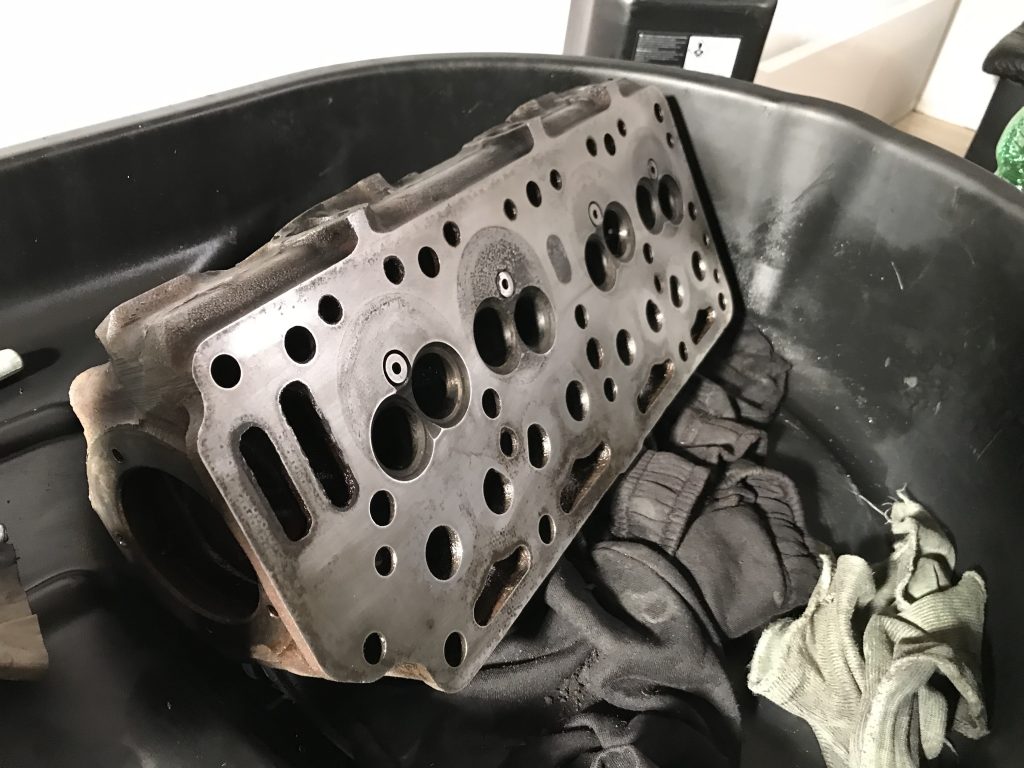
Here’s the cylinder head currently.
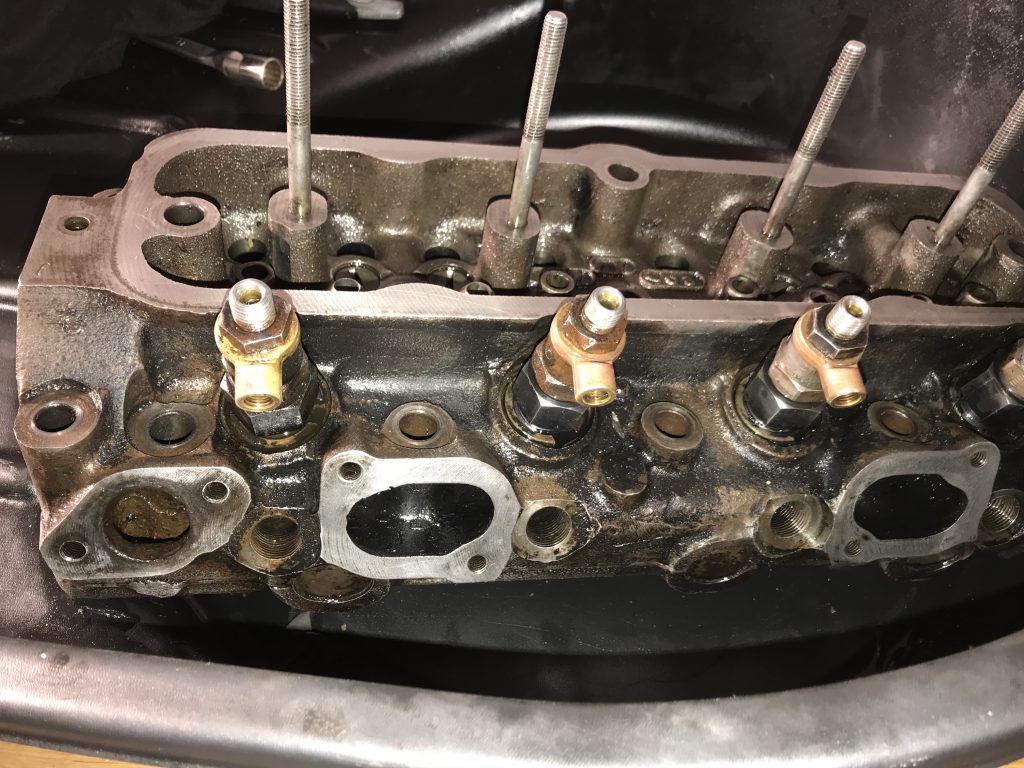
First thing’s first, remove the bits still attached to make it easier to work with. I started by removing some tubes, and then removed the water pump.
Next I removed some conduits for water to and from the radiator.
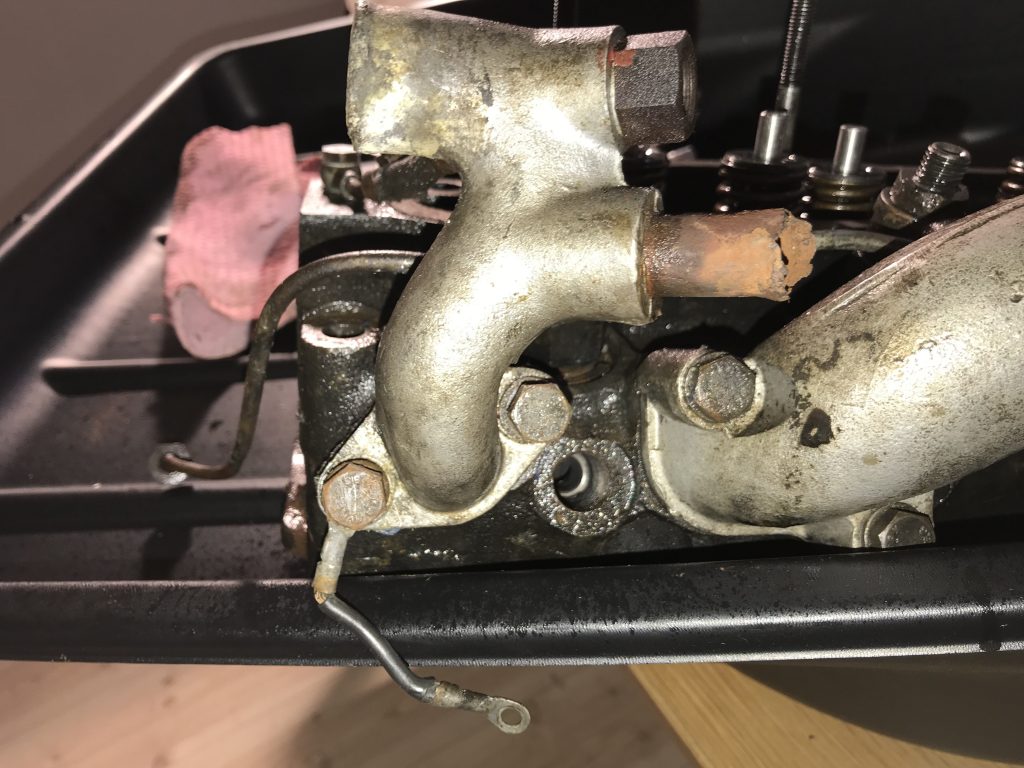
and then some more bits..
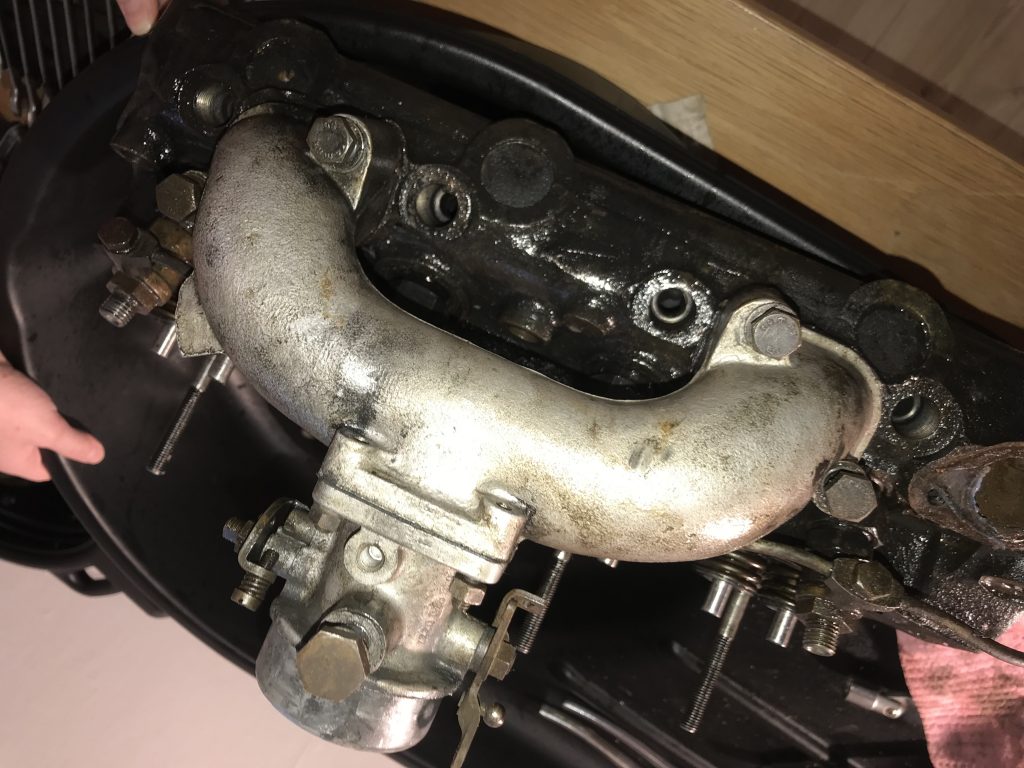
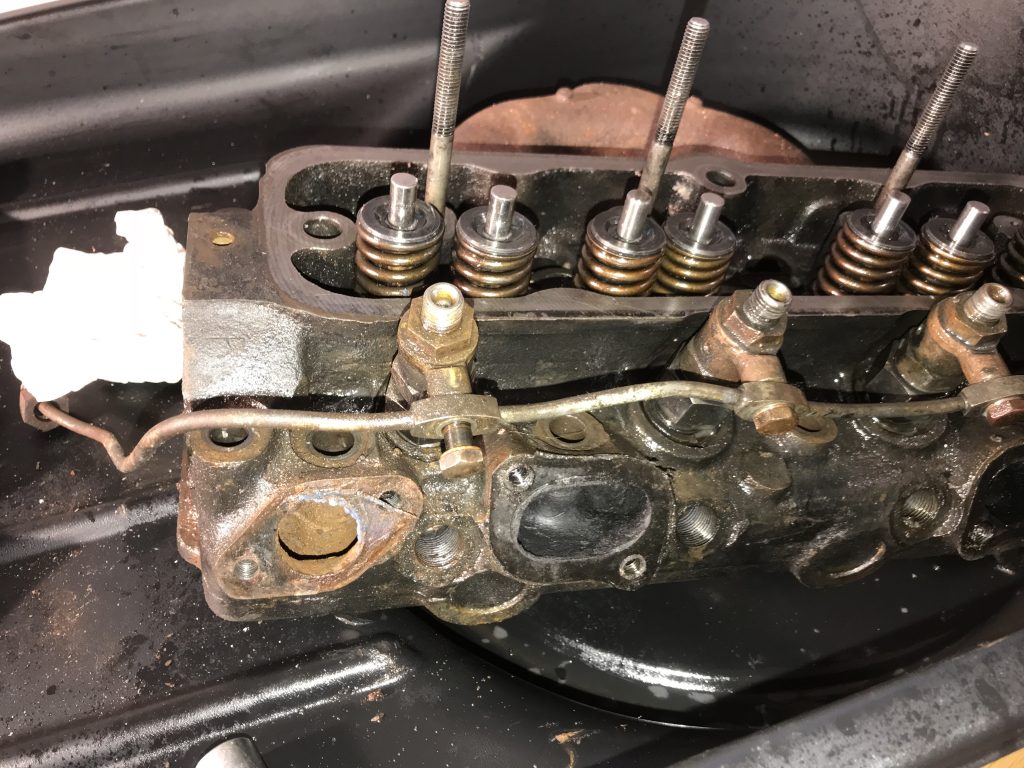
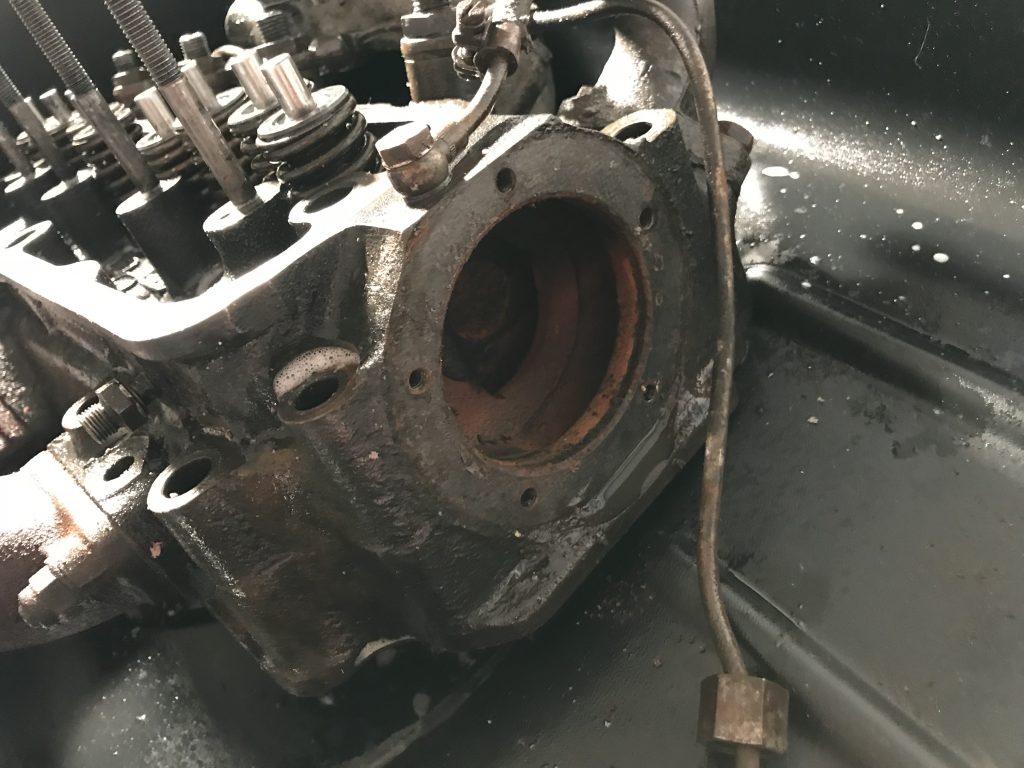
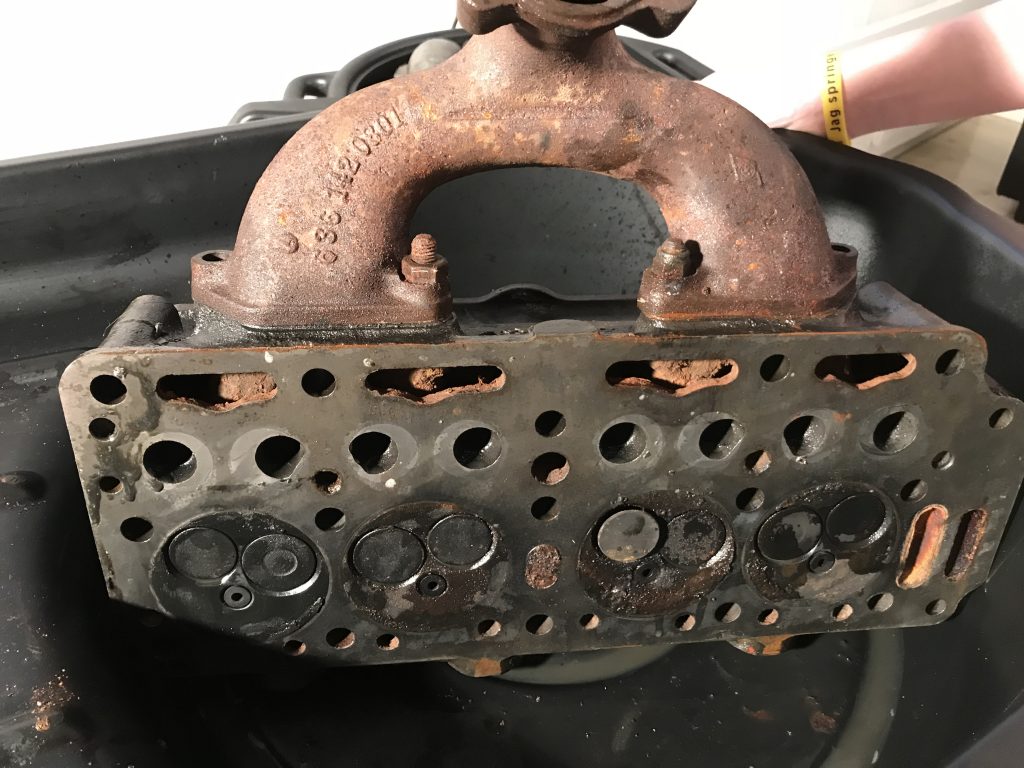
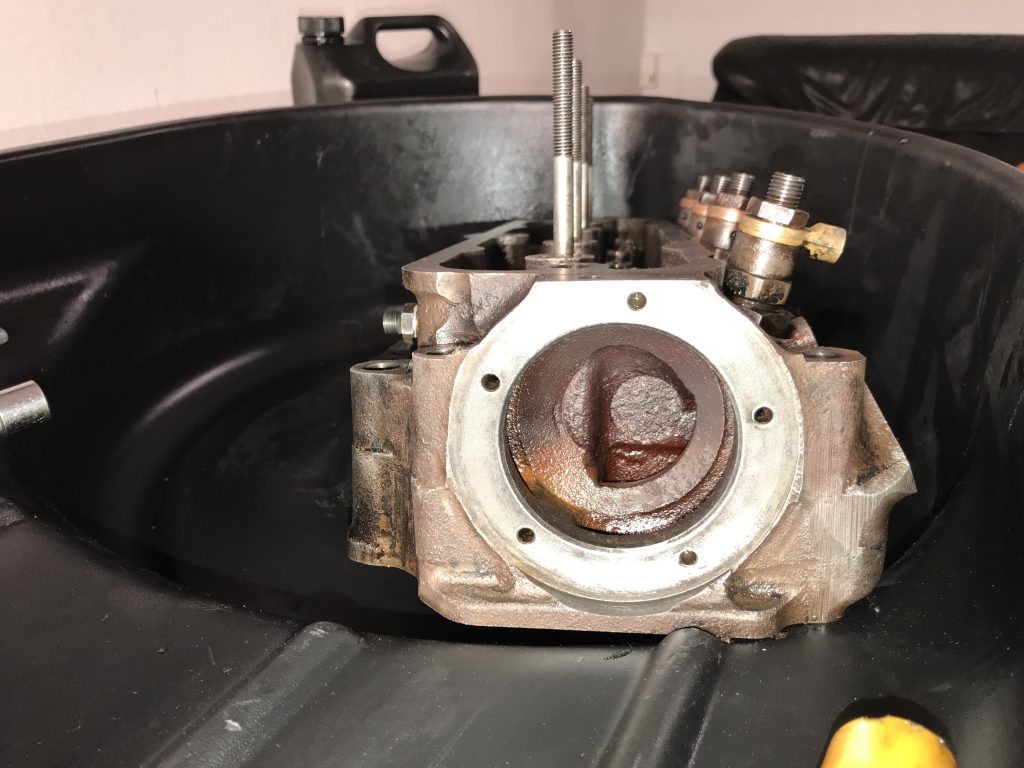
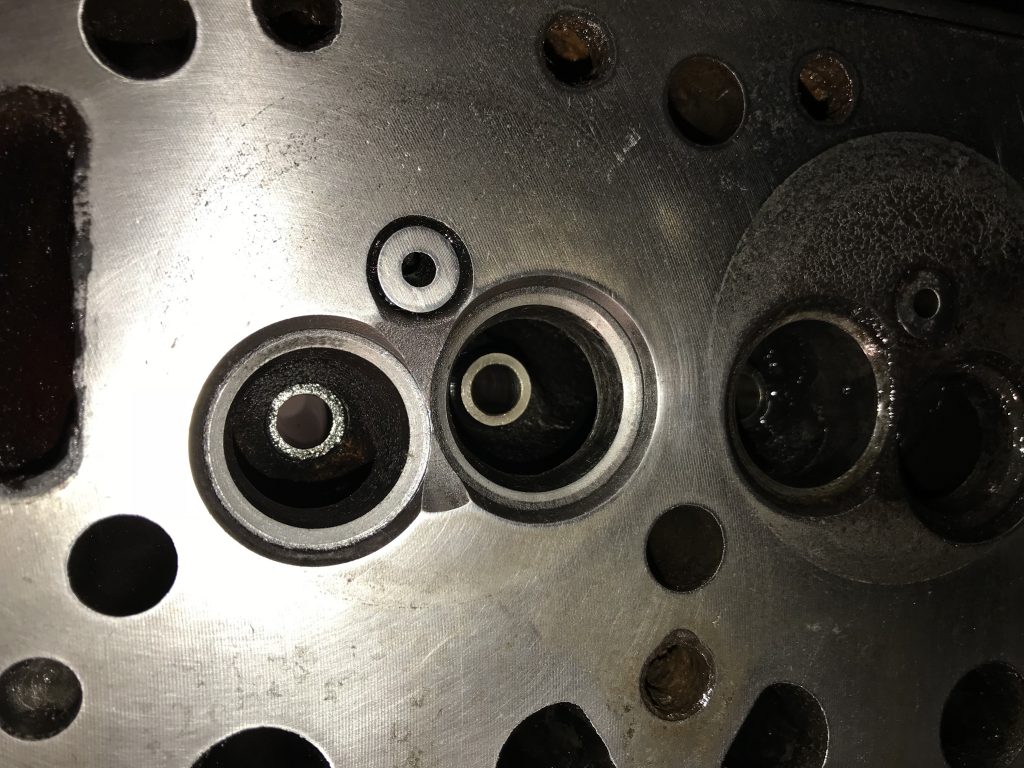
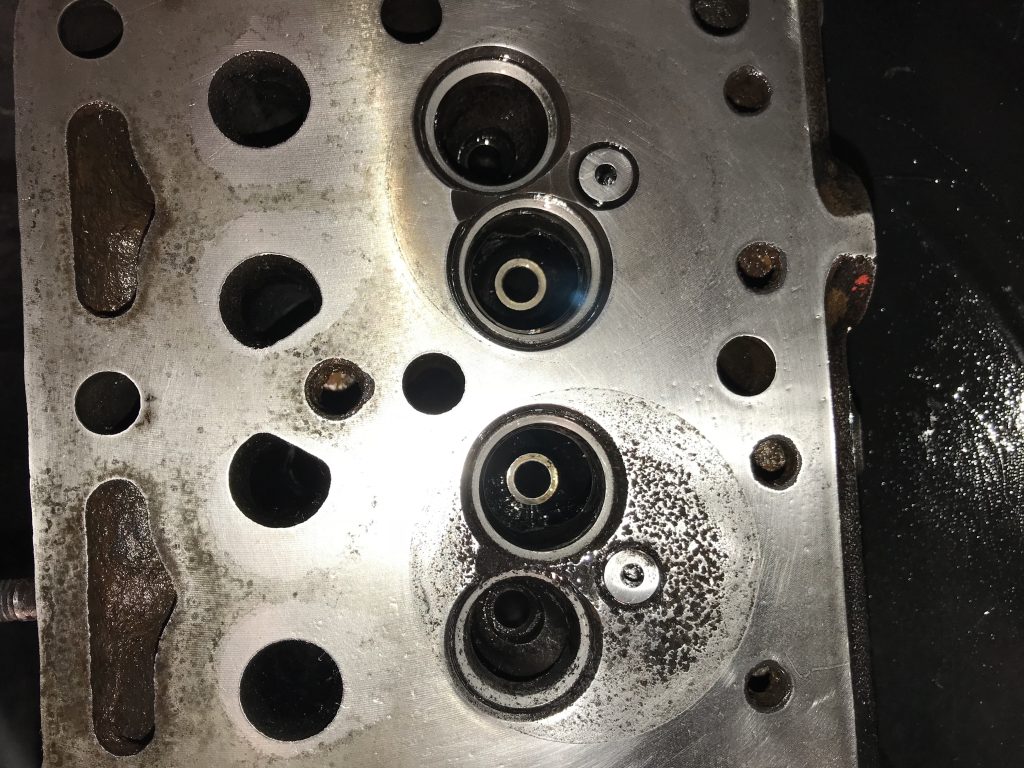
and then off with some more tubing for the diesel. Next, remove the exhaust manifold. You can see a stuck valve, and the sad state of the engine.
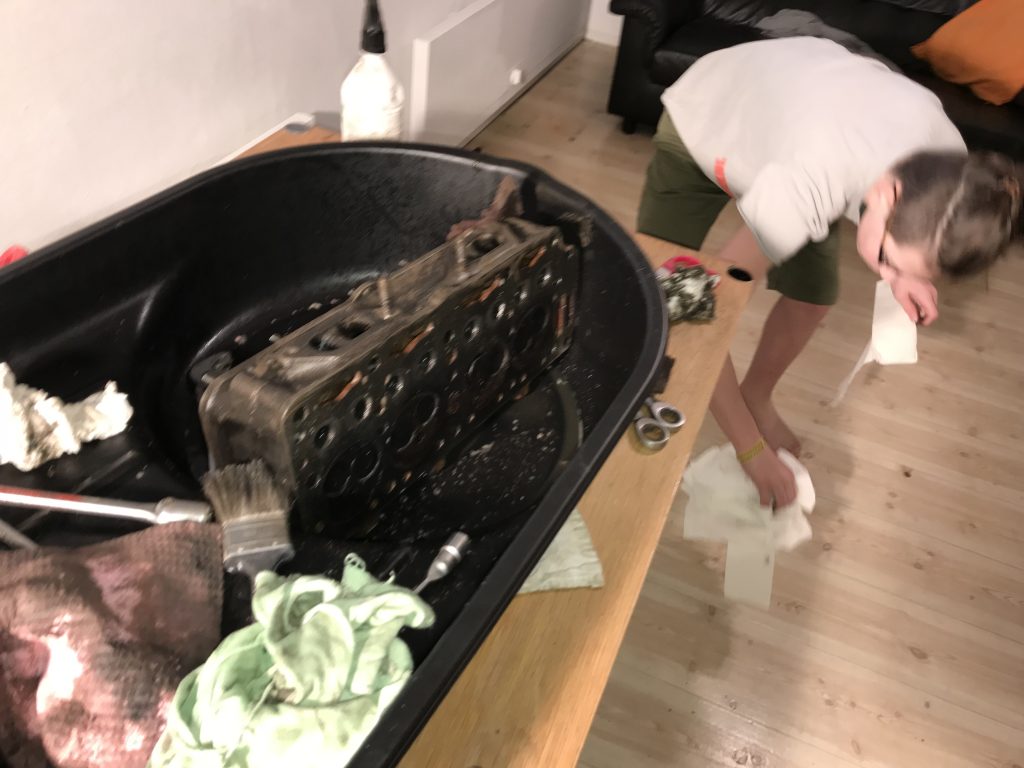
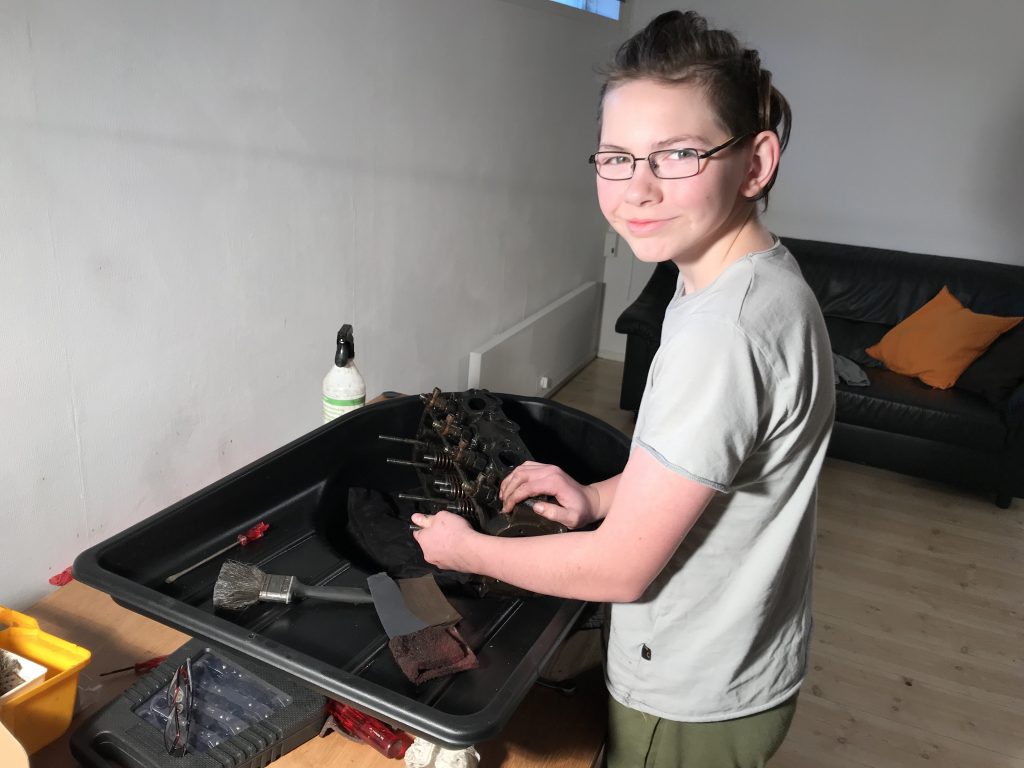
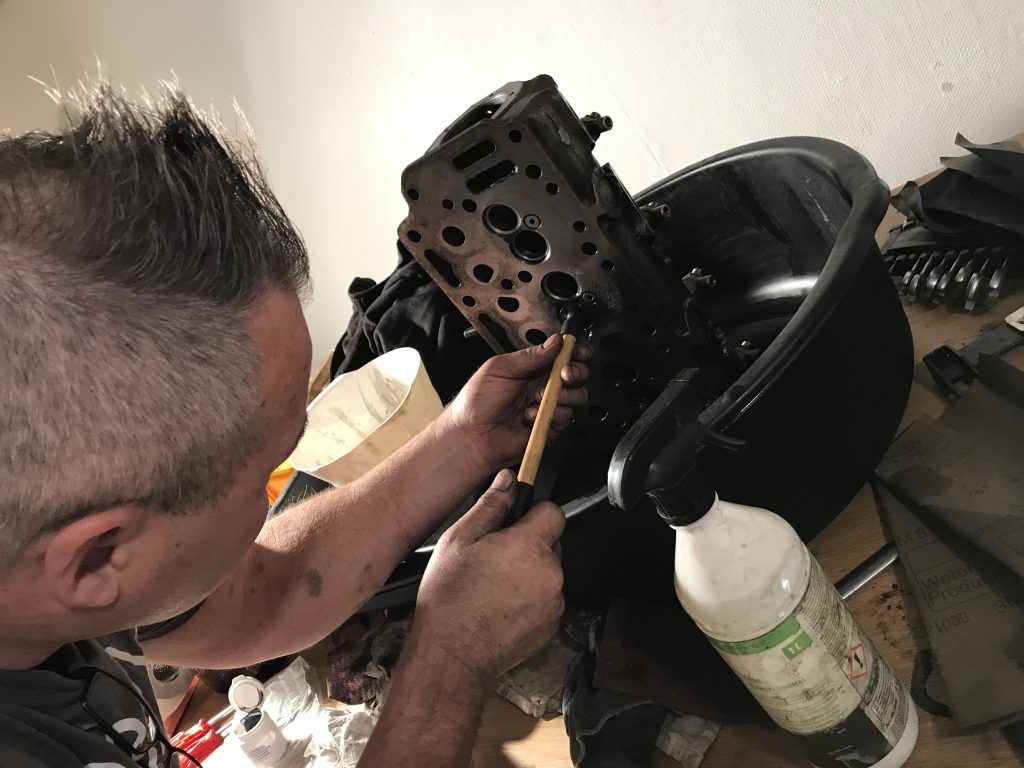
Once I had the main external bits removed, I started cleaning the block, using de-greaser and lots and lots of tissues. Benjamin joined in to help and was a great help today, worked with me all day helping me holding the engine in place and cleaning it too.
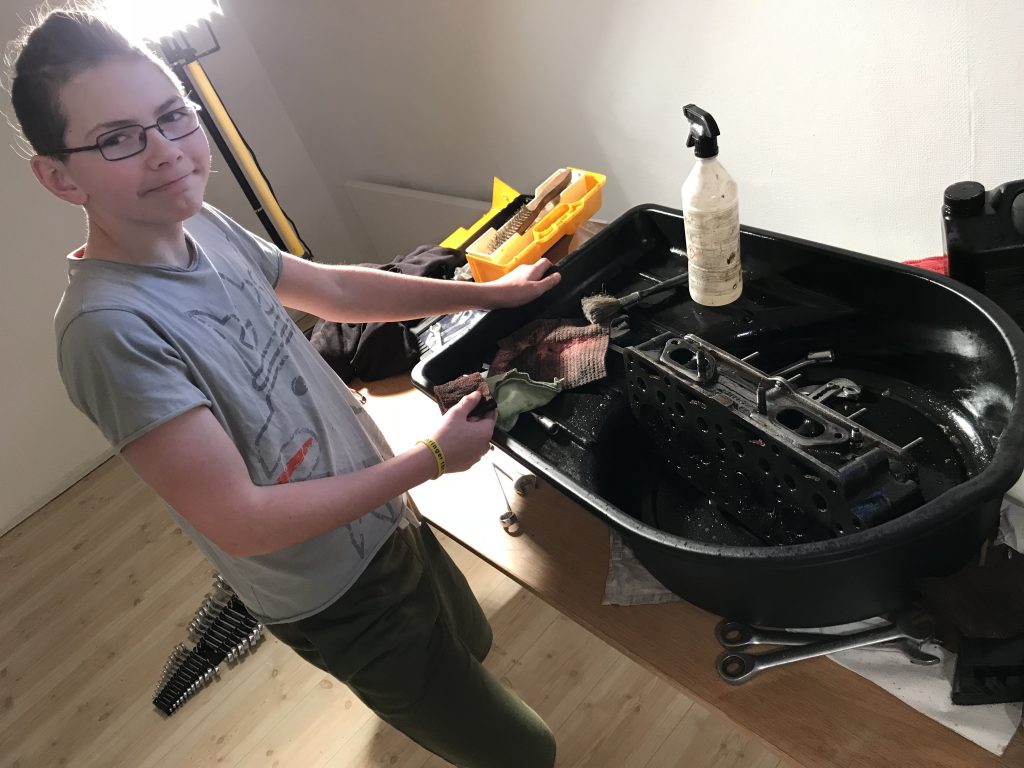
You can see the oil and grease just coming off, it took a lot of de-greaser and agitation with brushes and cloths.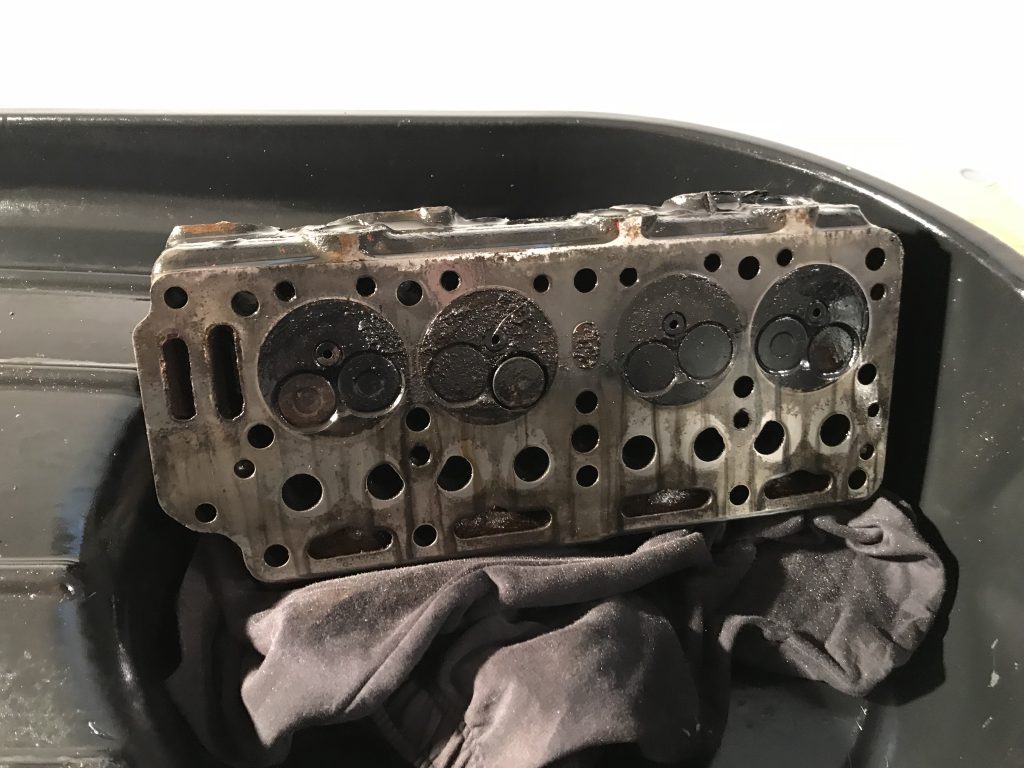
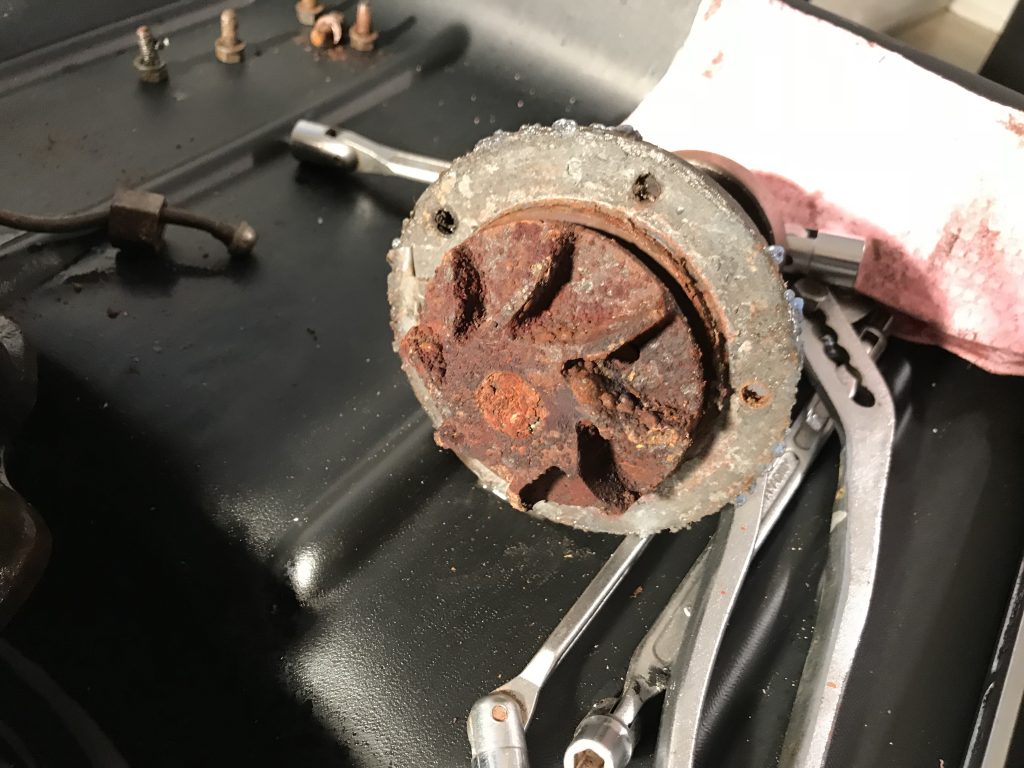
I used some wet sandpaper to clean up the rust/carbon build up on one of the cylinders where the stuck valve was. It was really in a bad state. But after a lot of elbow grease it started to look better.

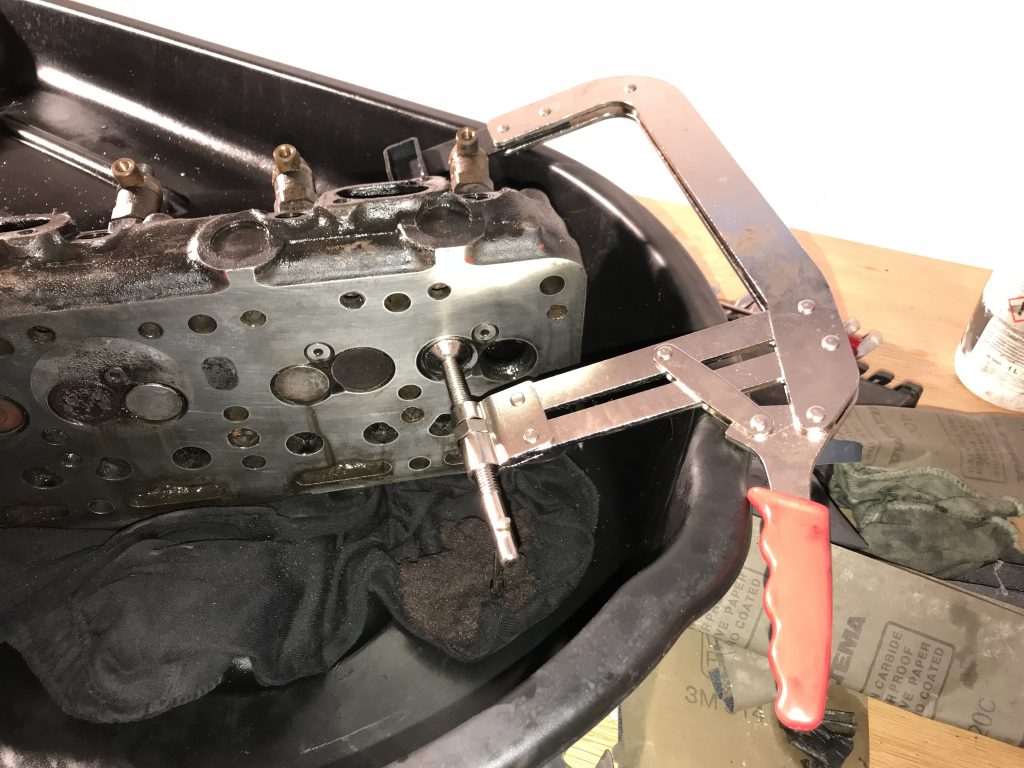
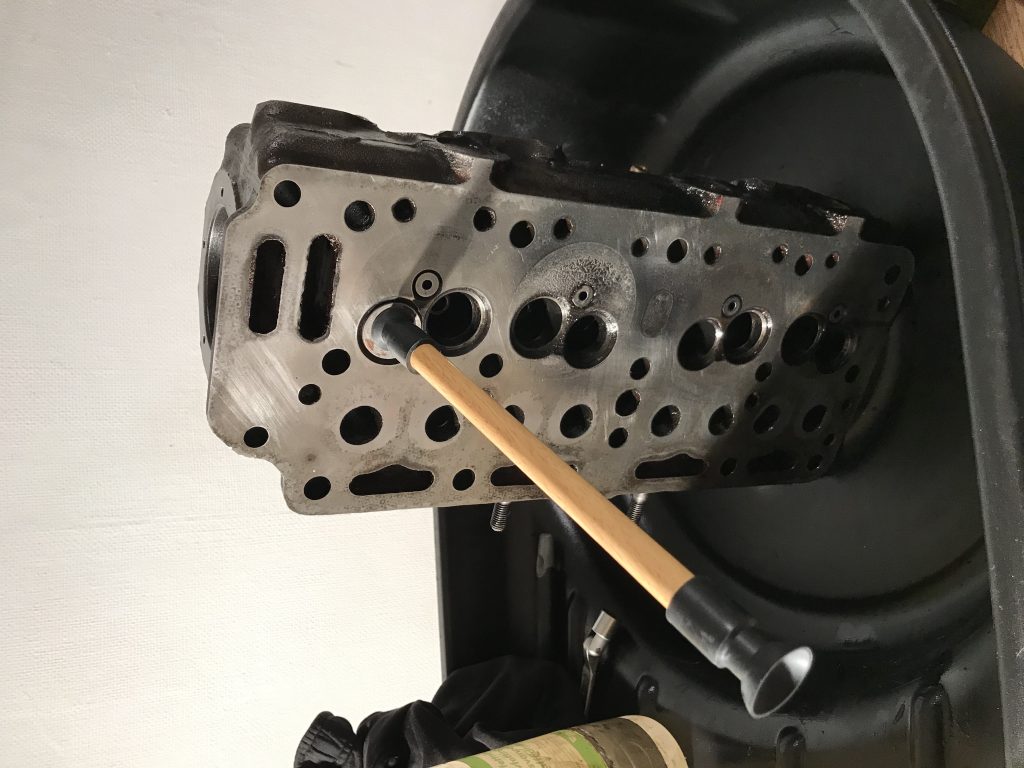
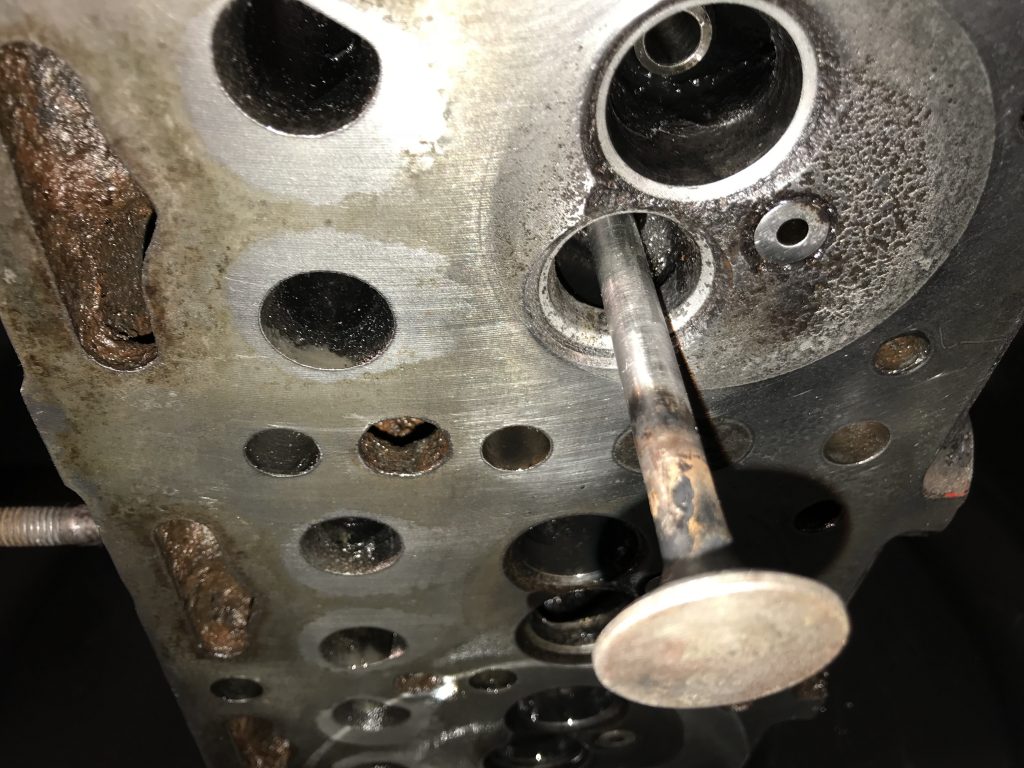
Removing the valves
Now that the engine block was mostly clean, it was time to tackle removing the engine valves. Benja held the block in place while I used the vale removal tool to get each valve out. The first valve came out easily, the next few however were very tight and some had to be tapped out using a rubber mallet.
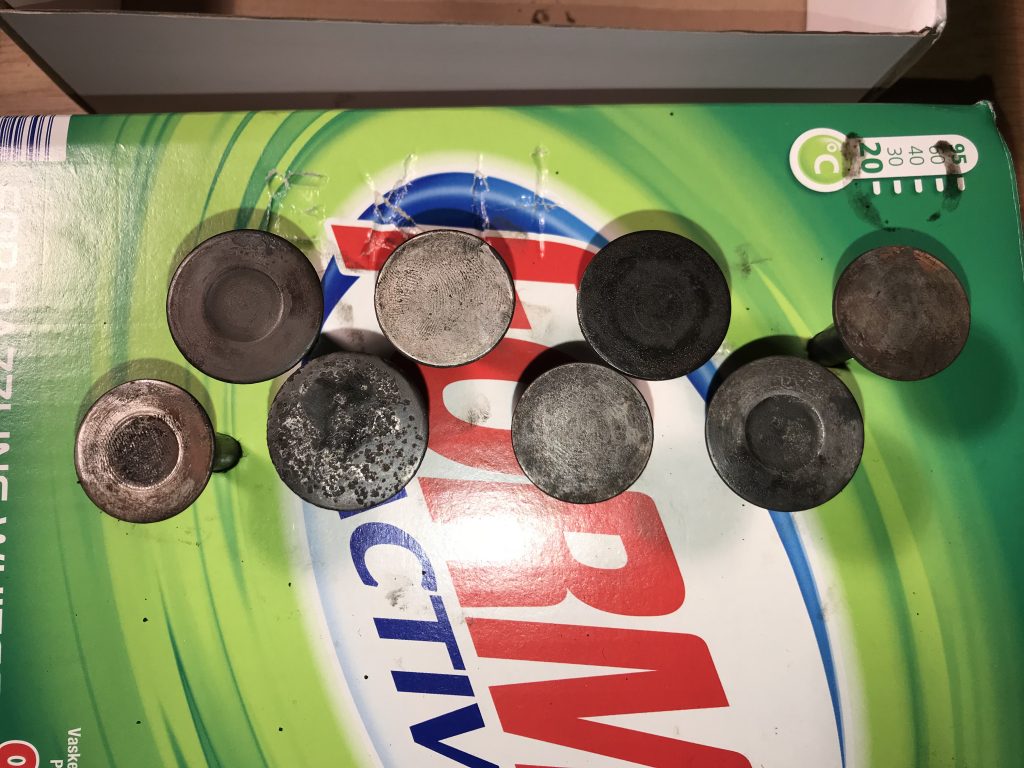
Here are the 8 valves, looking pretty grim.
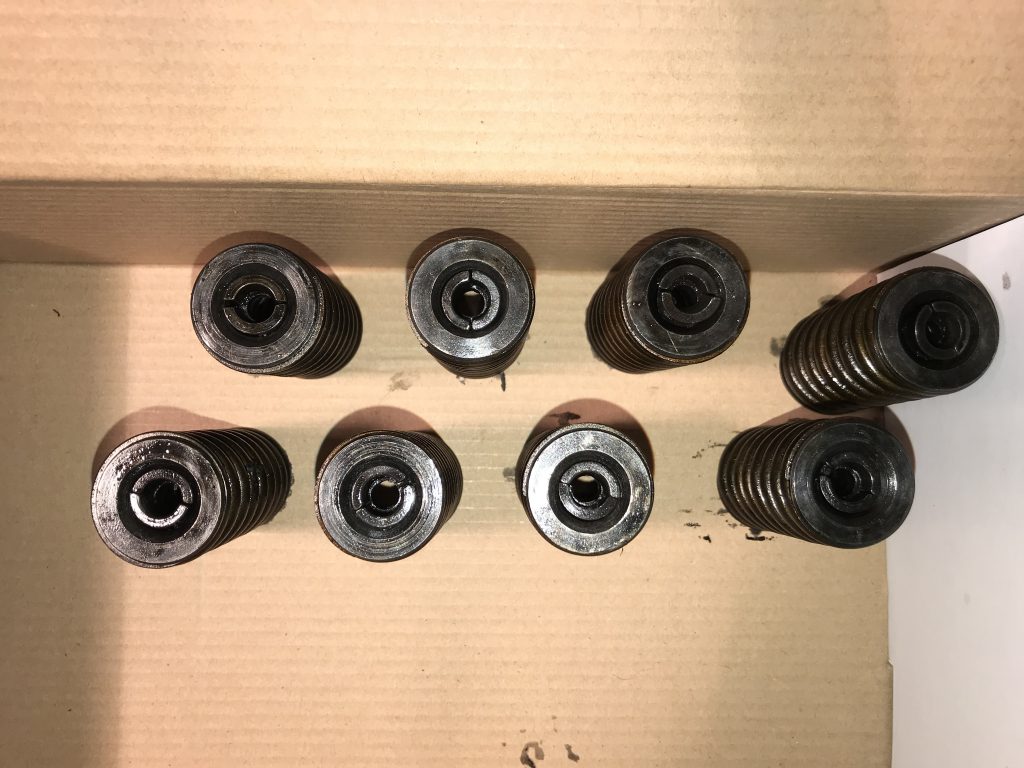
And here are the springs/valve retainers.
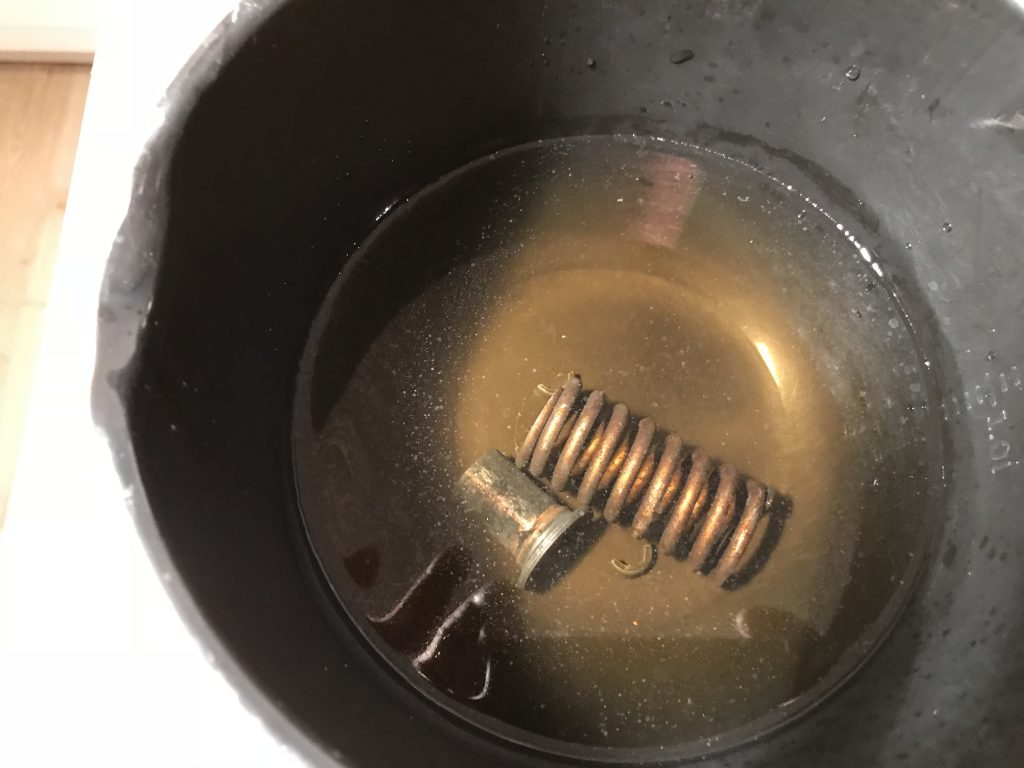
I removed the bits from the springs and dropped the metal bits into a bath of mild vinegar, they’ll stay there tonight.
Now that they were all out I did some more cleaning of the engine block, with Benja’s help.
Look at the difference !
Next, I cleaned up the surface(s) where any gaskets would meet, such as the water pump seal area.
And here..
Grinding the valves
I started off grinding the valves, gently, and taking my time, starting with coarse griding paste, and finishing each valve with fine grinding paste.
The first two are done, not perfect but 100 times better than they were and now the valves feel great.
The next two valves were in bad shape, and required much more work.
I spent so much time on the 4th valve (due to the state that the valve seat was in) that I gave up after that valve, the rest will need to be done tomorrow.
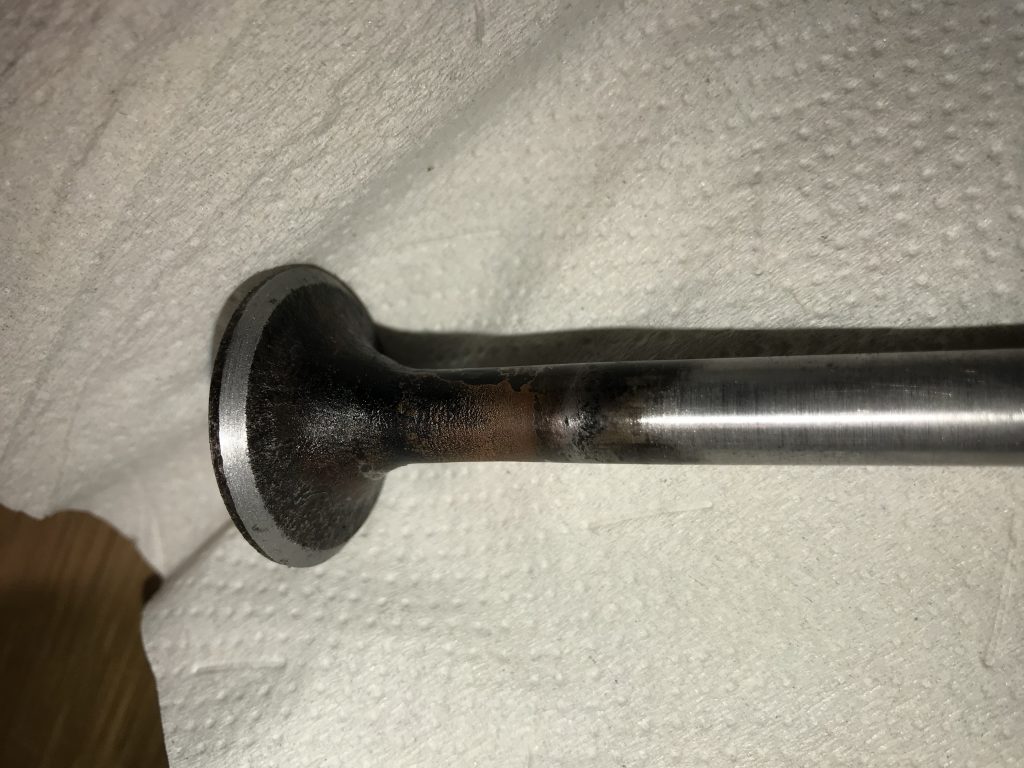
So as you can see, the first 4 have been tackled, but there’s a lot of pitting still visible on valve 4. I don’t know how to make it any better than it is currently.
Until next time, adios.