Introduction
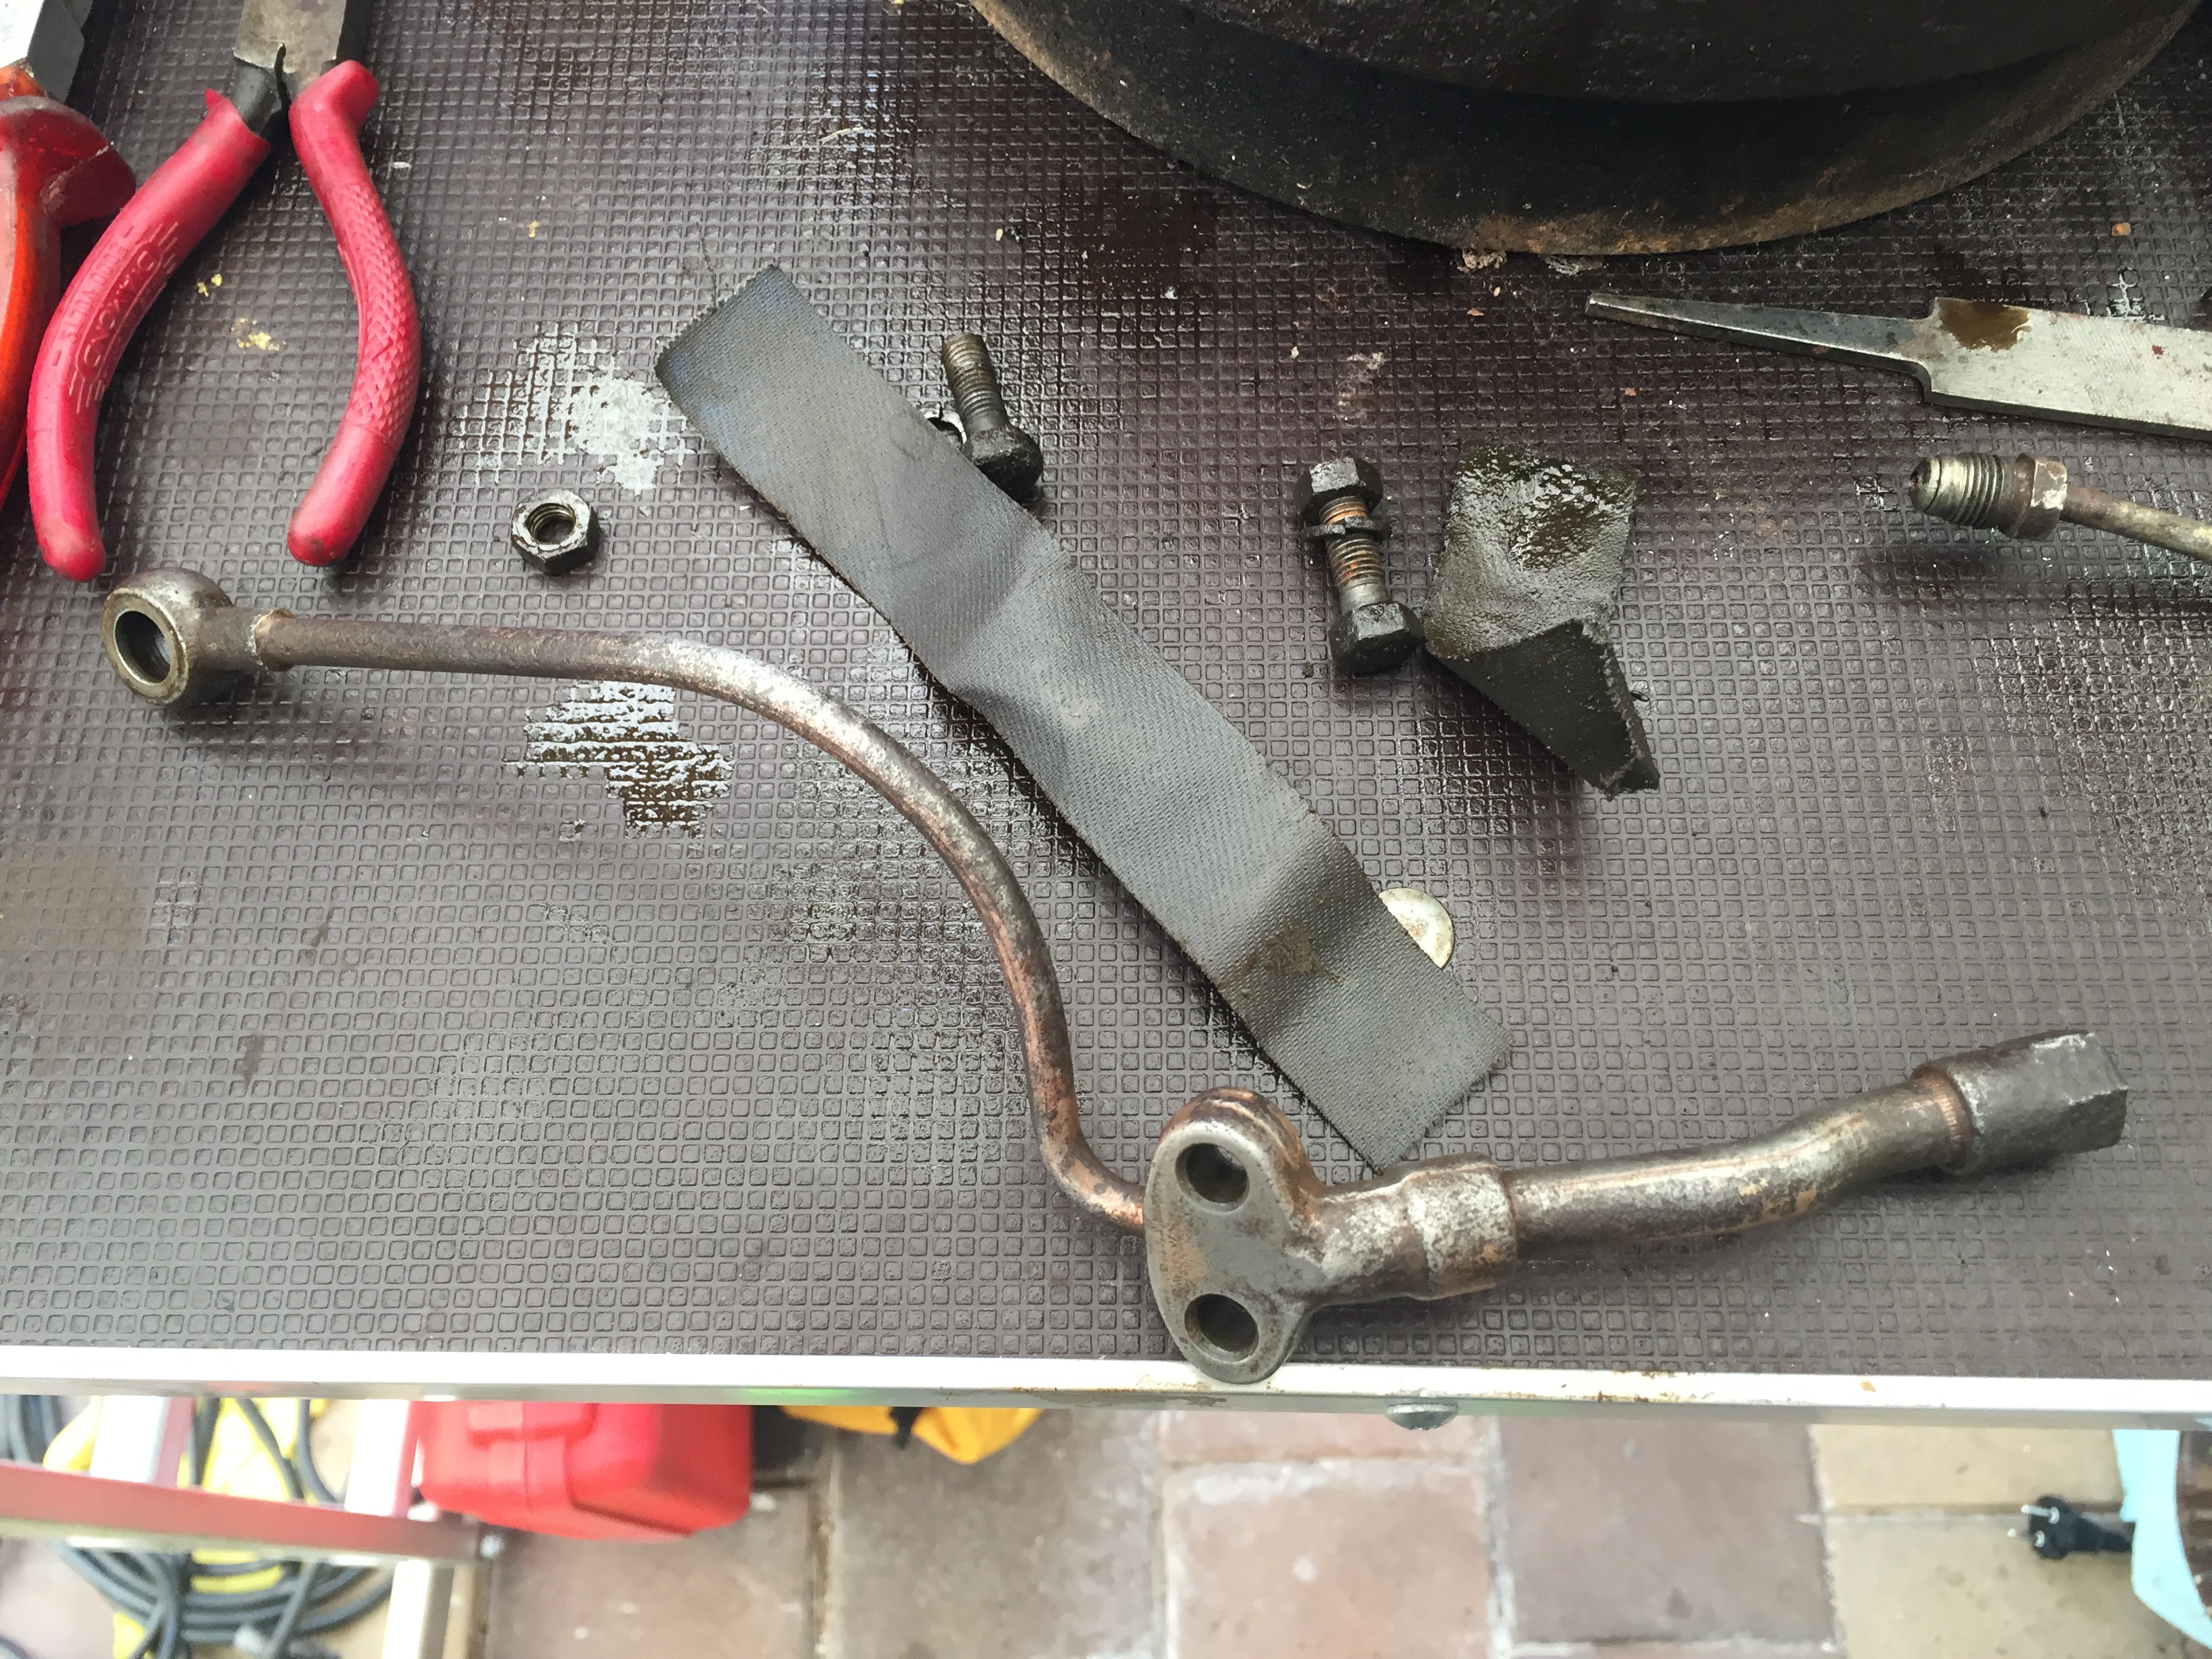
Now that I have the odd shaped brake tubes off (40/41 and 45 in the diagram here) I wanted to clean the thick layer of grease and dirt in order to see what condition the brake tubes were in but I needed to do it in as non-destructive way as possible. I plan on re-using these parts if they are in good enough condition as replacements are hard to find/expensive
I used a combination of a tooth brush dipped in diesel, and some sand paper to clean them.
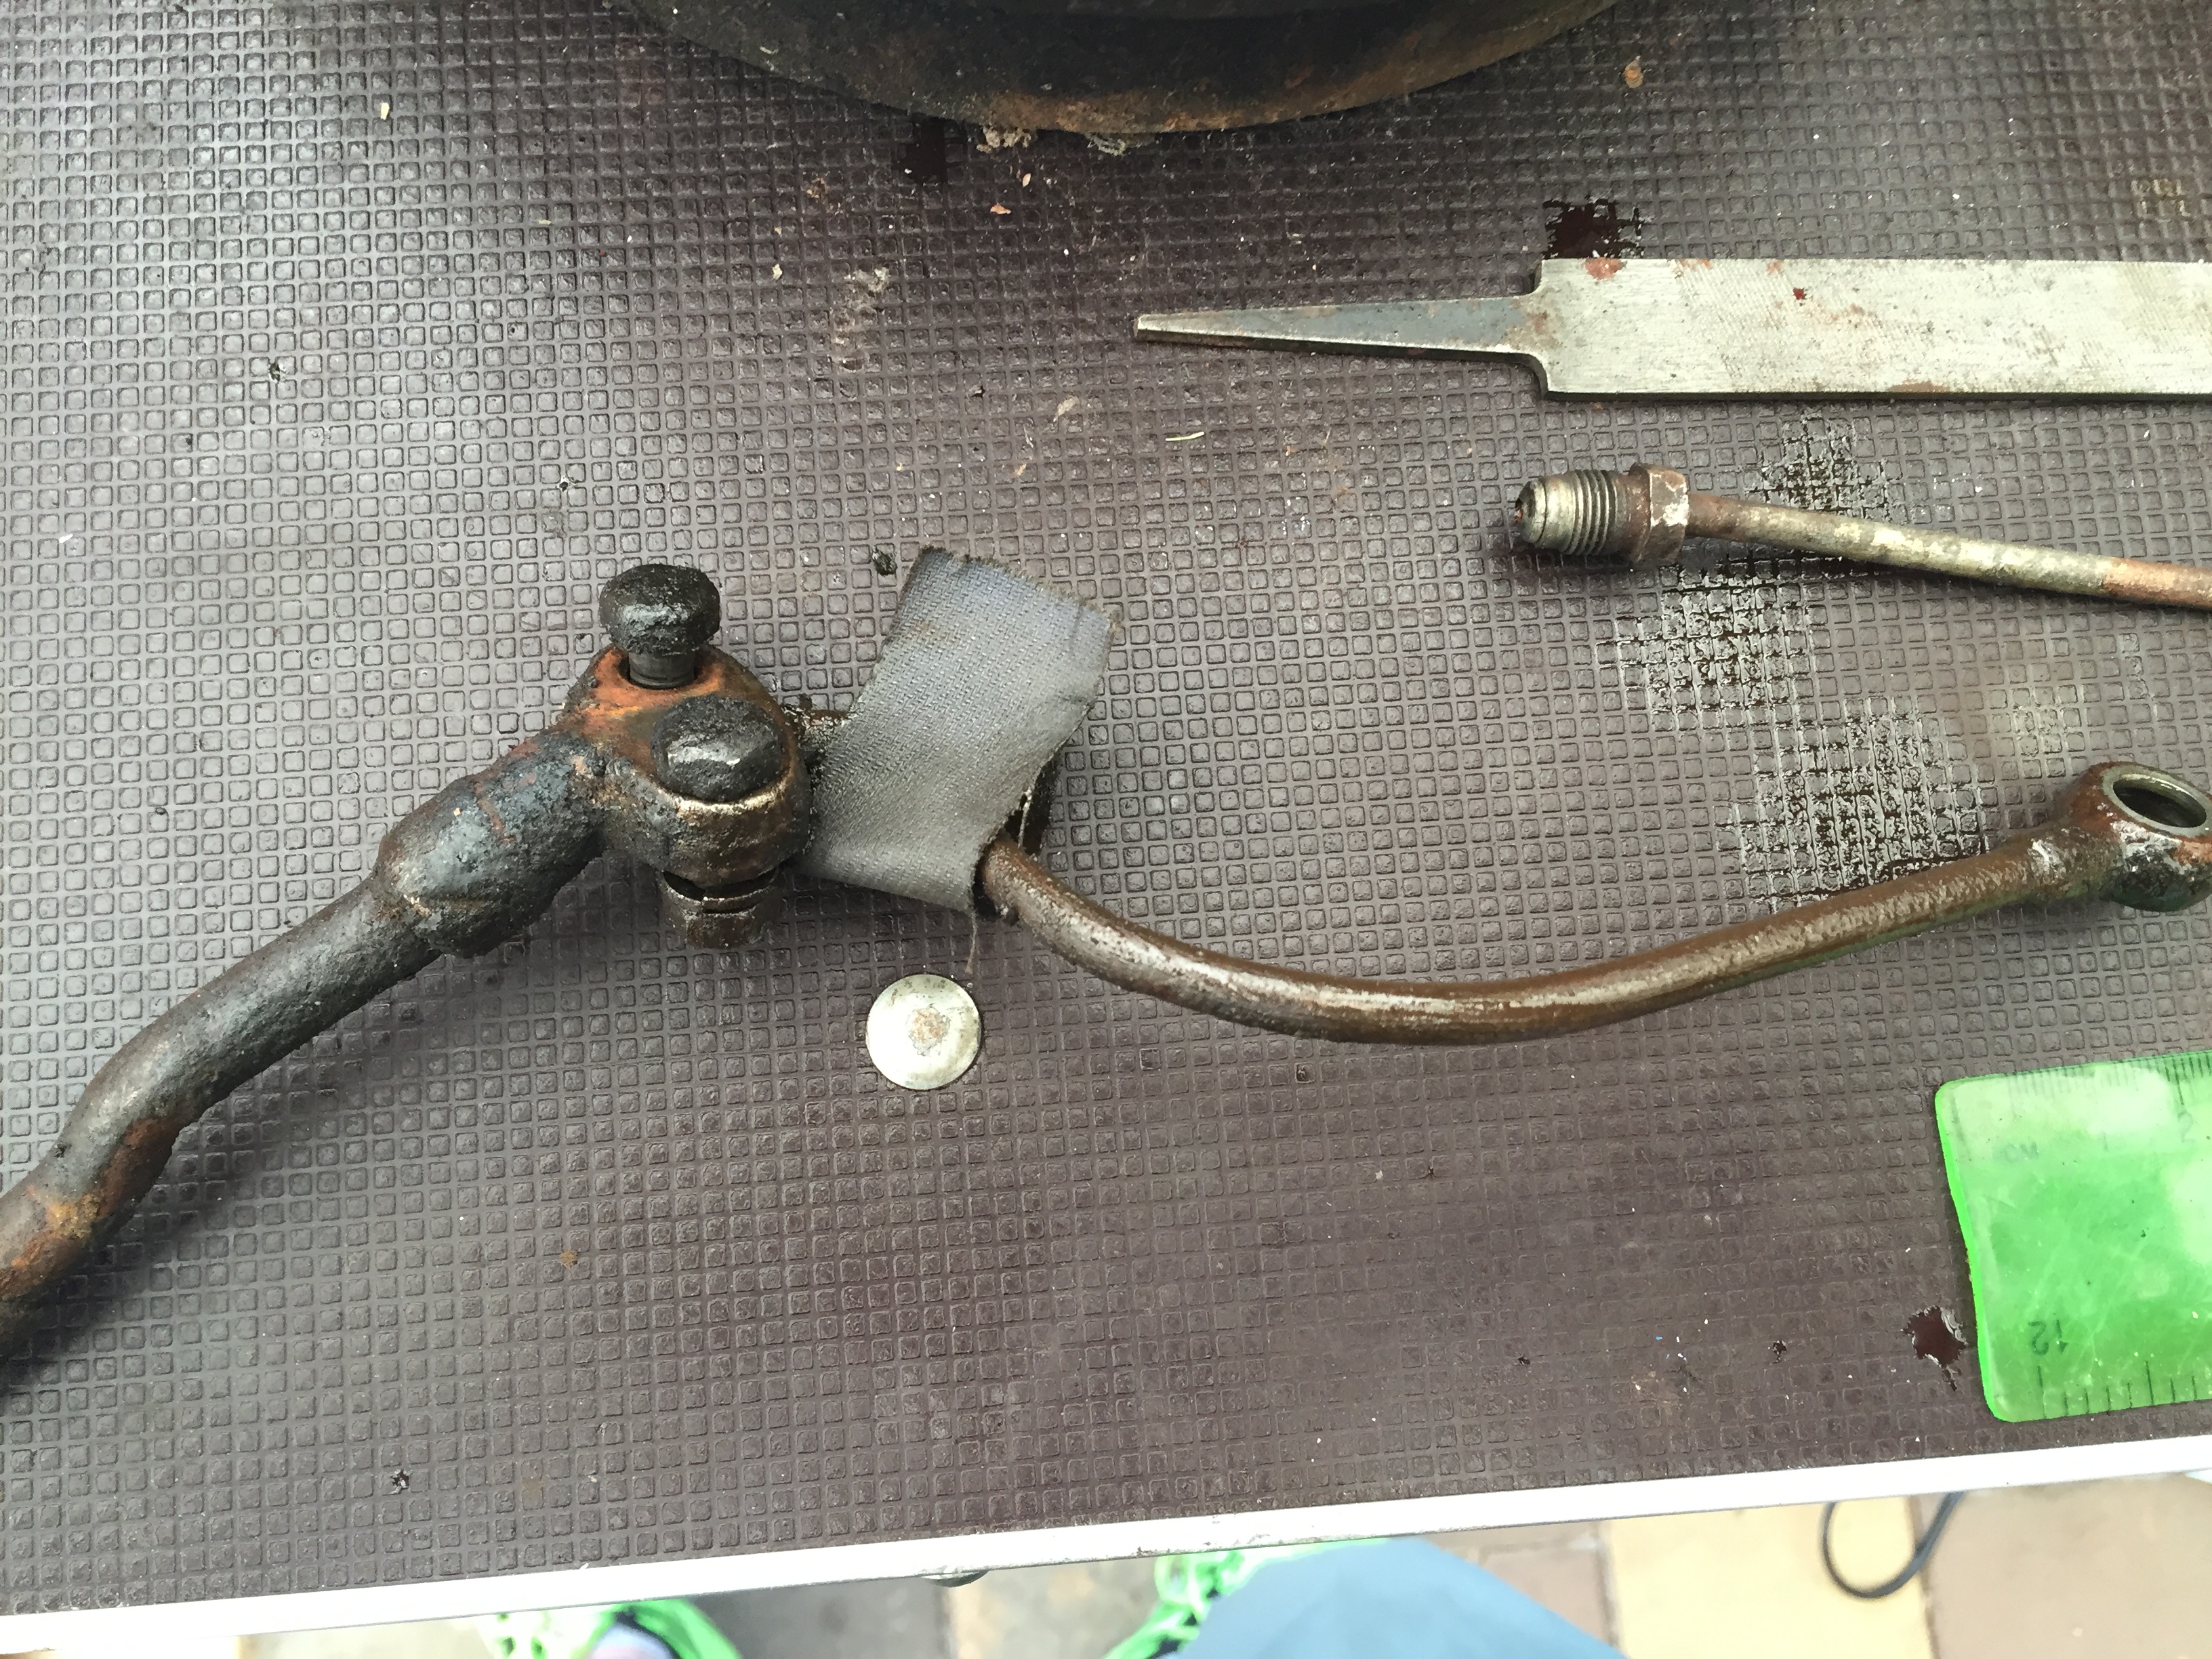
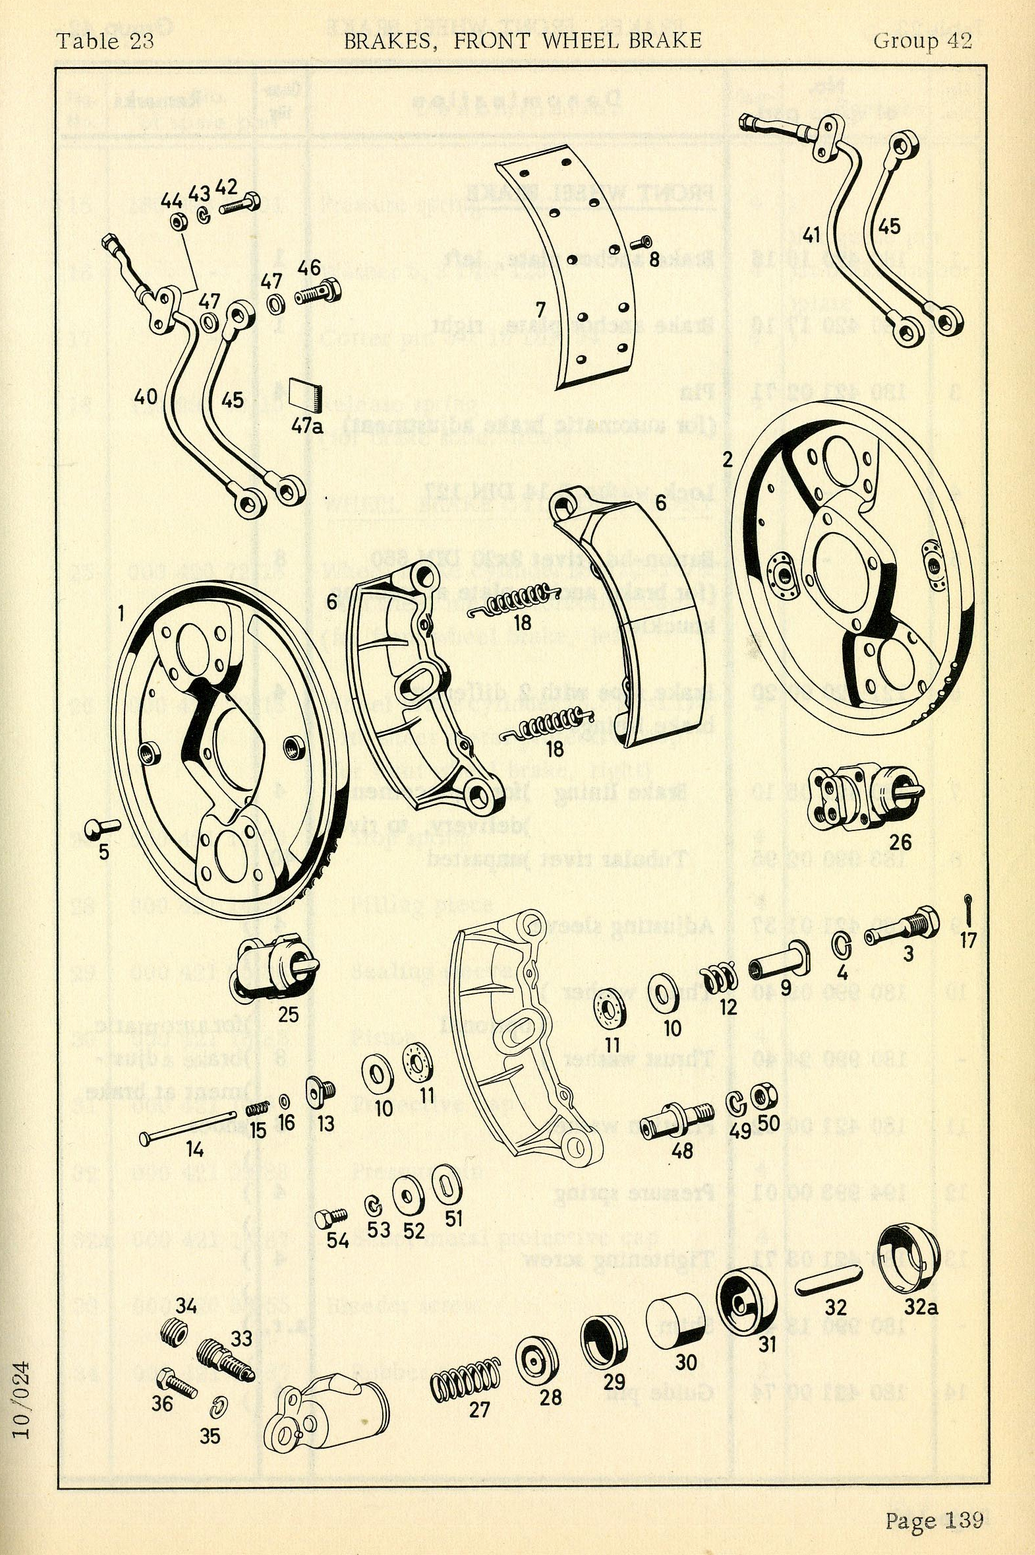
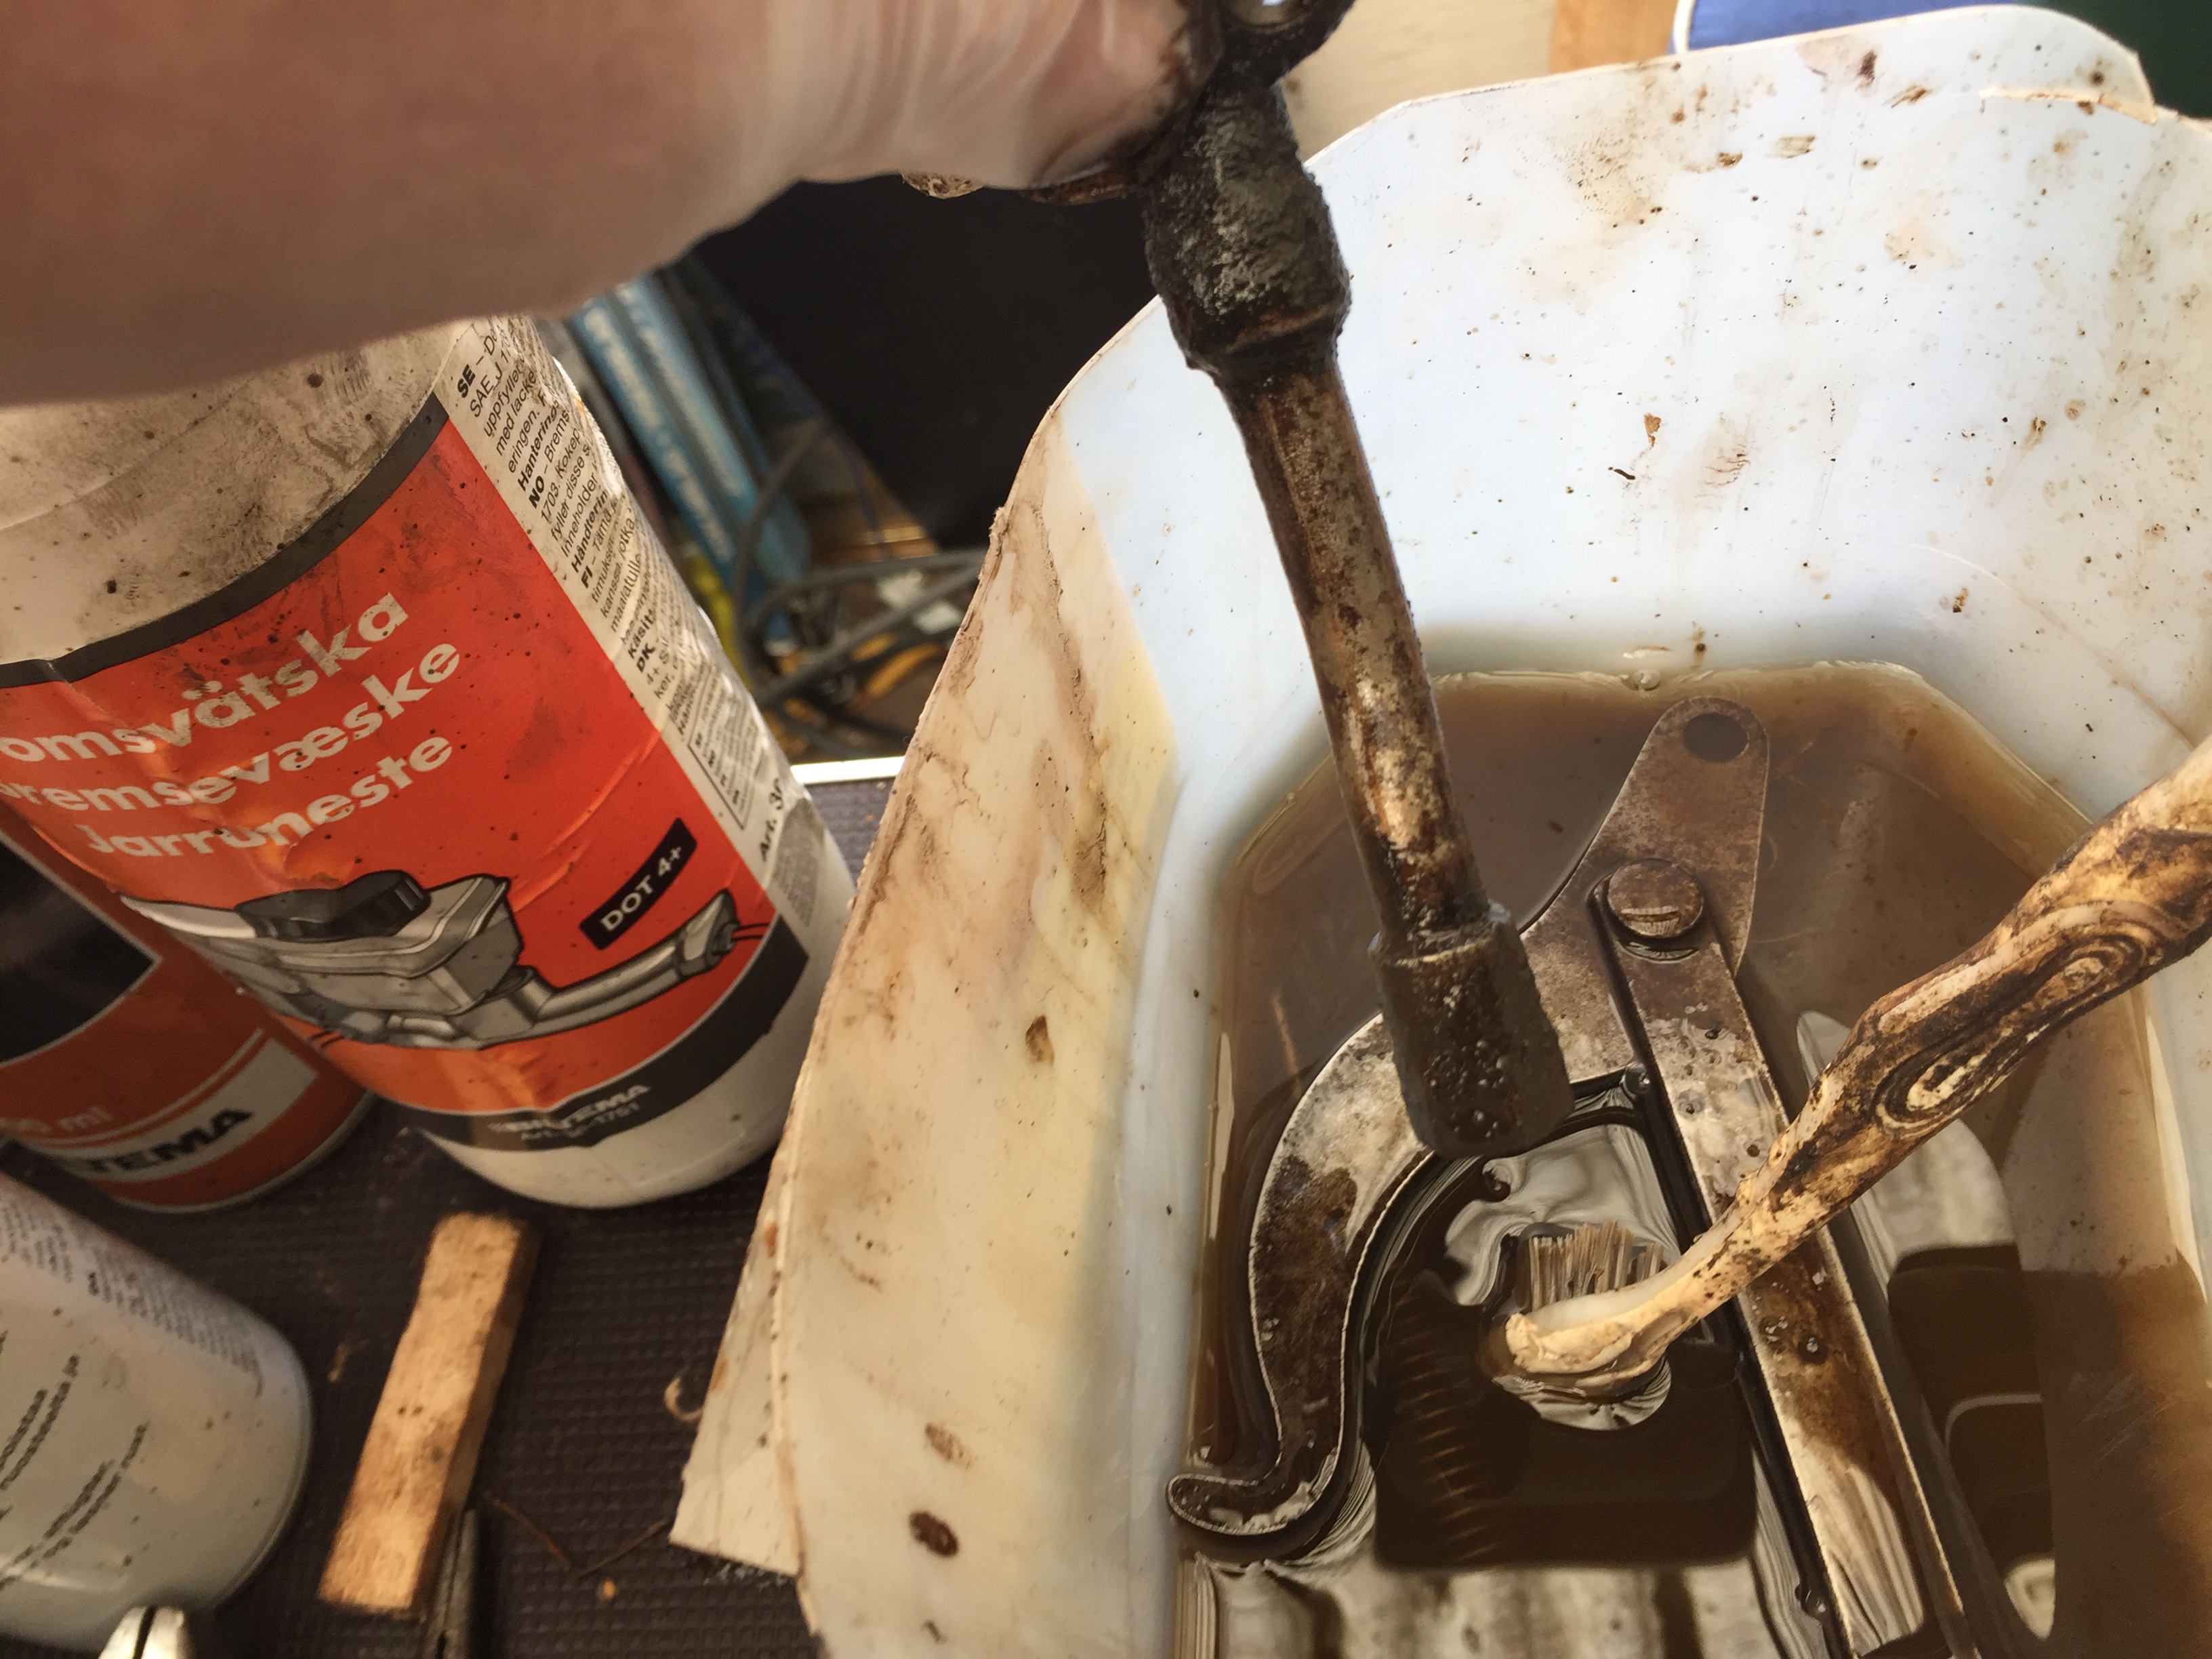
The job was a dirty one so I put on some rubber gloves, just look at that caked on grease near the bolts. Here you can see the diesel ‘bath’ that I’m using, along with the poor old toothbrush.
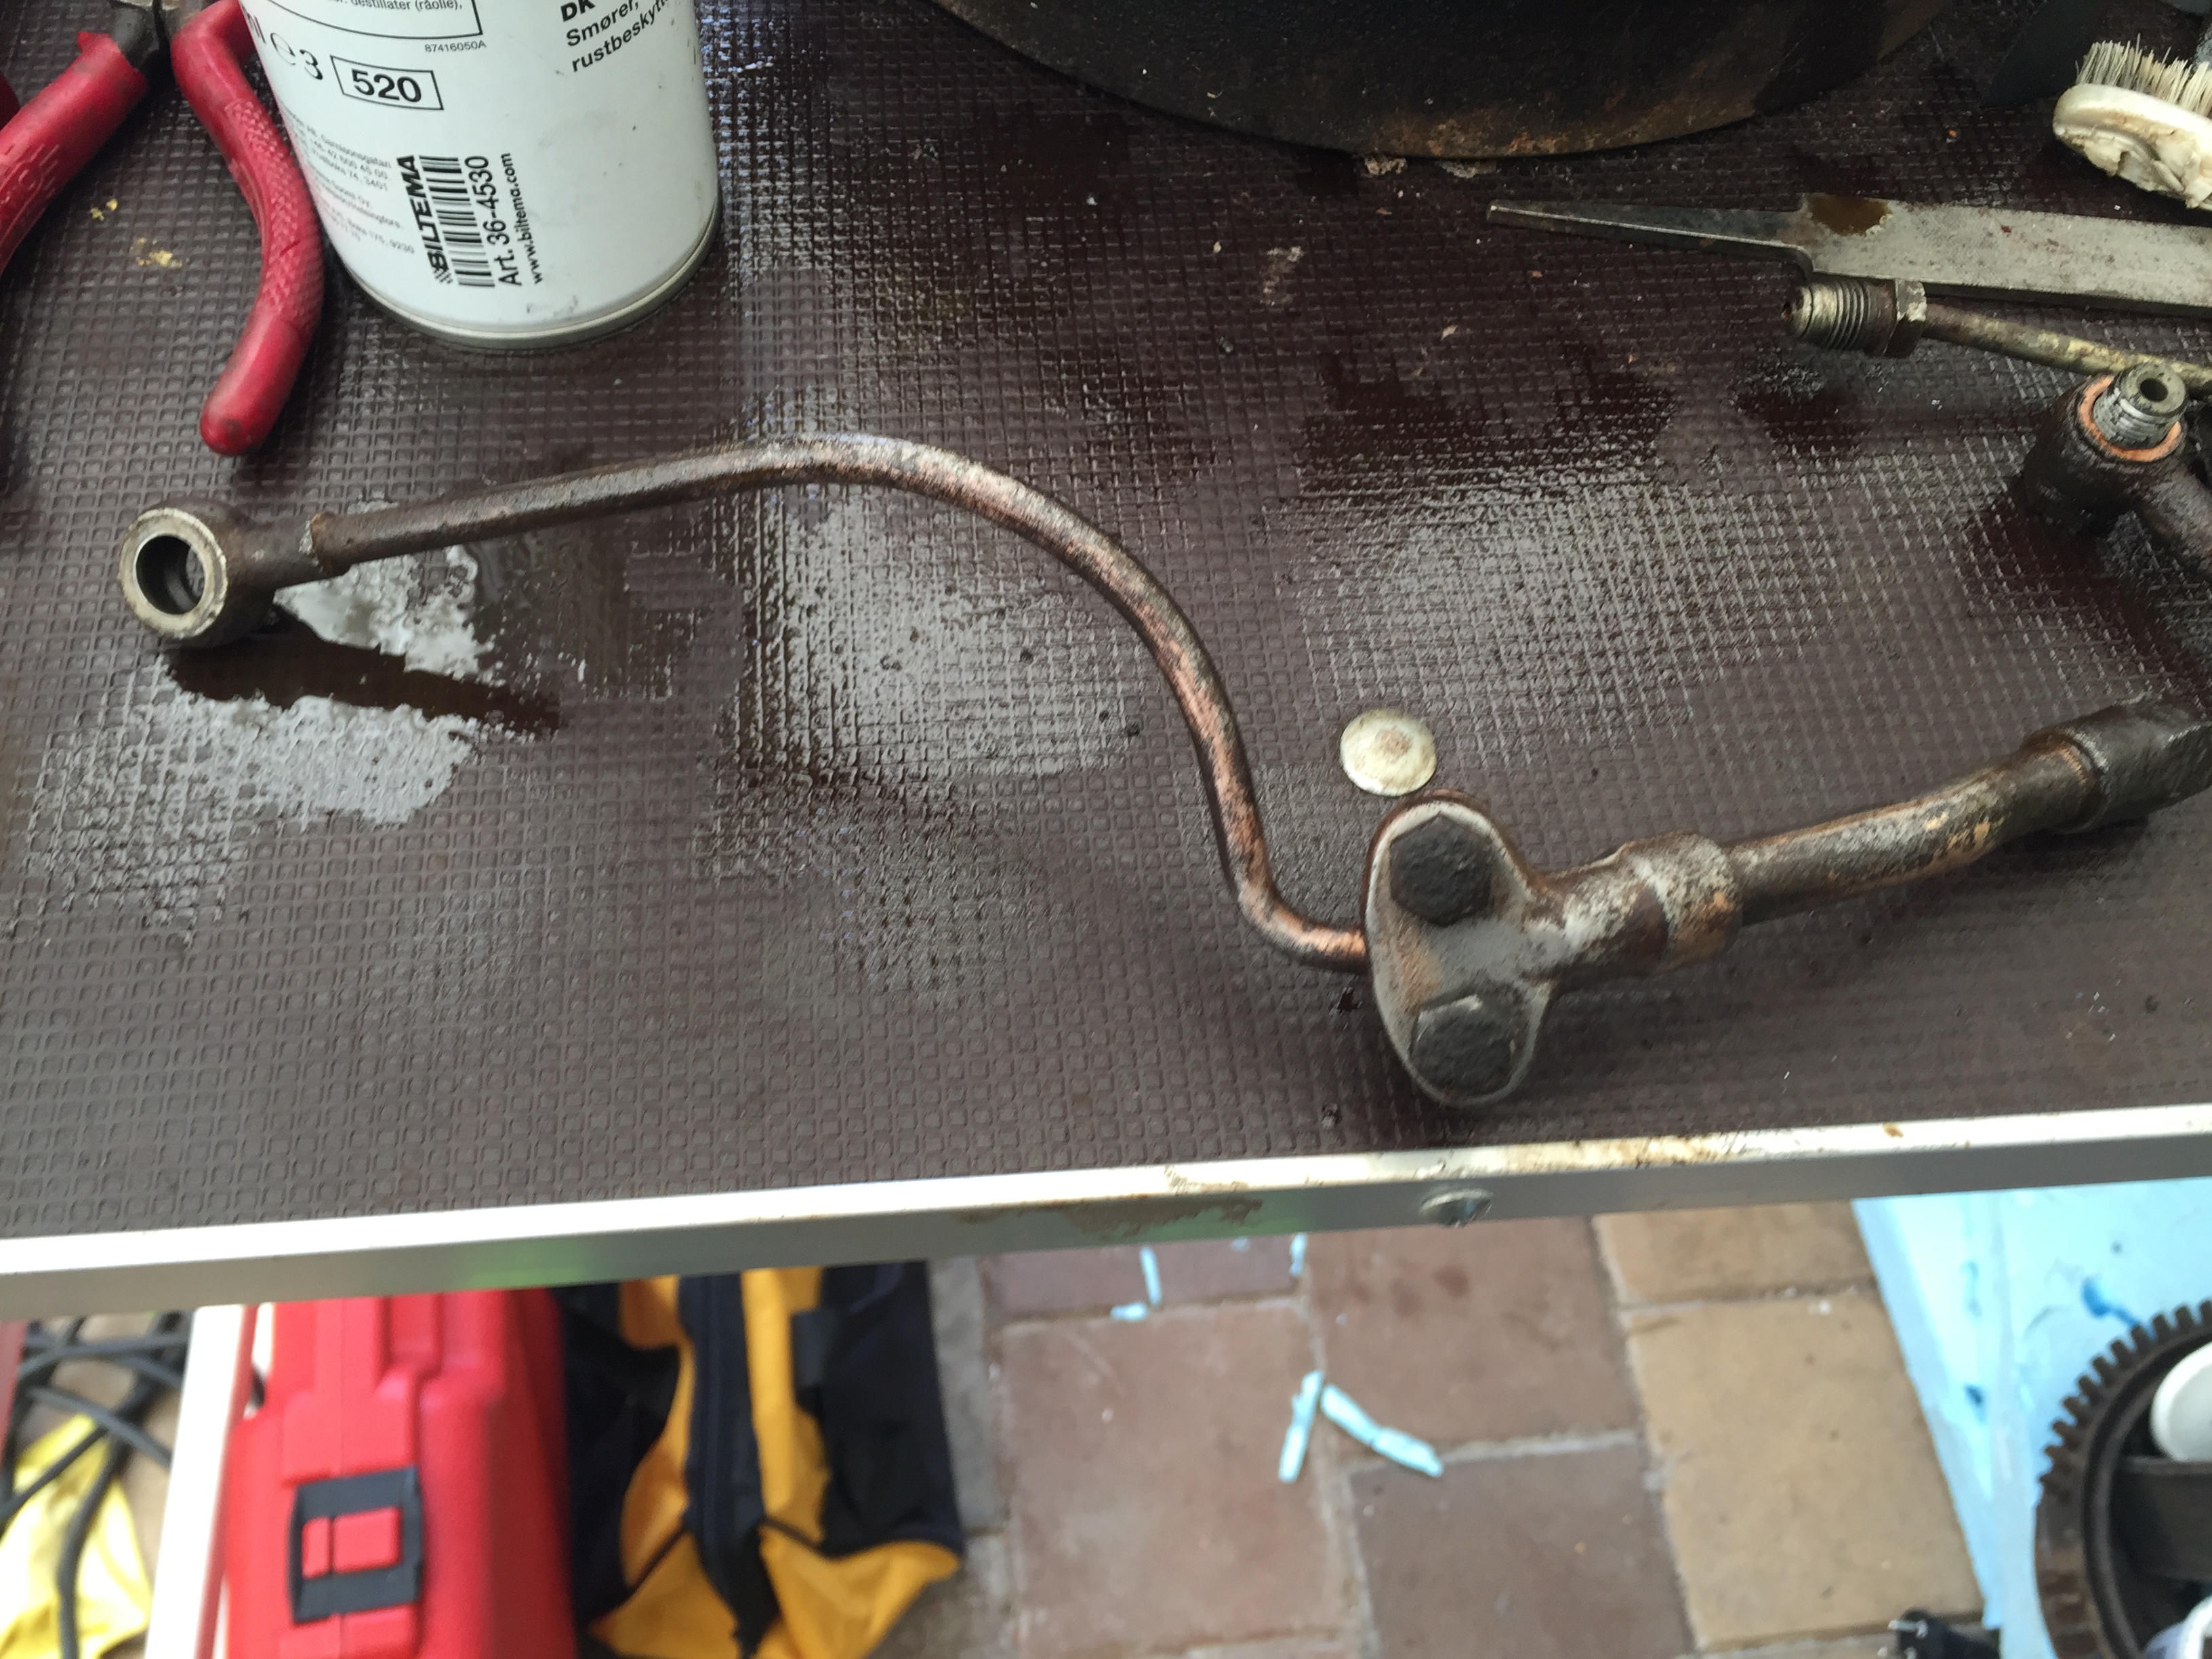
After a while the tube started to look better
and then I cleaned the bolts that were originally attached, and put them back on so I wouldn’t lose them.
After cleaning, I used an air compressor to blow out any dirt, dust in the tube.
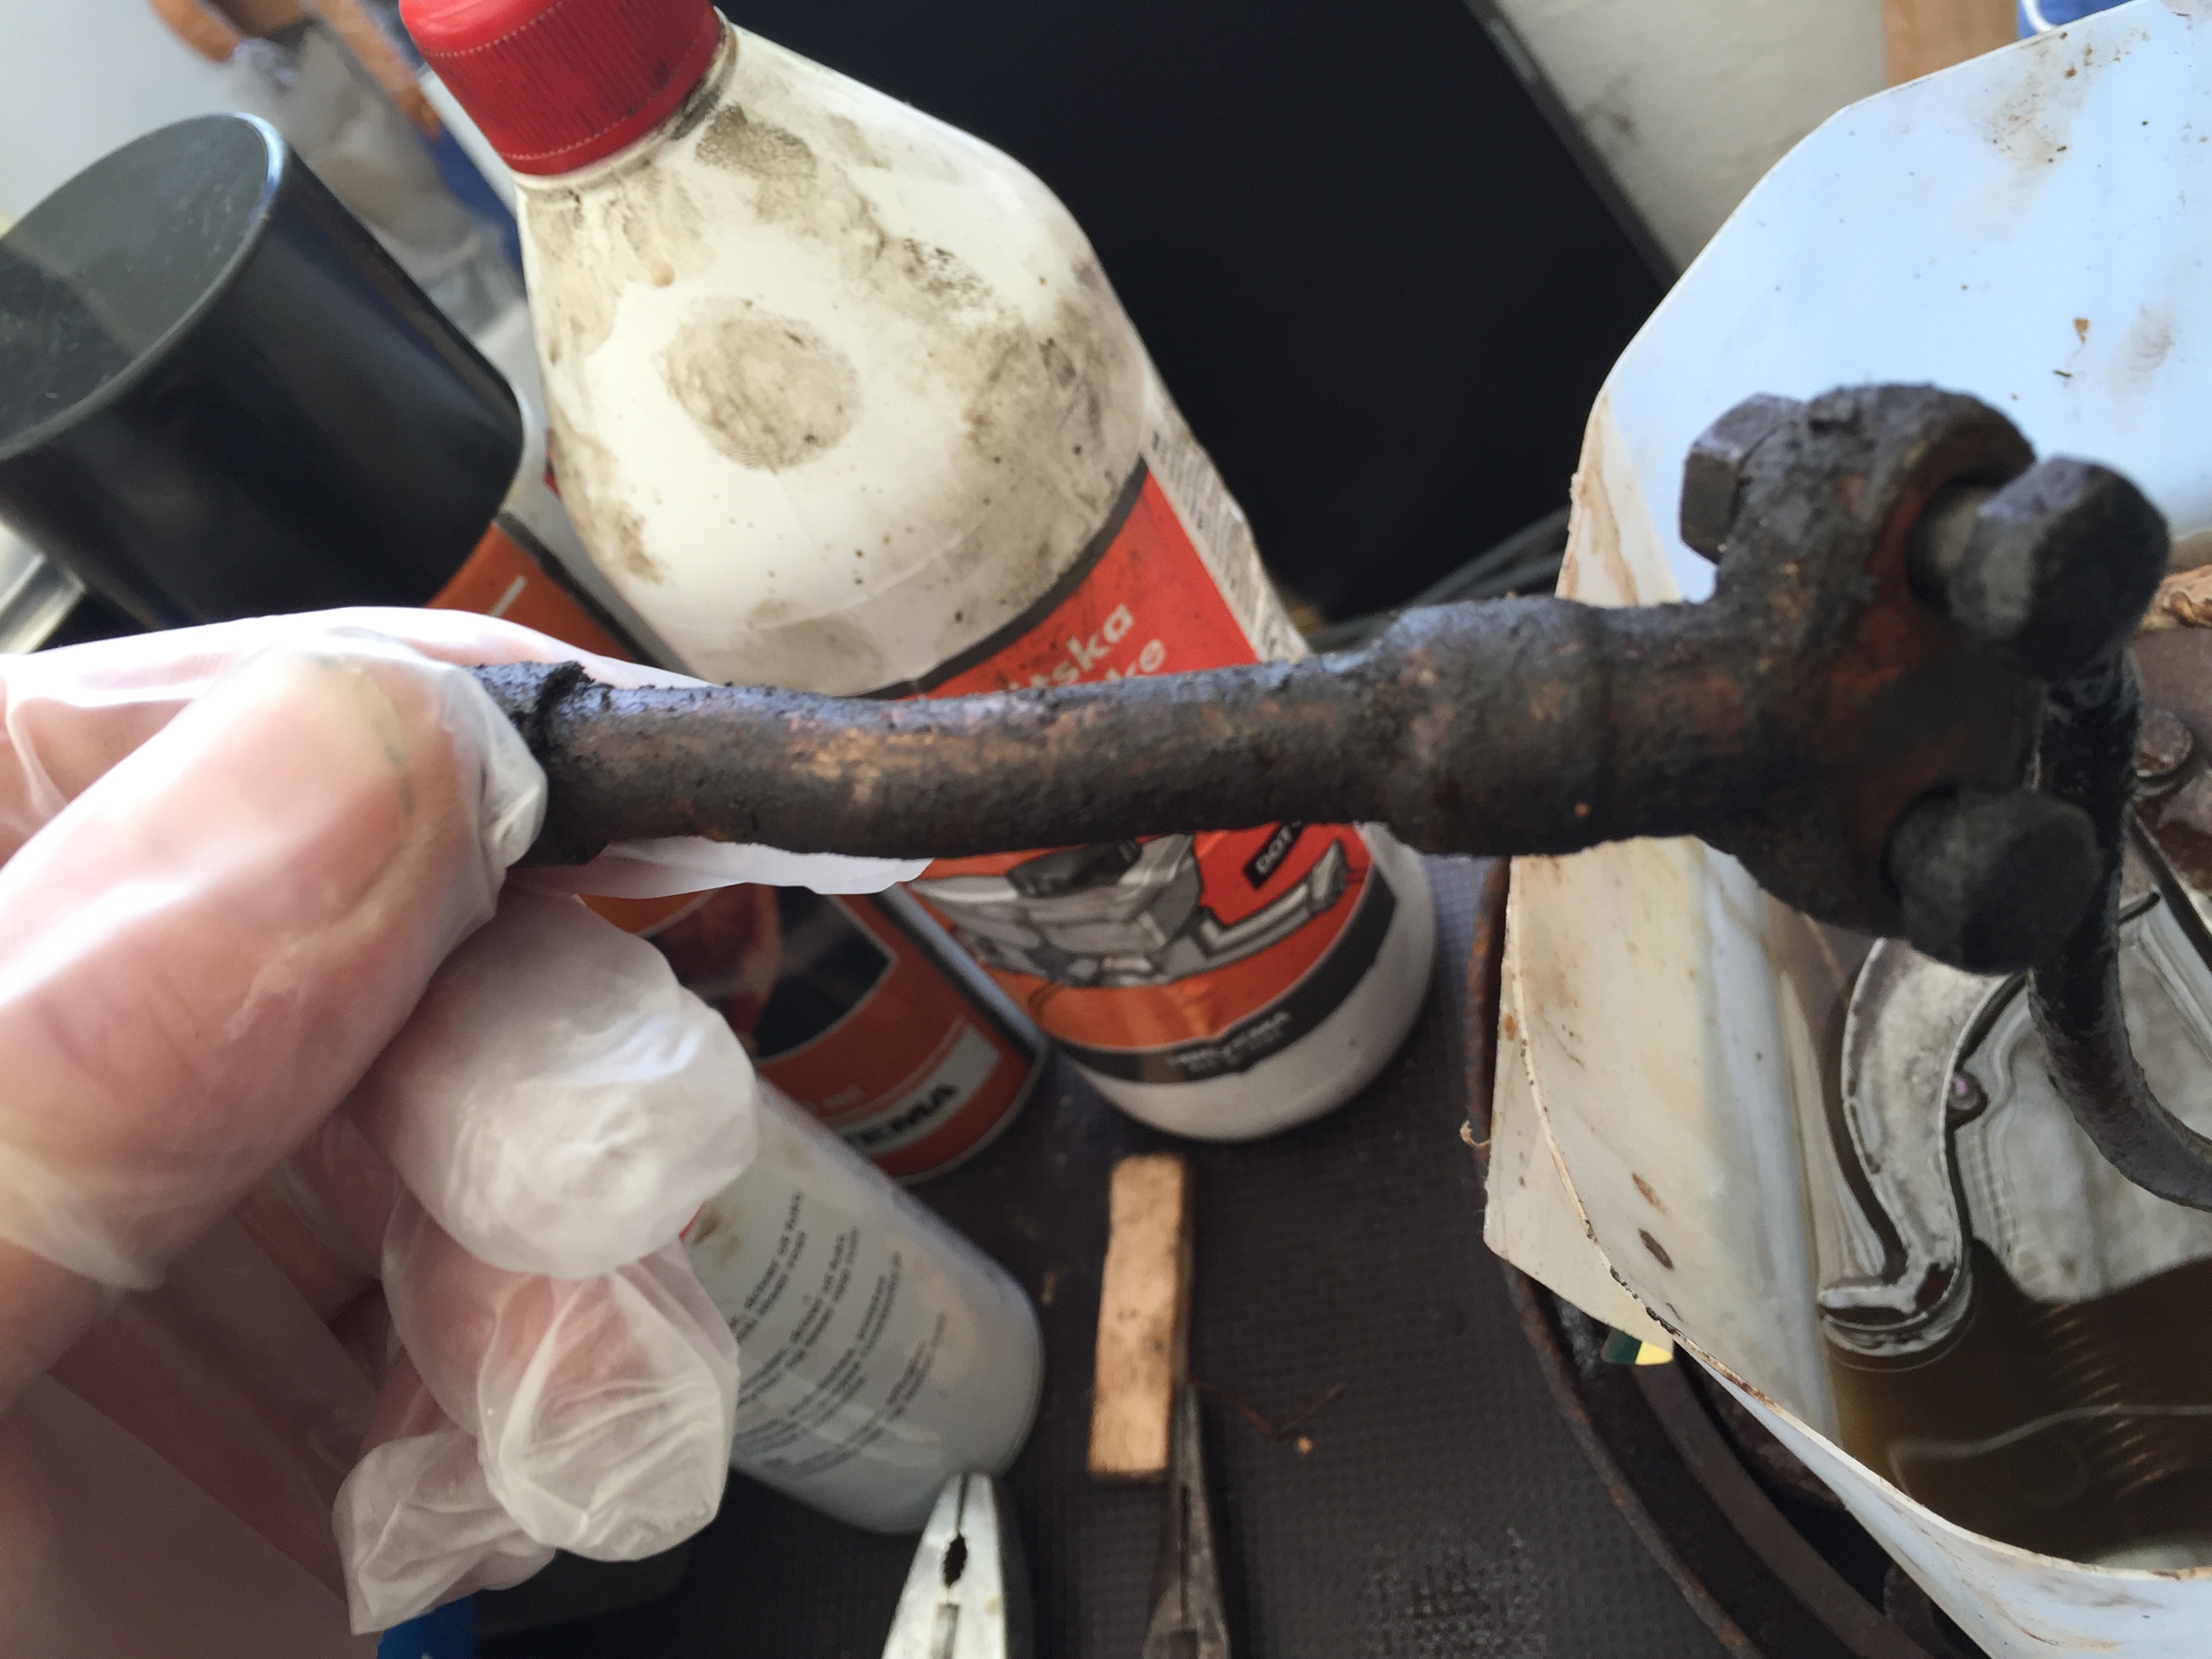
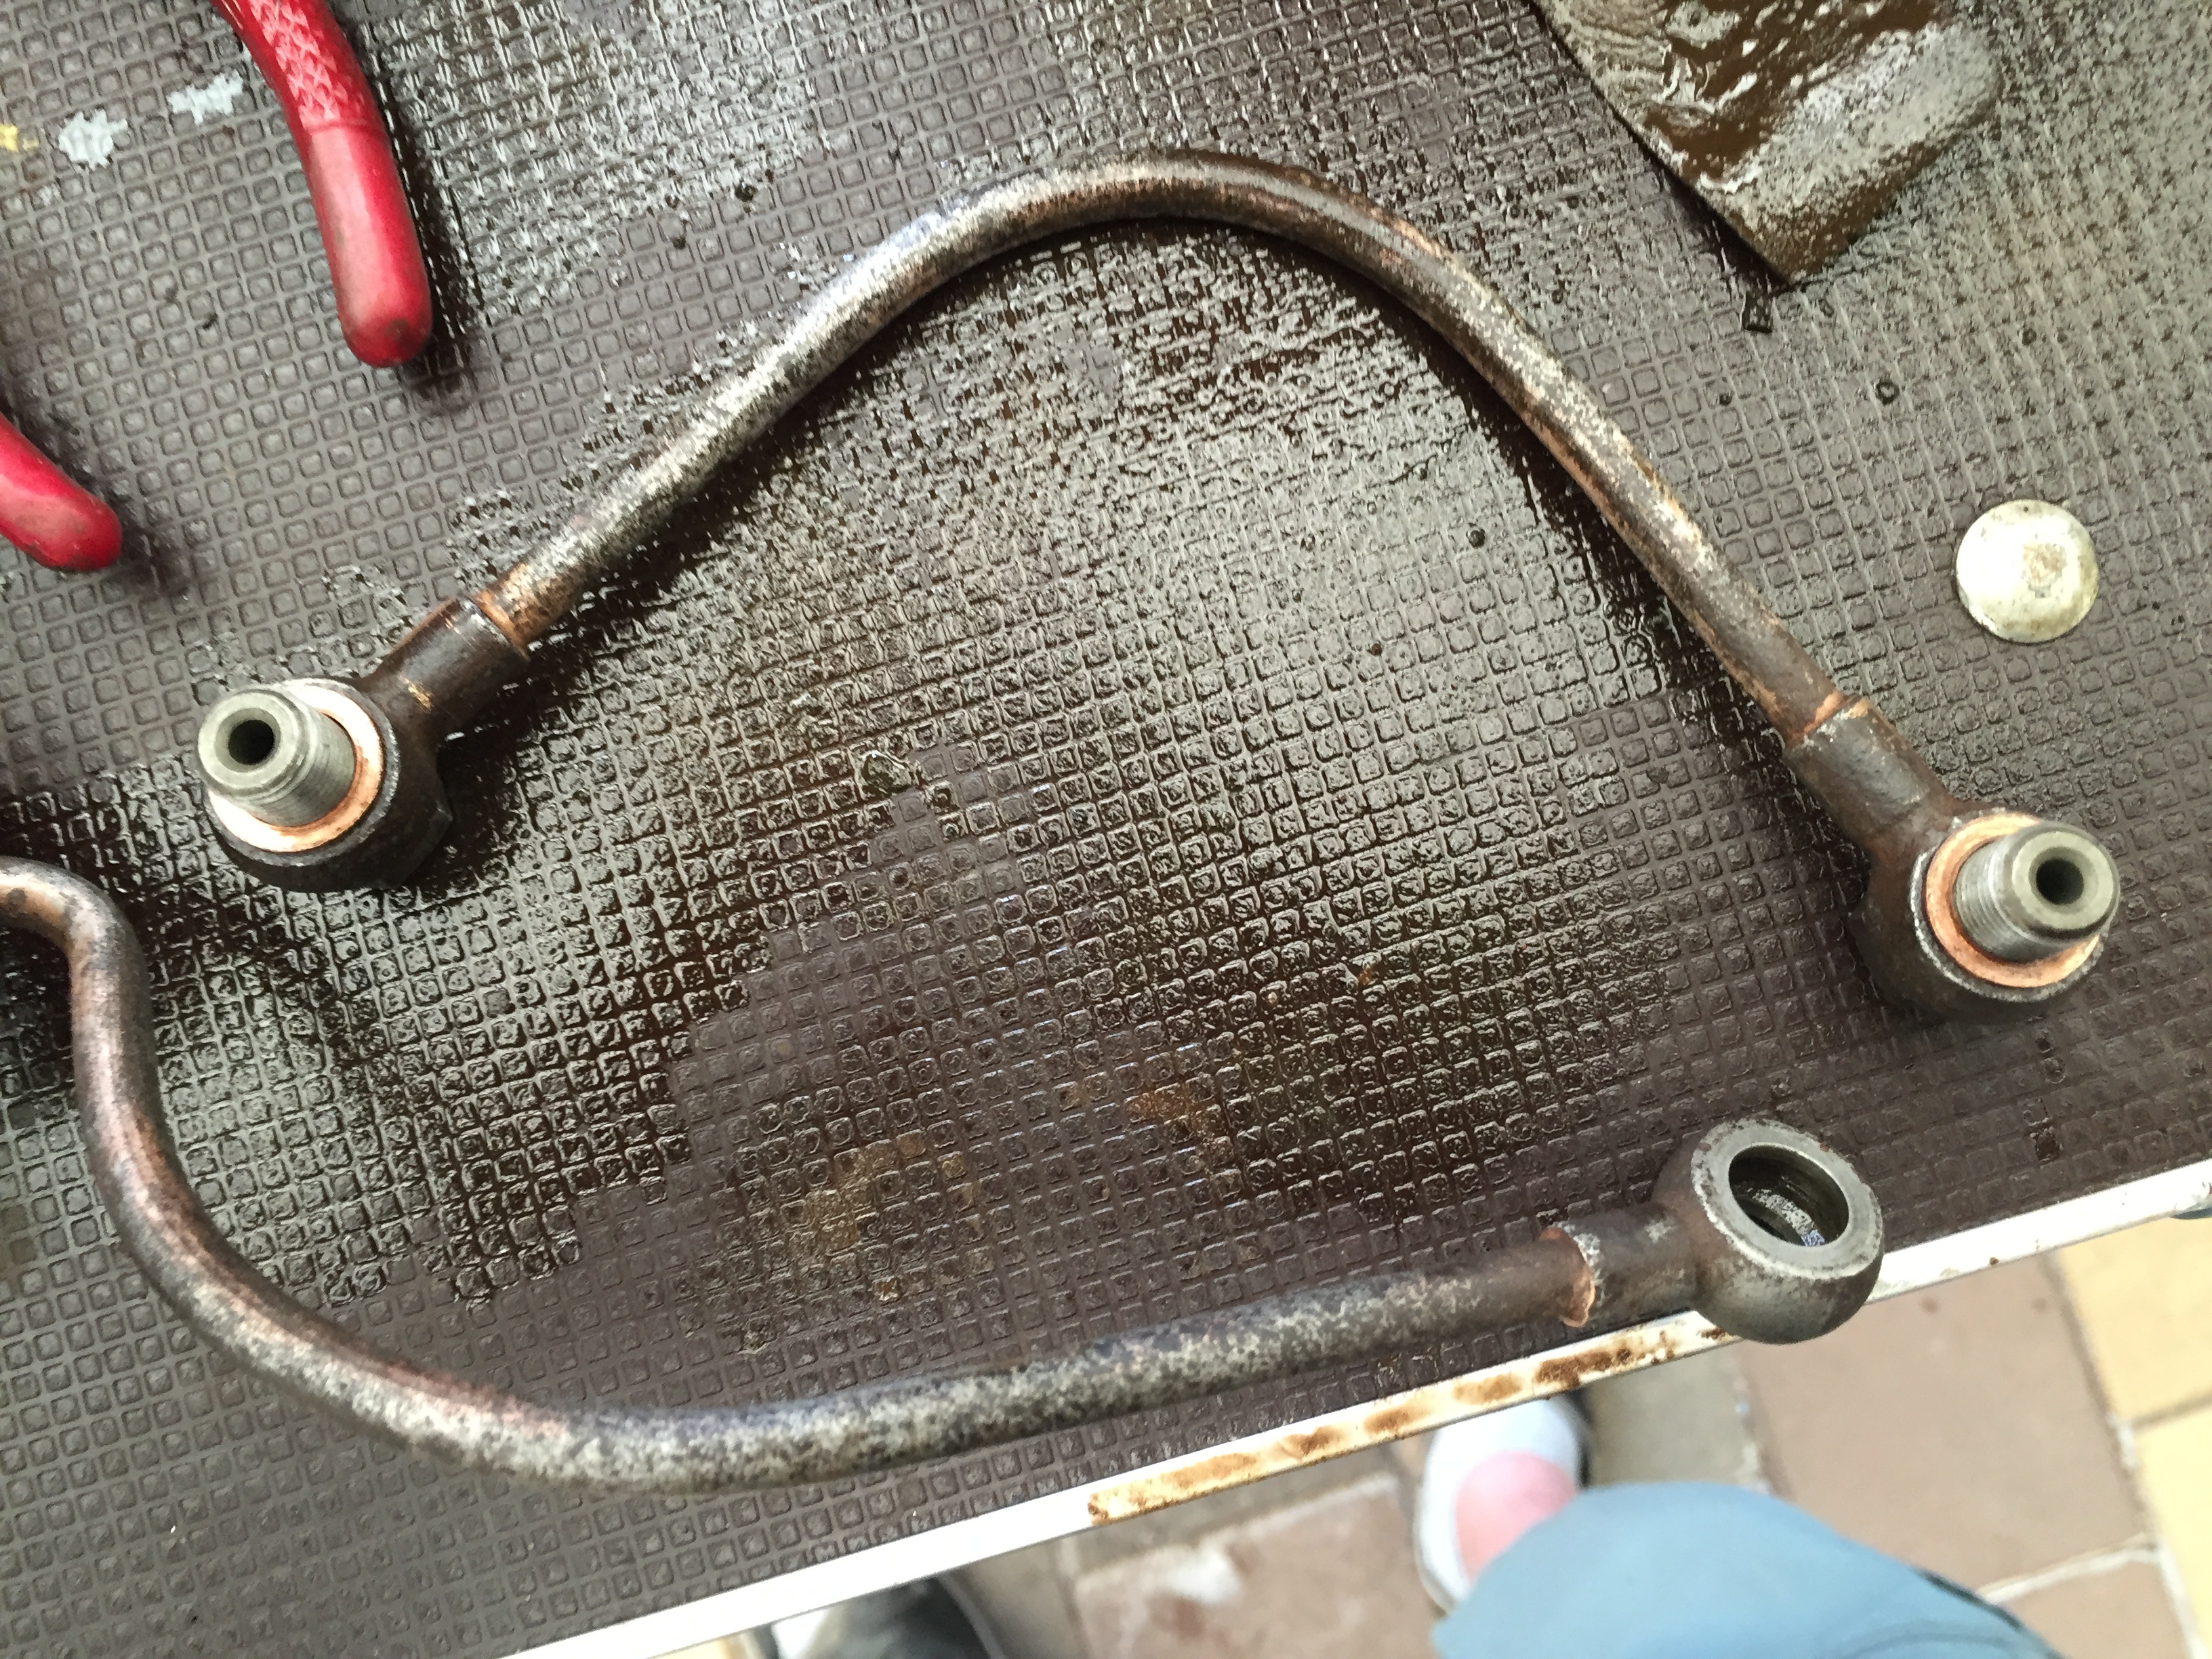
Next I started work on the u-bend tube (number 45 in the diagram).
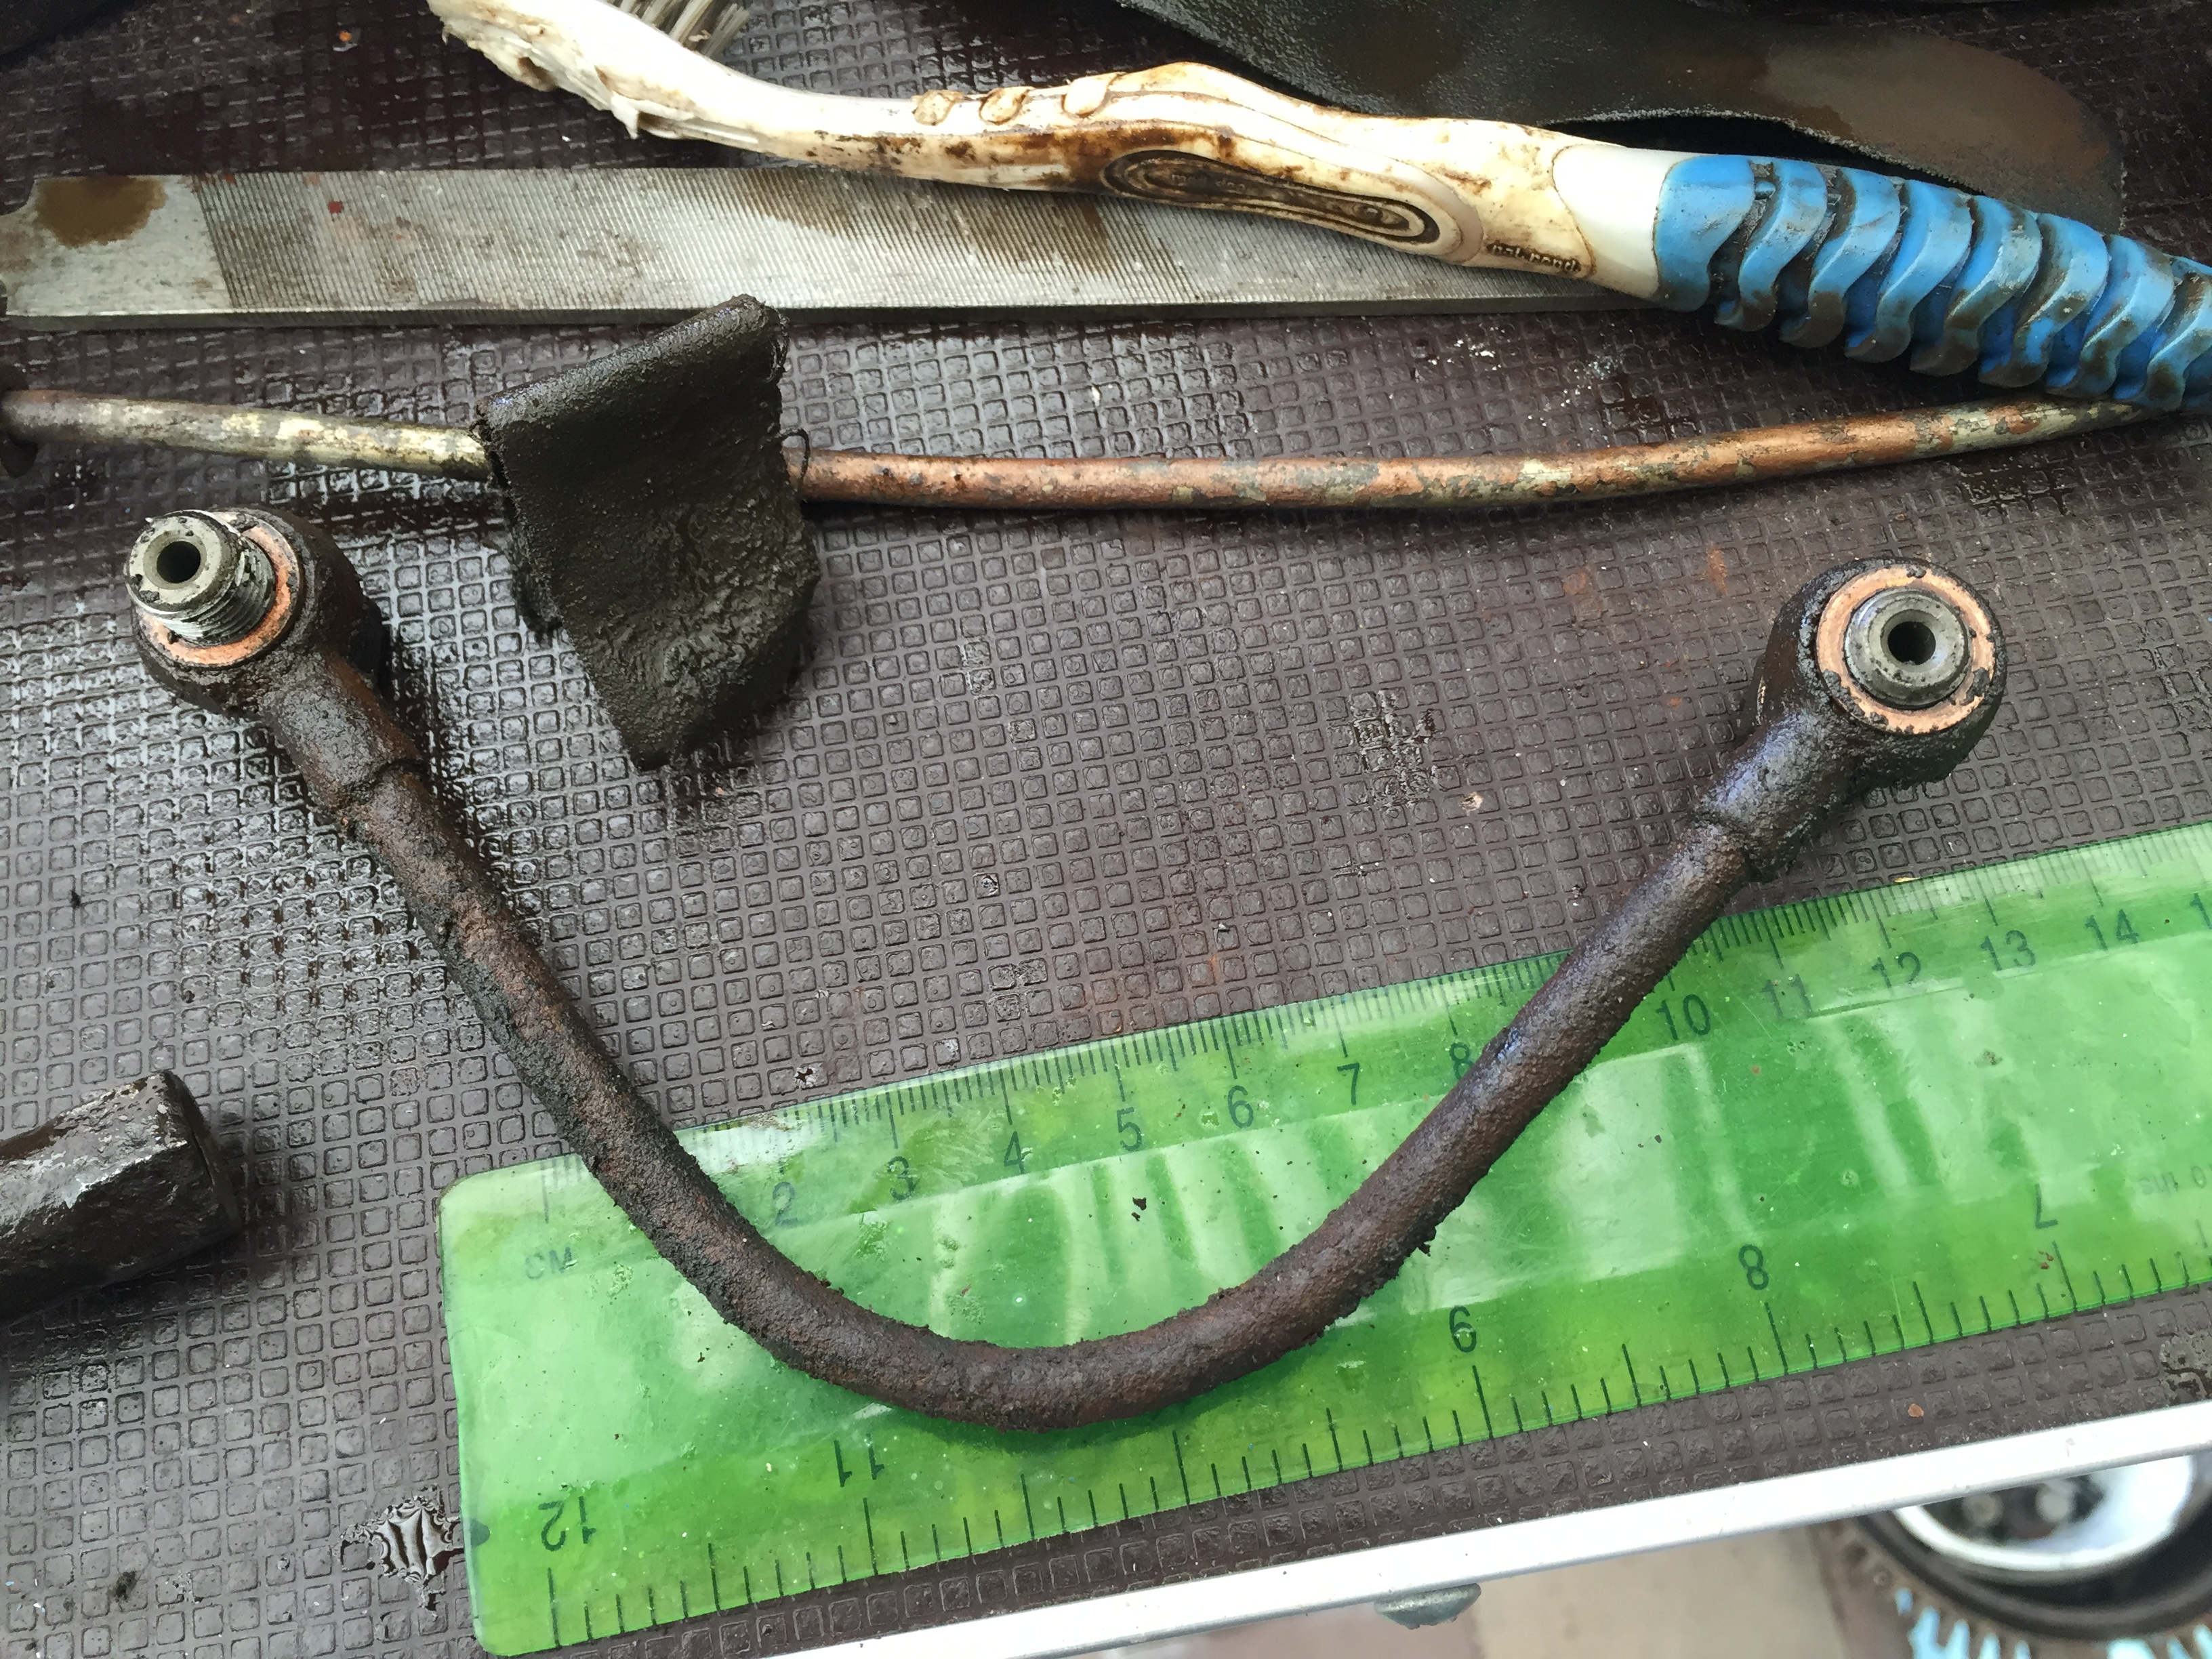
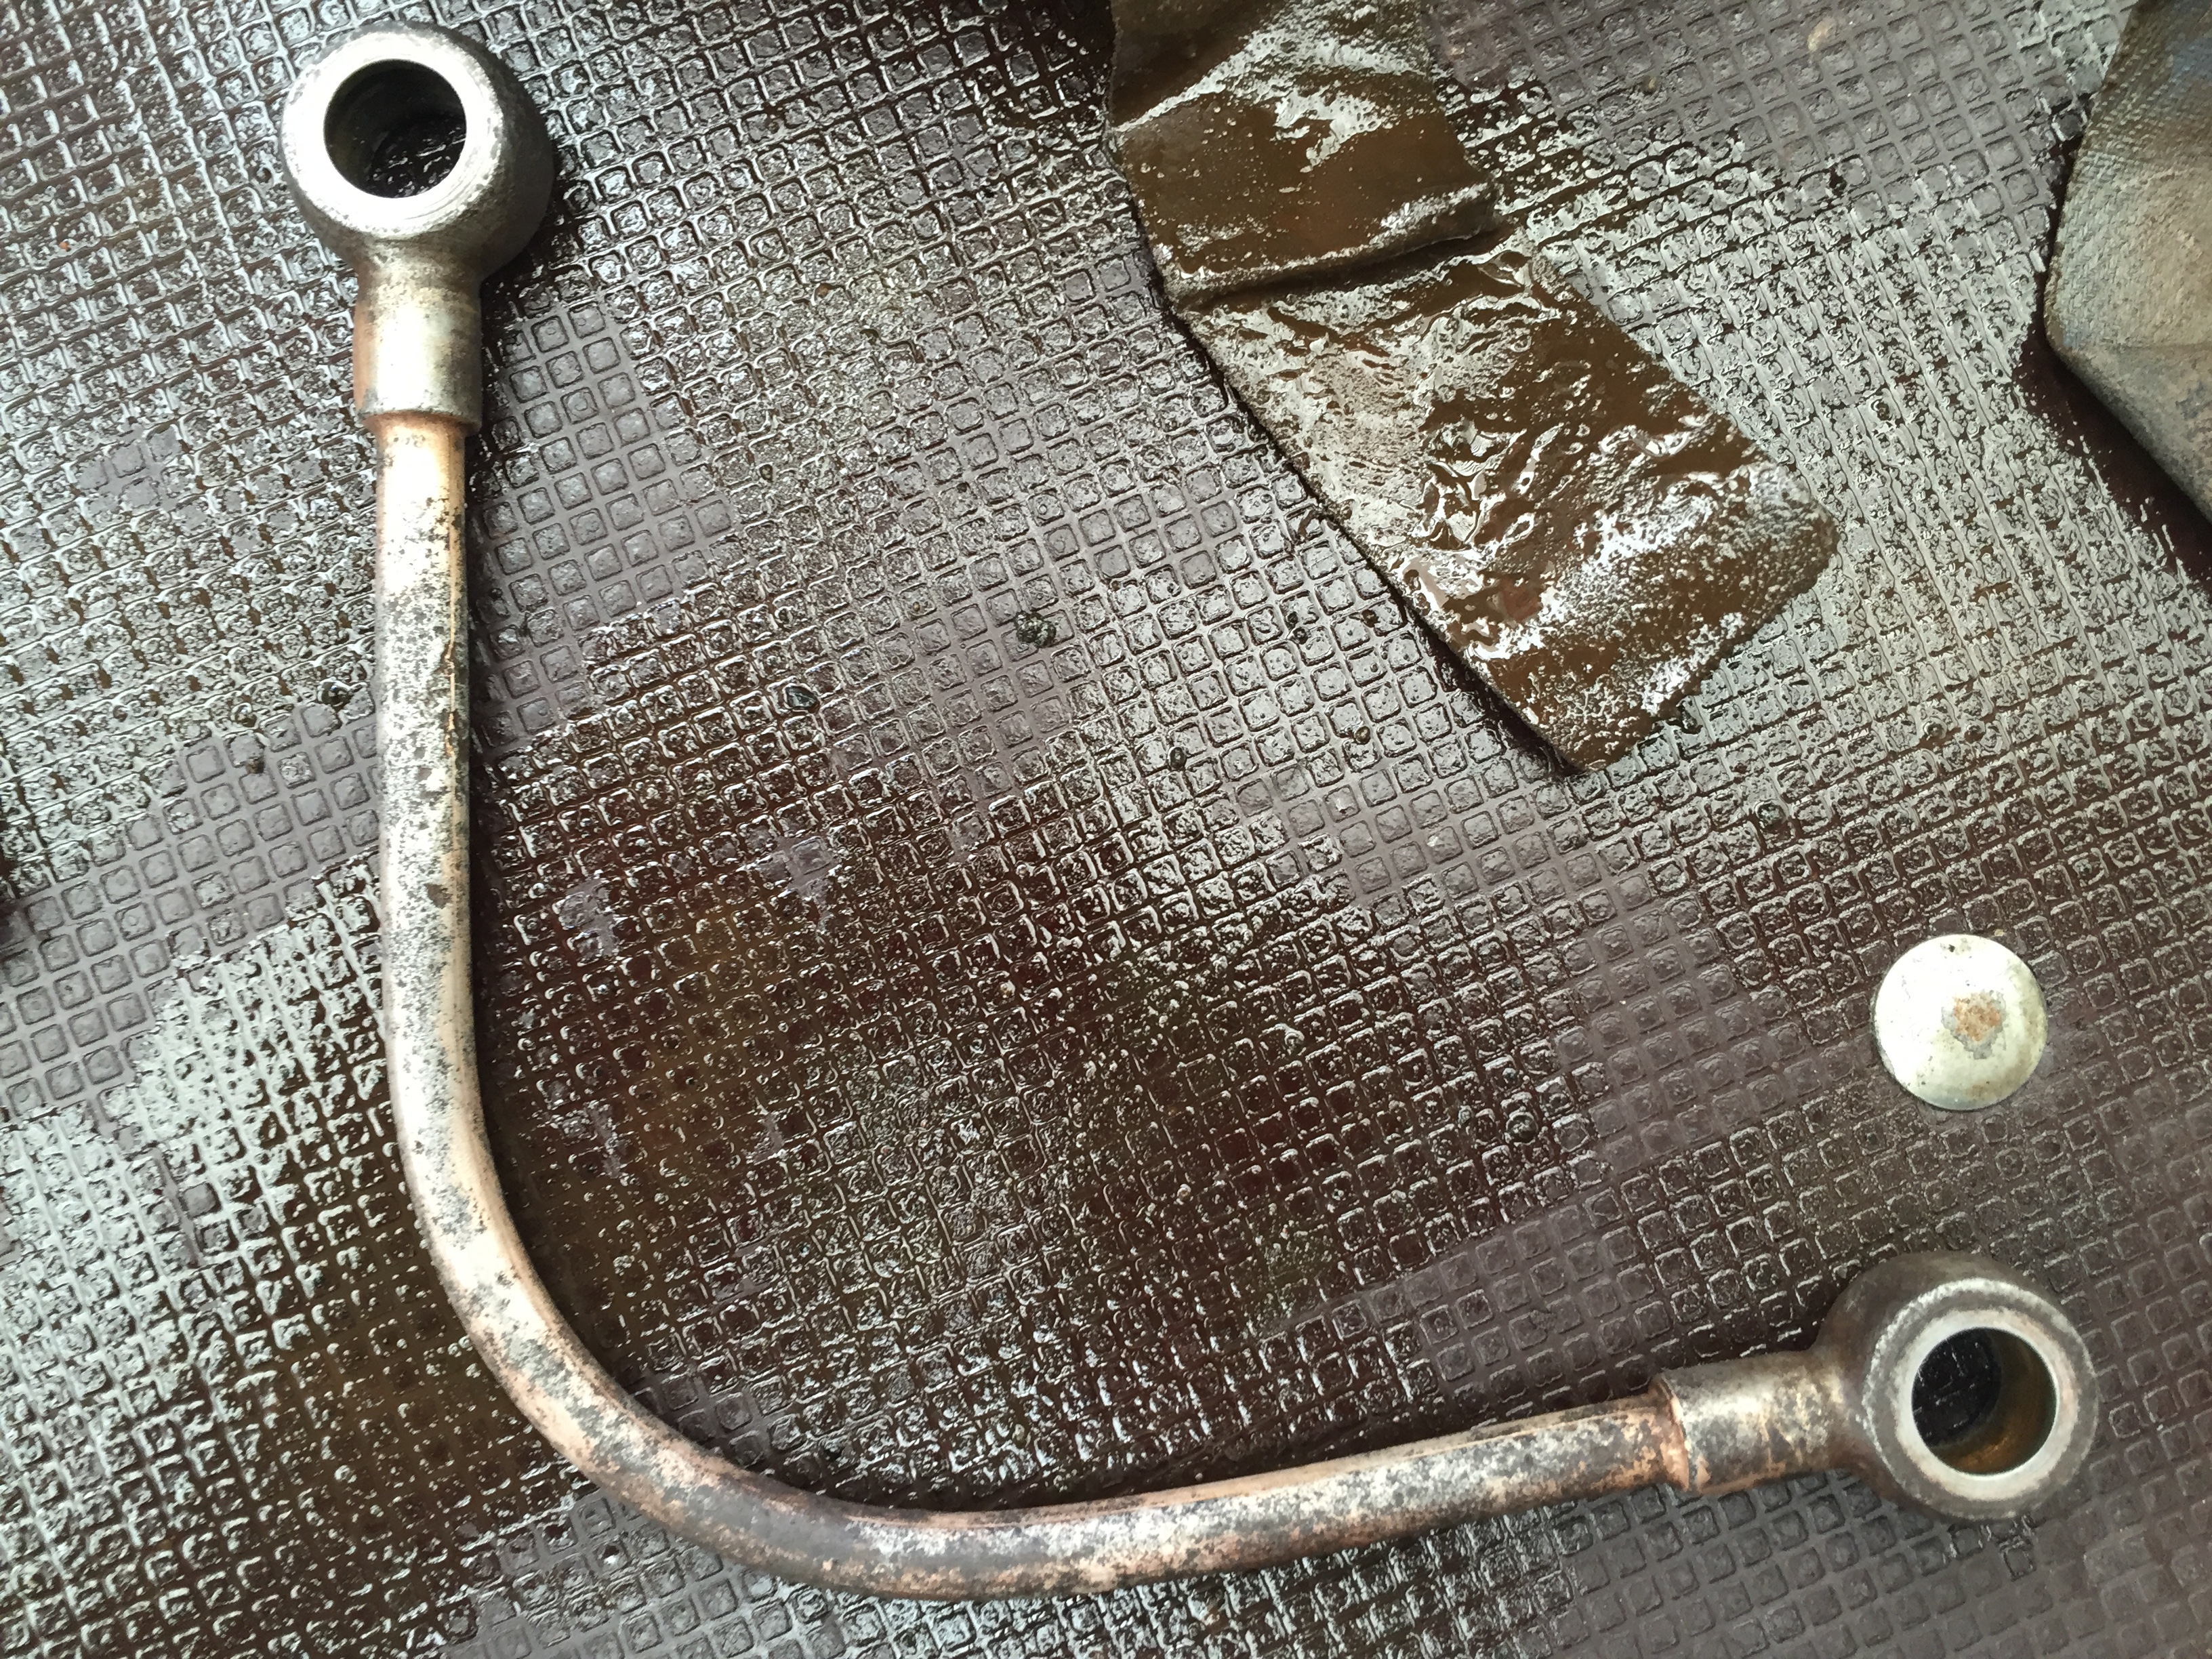
As you can see, it’s a mess. But after some careful sanding, and cleaning with diesel, I got it to look like this. Not perfect, but it’s better than it was.
Next I cleaned the bolts which attached to either end, they have two copper washers, one for inside, and one on the other side (only one copper washer visible below). This copper washer was stuck to the bolt with dirt/grease so that needed to be freed (numbers 46/47 in the diagram).
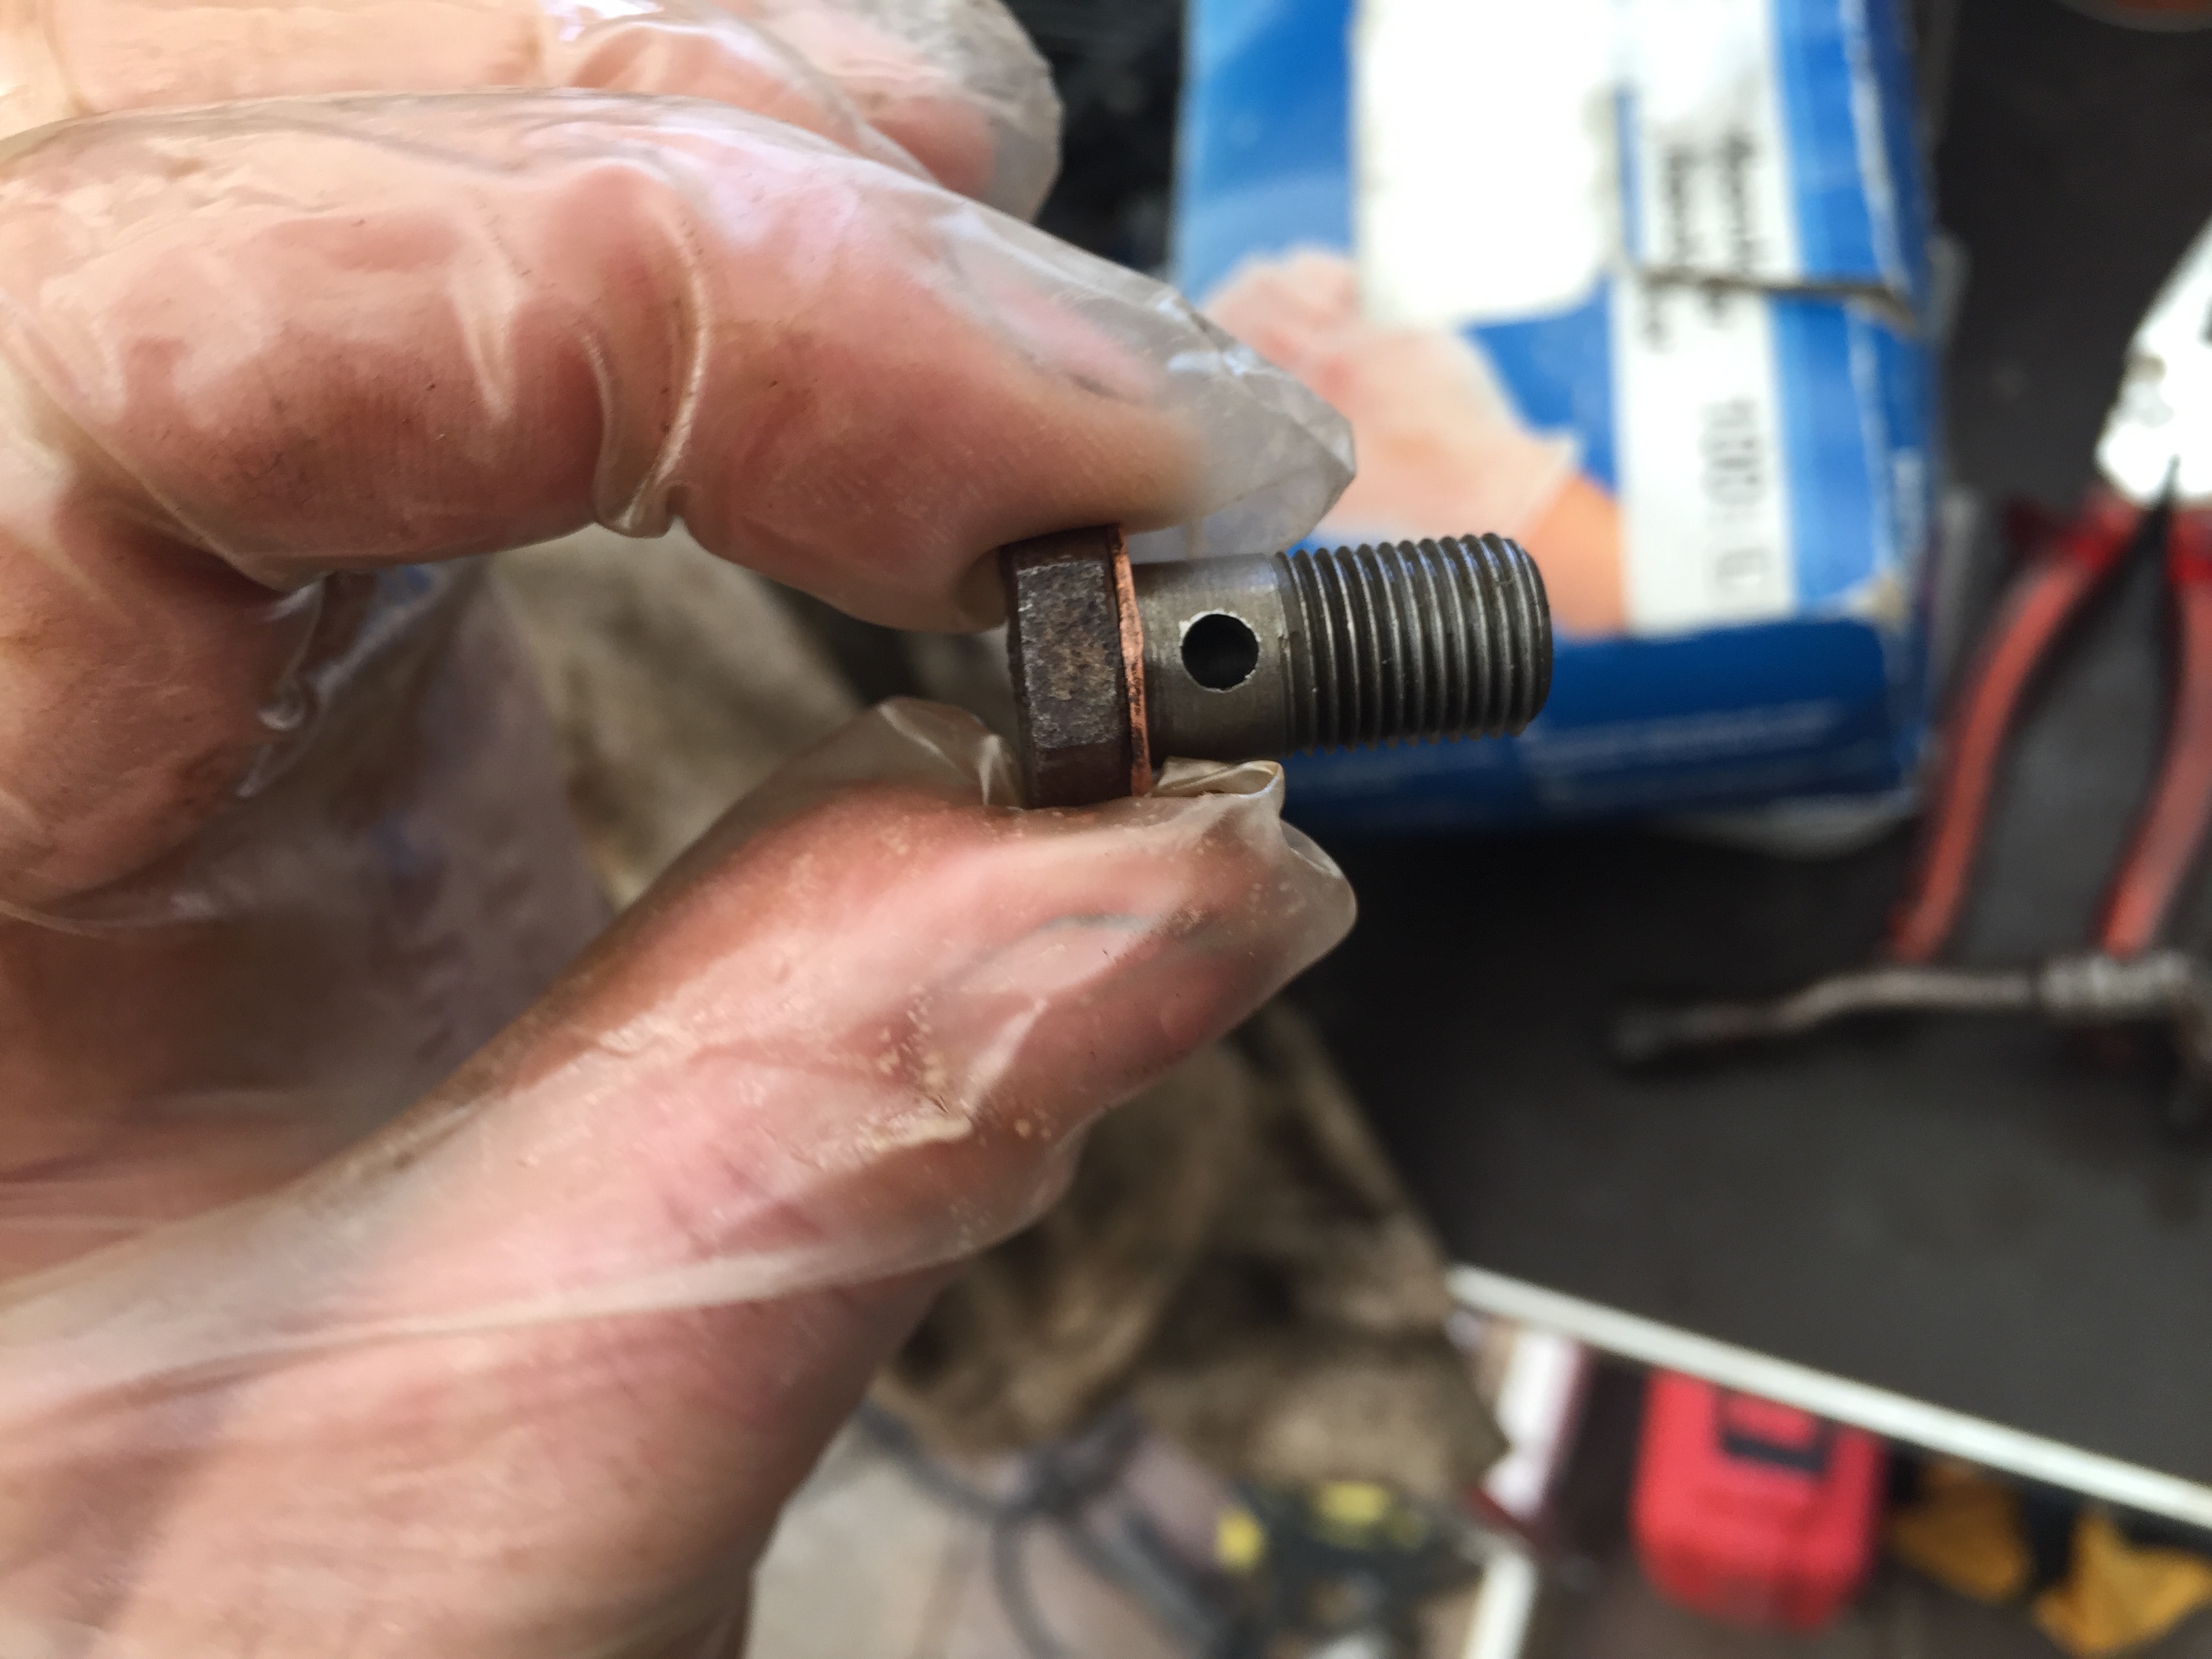
And the after photo. Notice how much better the grooves are and the copper washer is moving again.
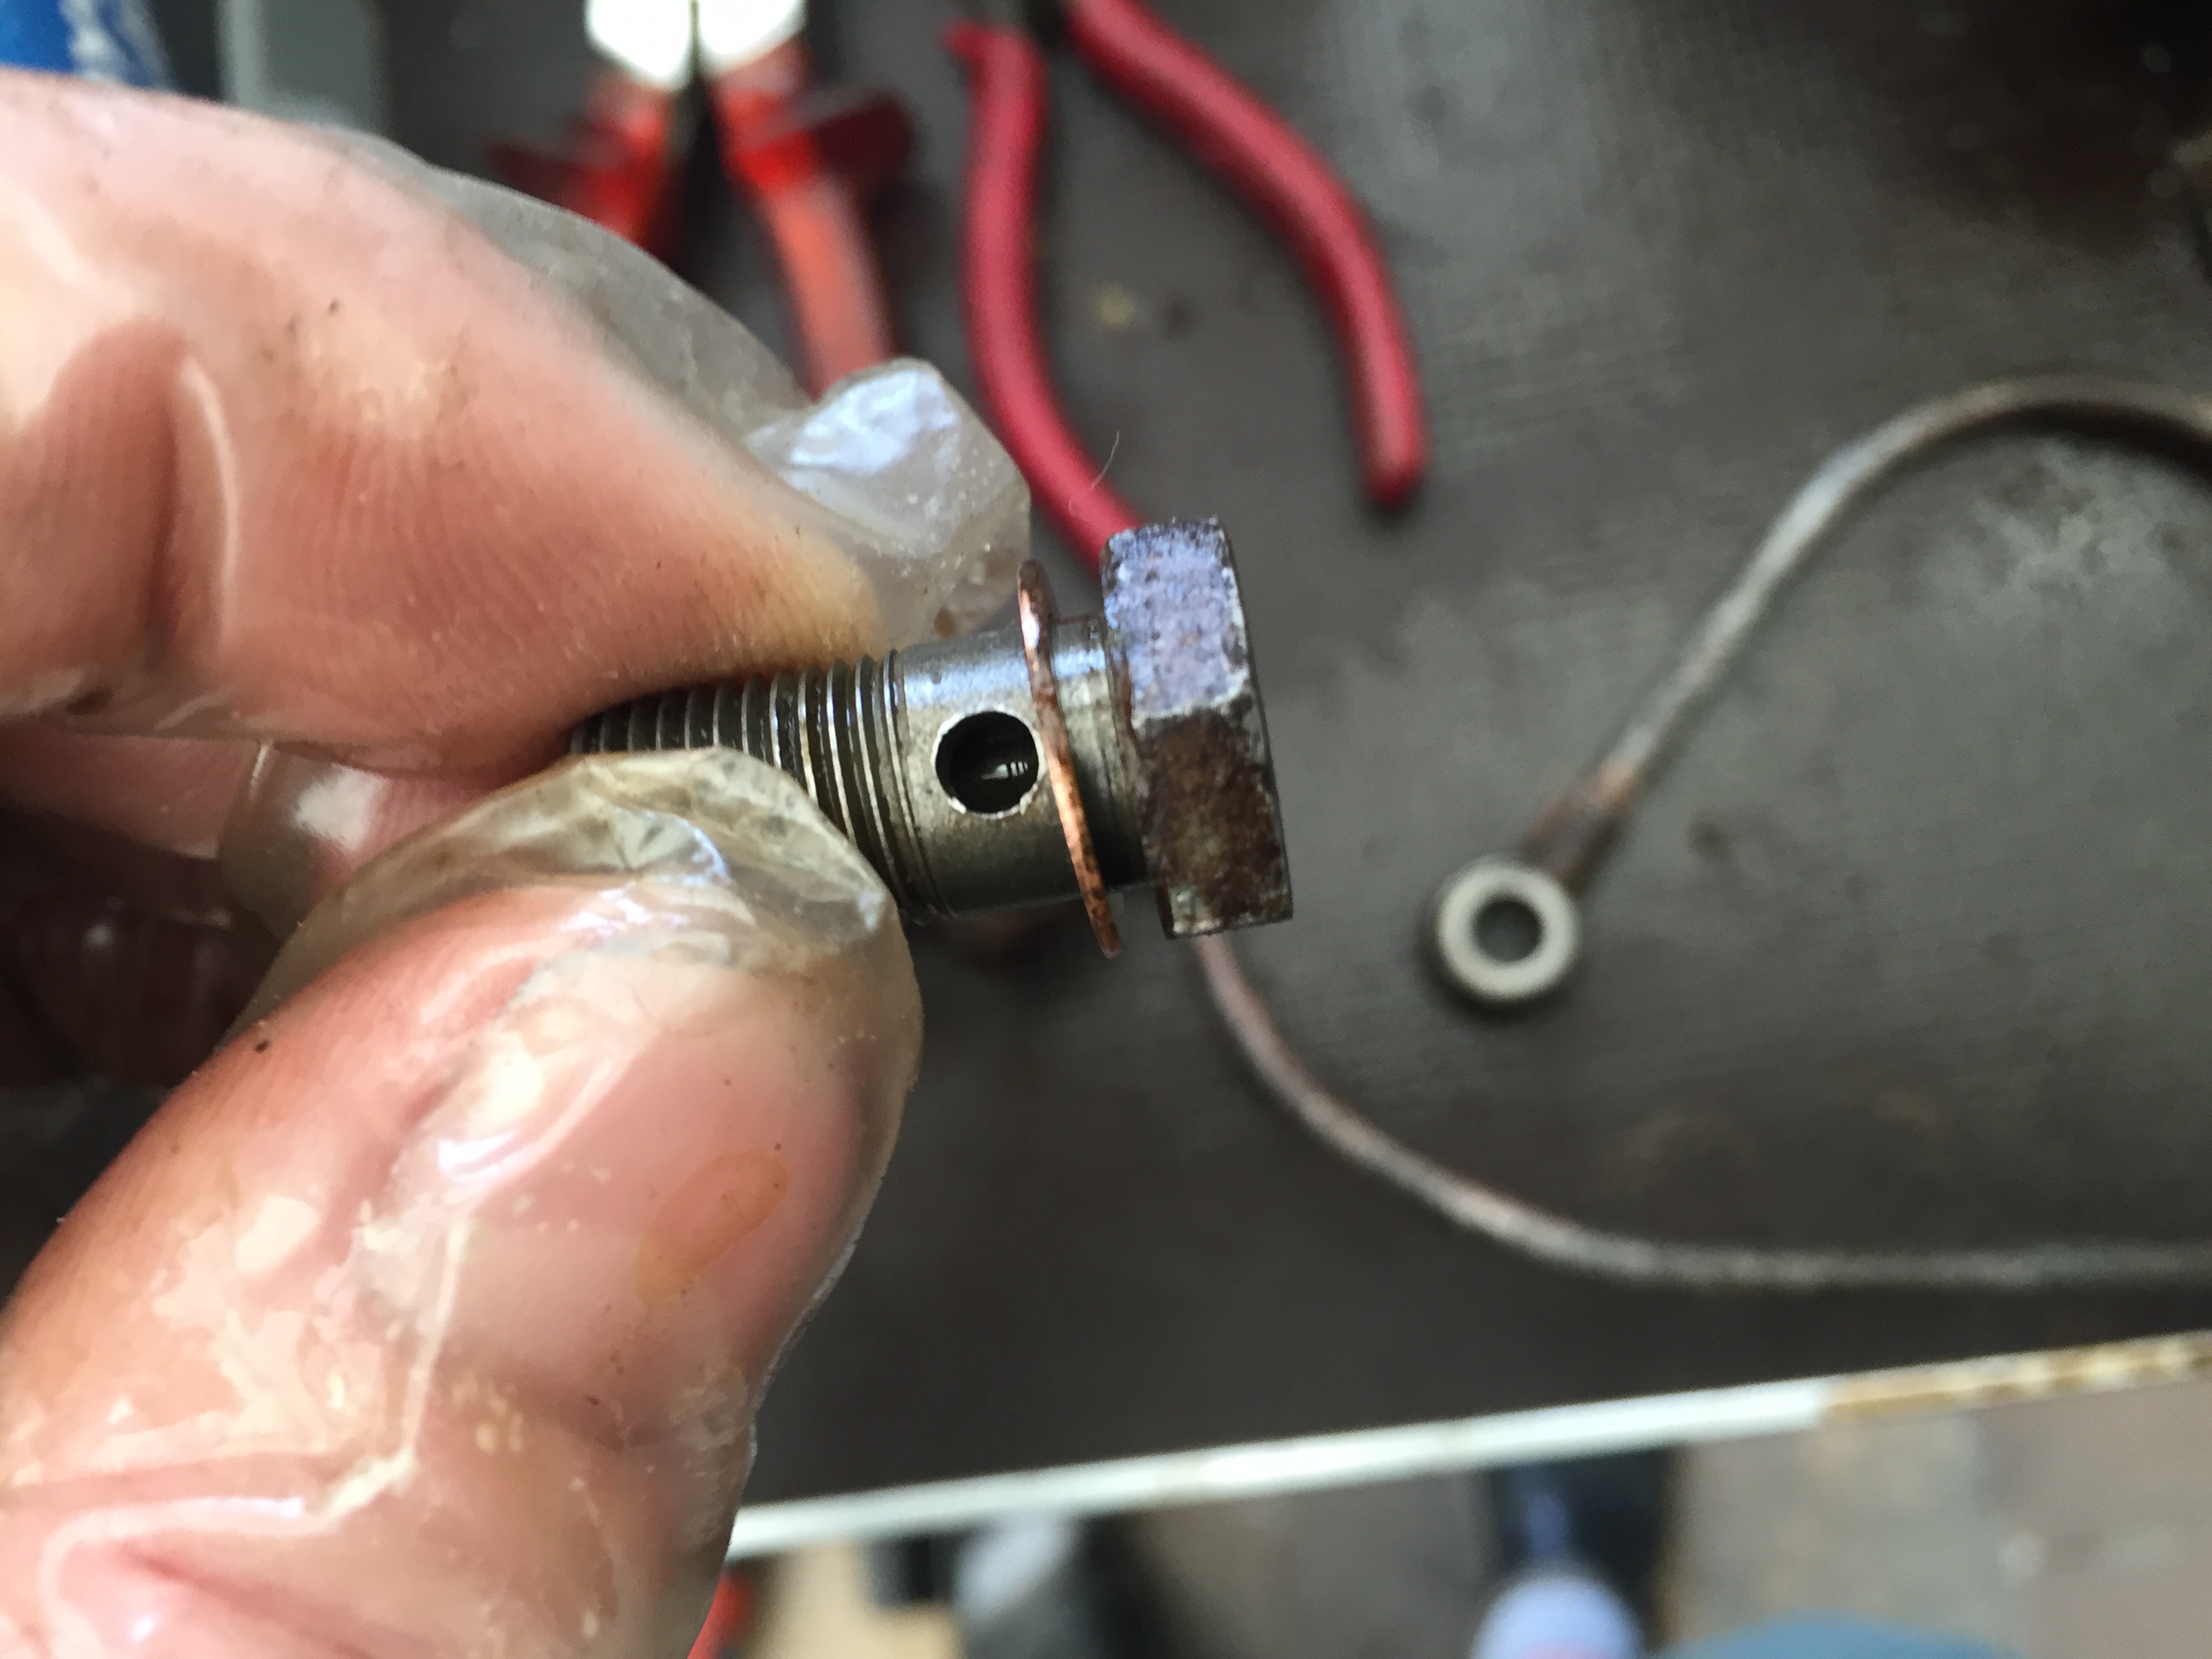
I then used an air compressor to blow air through the bottom of that bolt and it exited via the one hole near the threads (along with dirt/brake fluid).
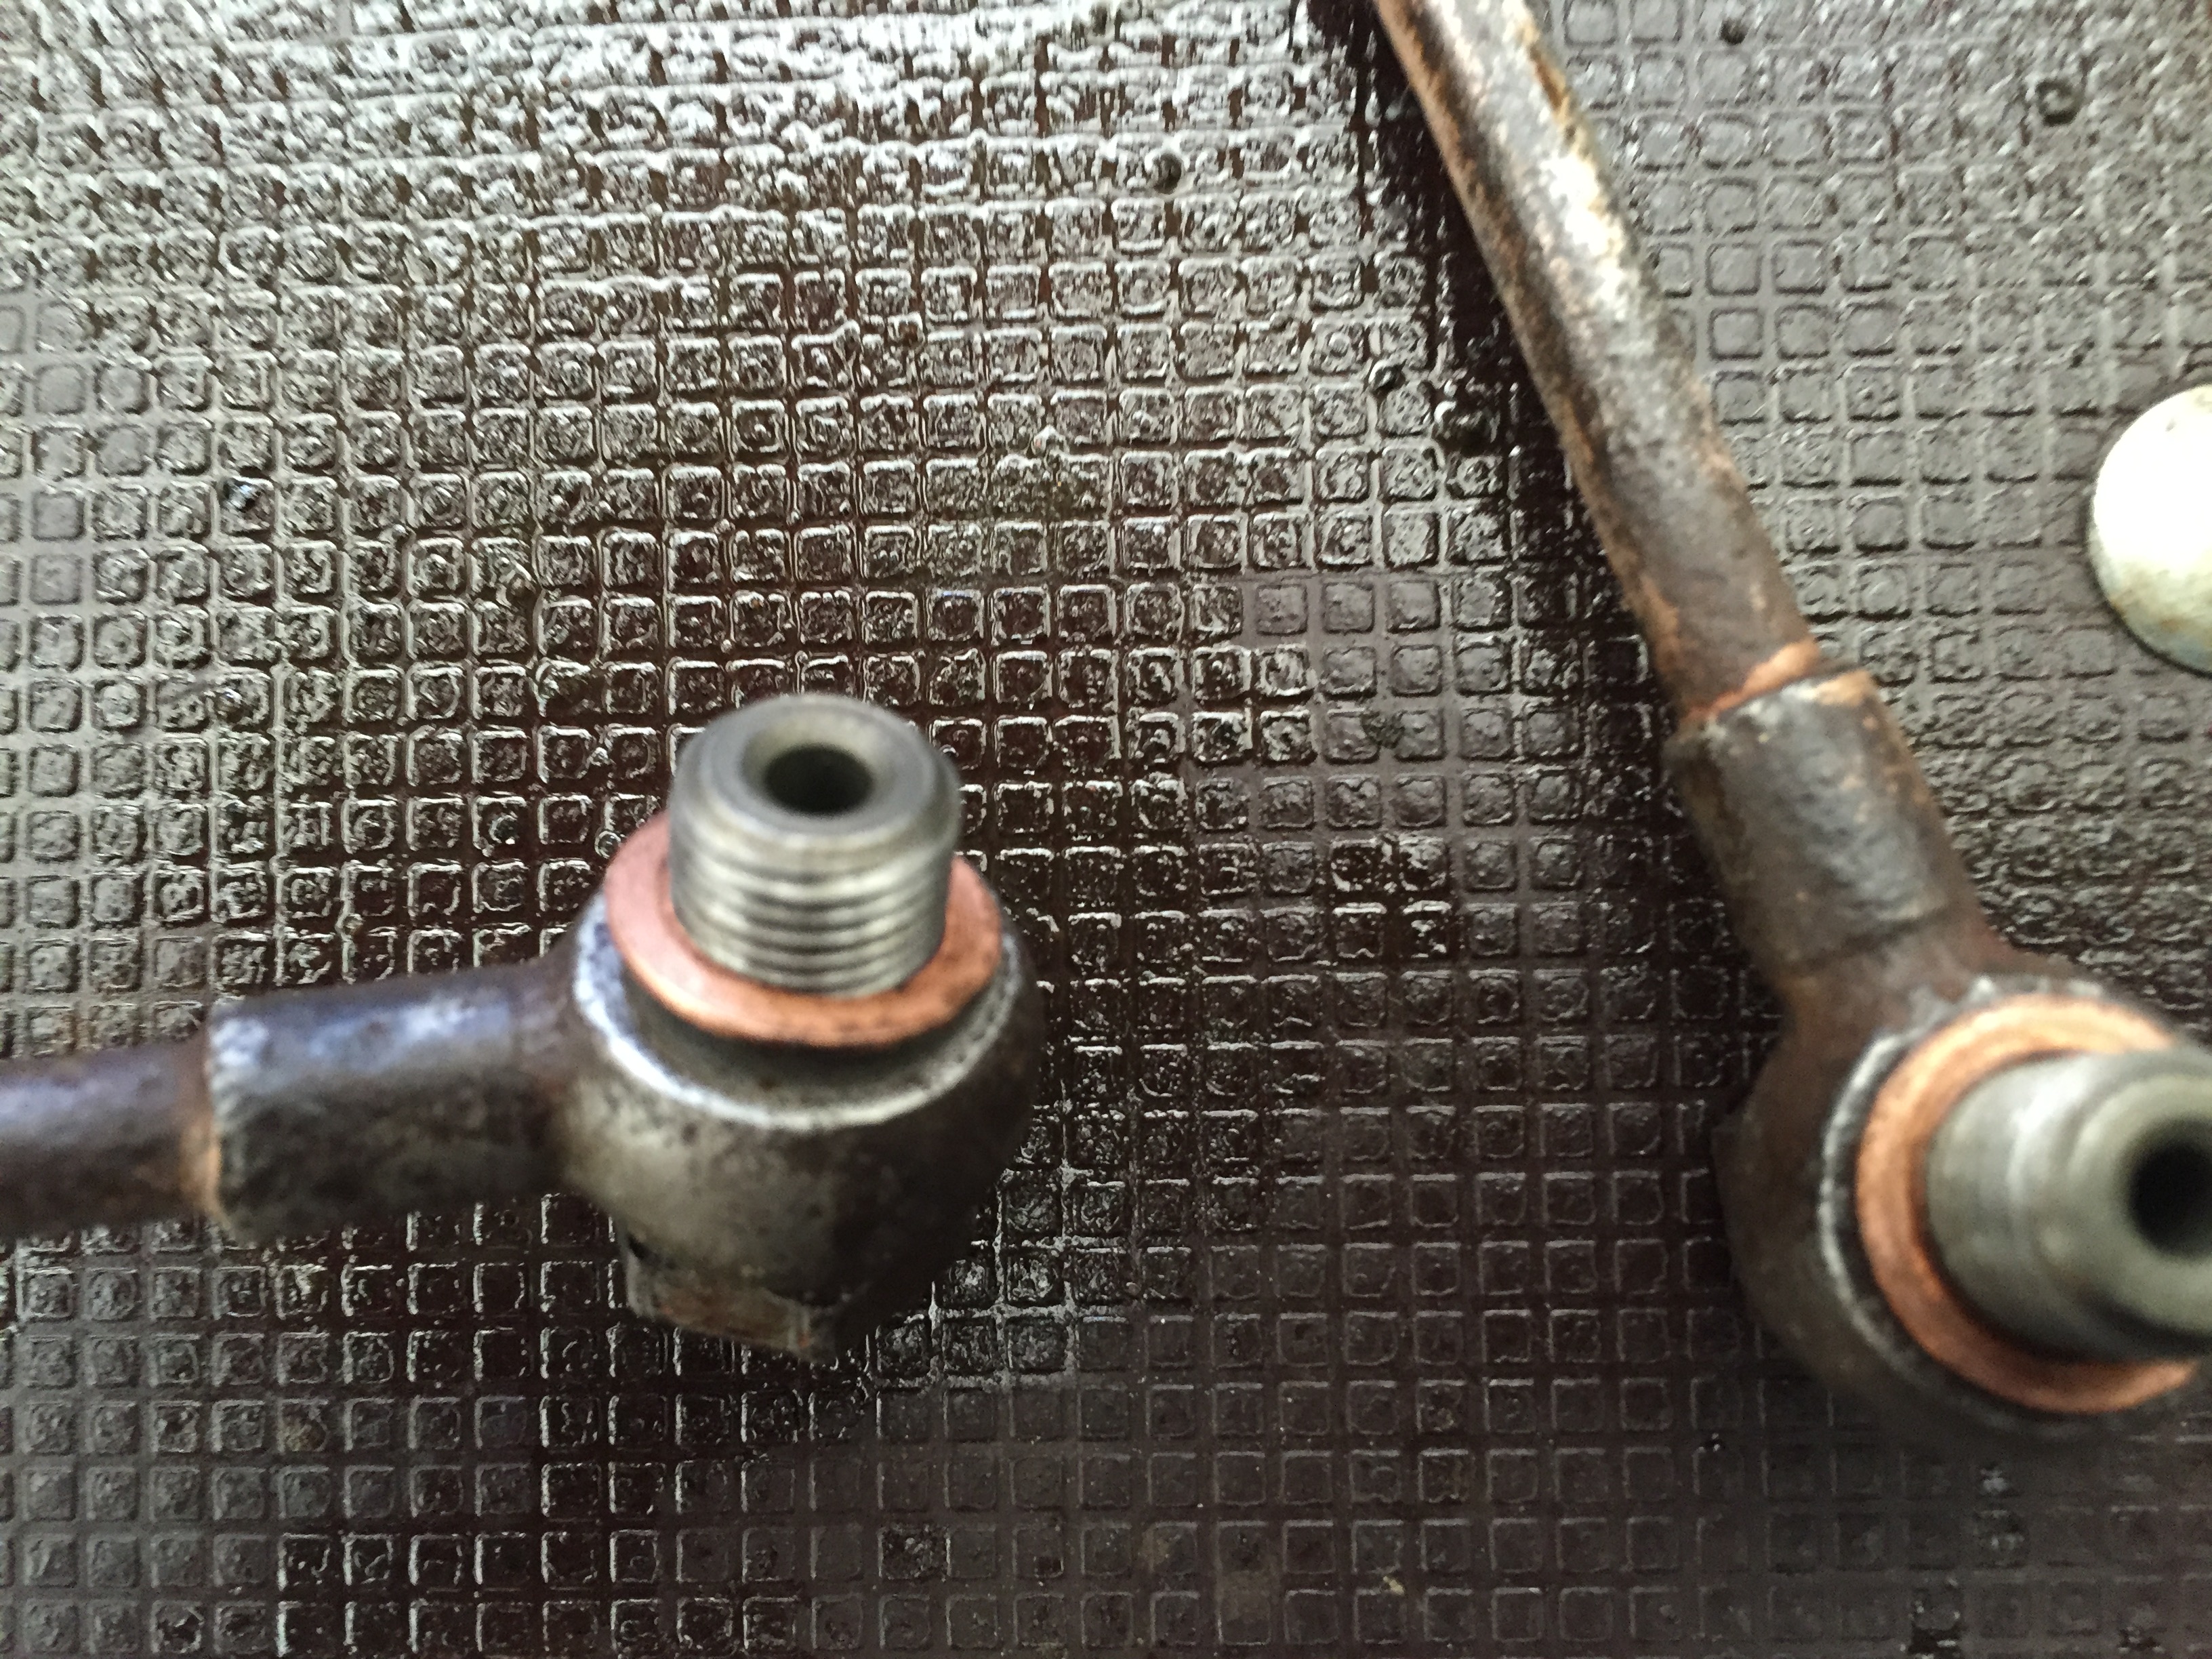
Here’s a re-assembly of the parts
and don’t forget the missing bolt/washers in the s-shaped tube also.
You can purchase replacement hollow-bolts from here (I am not affiliated with them in any way).