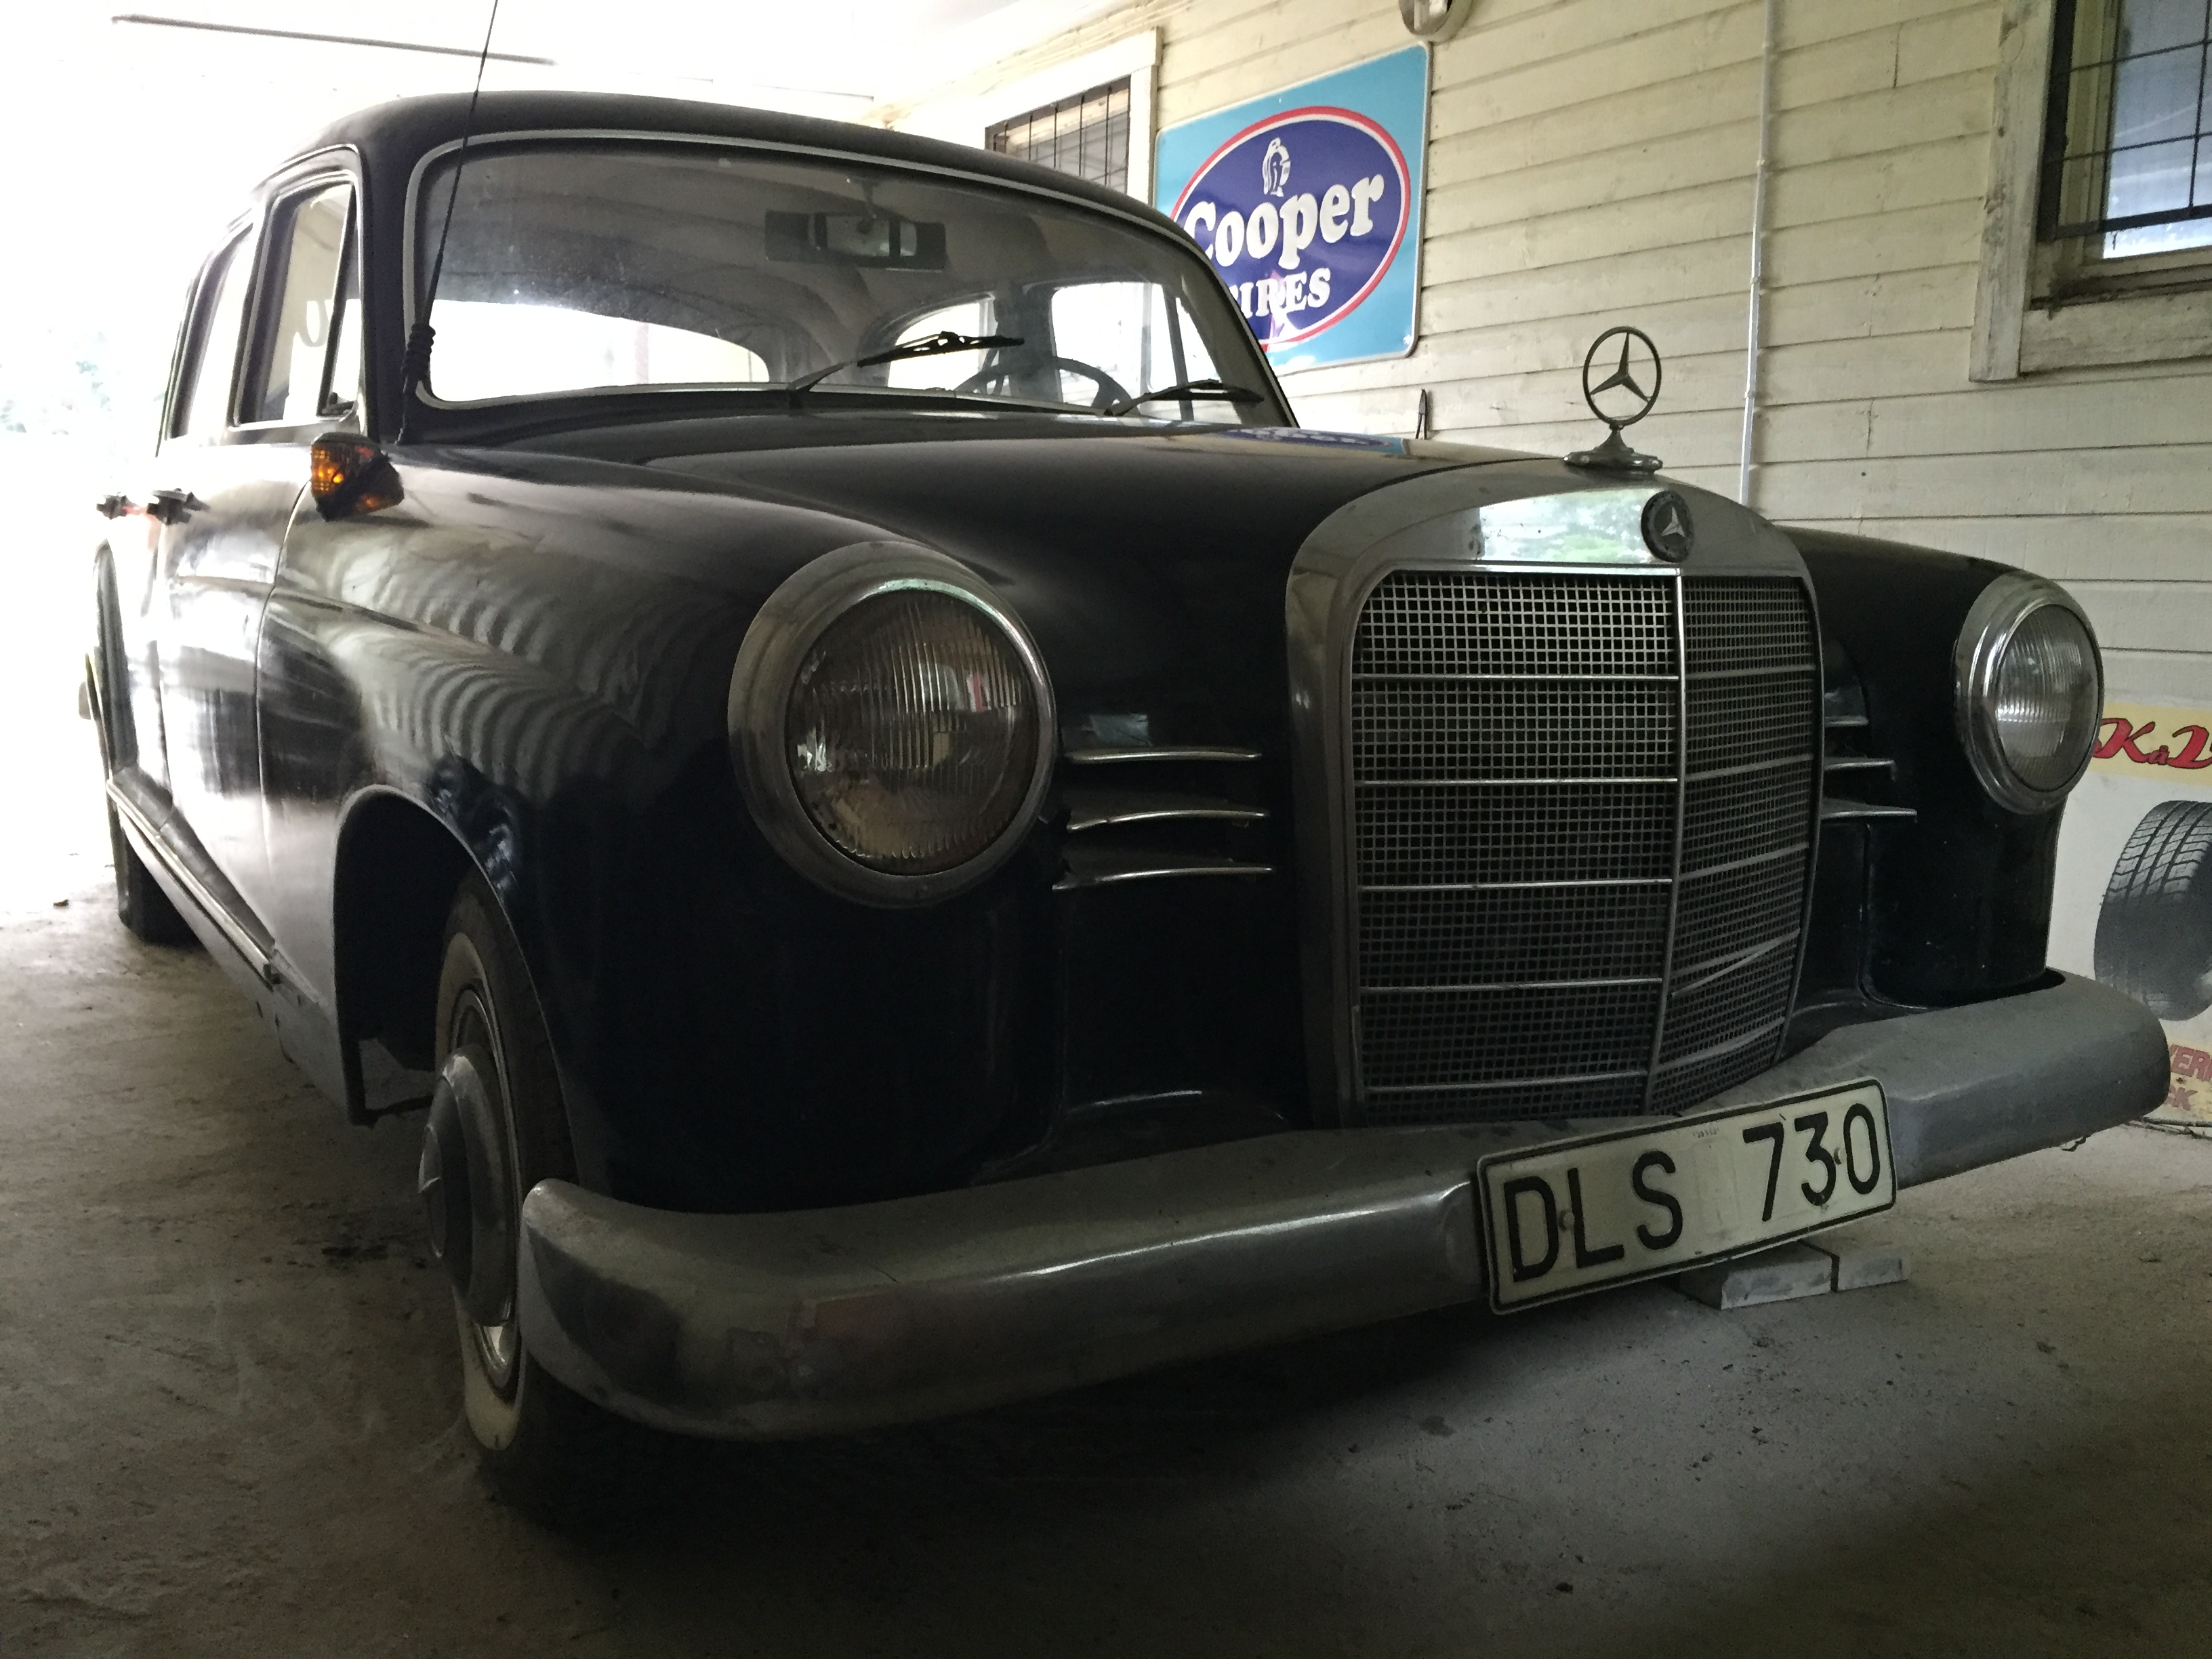
Introduction
It’s been over a week since I last worked on the car (busy doing my day job) so finally got a chance on this wet Saturday to visit the car, and todays task was to remove the front left wheel, remove the brake drum and then get the brake cylinders out (there are two in each front wheel).
Before doing the job I decided to use my iphone 6 to make a short video called First looks at a Mercedes Benz 180db from 1960 which I uploaded to youtube.
Please check it out and let me know what you think of it. If you like it I might do some more videos !
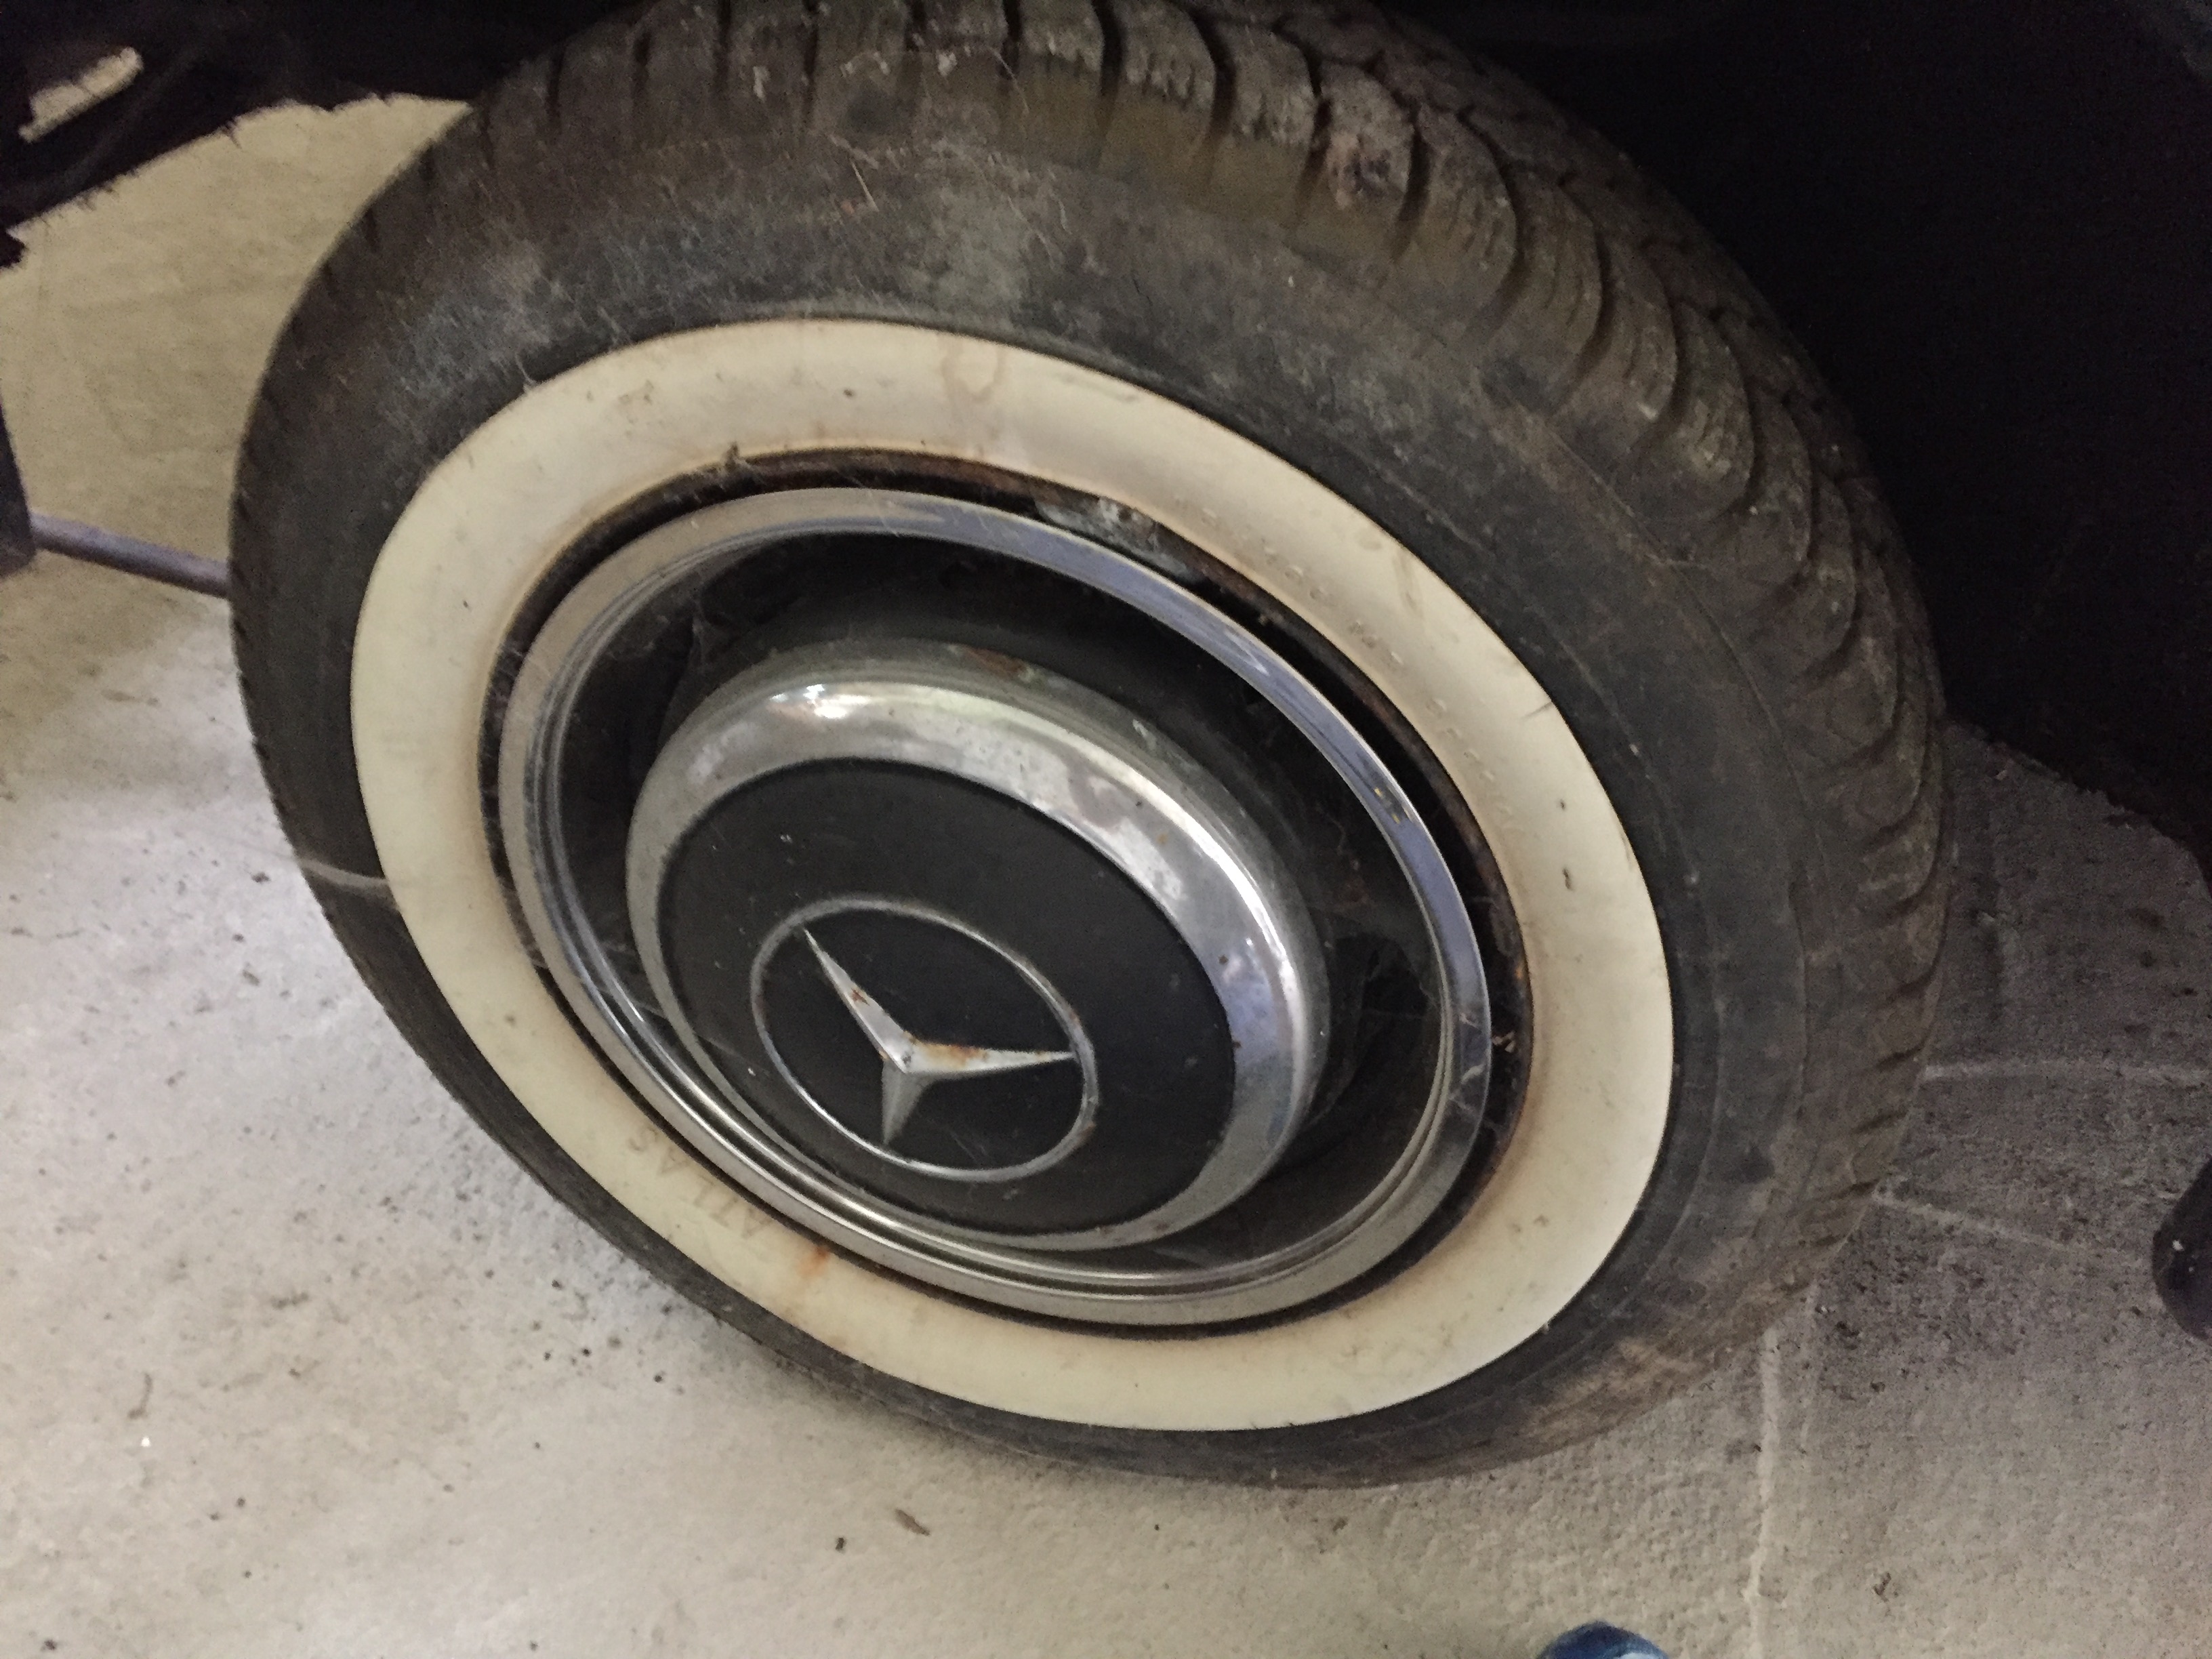
Next I jacked up the car, placed a car-stand under the body work in a suitable place and proceeded to remove the old wheel.
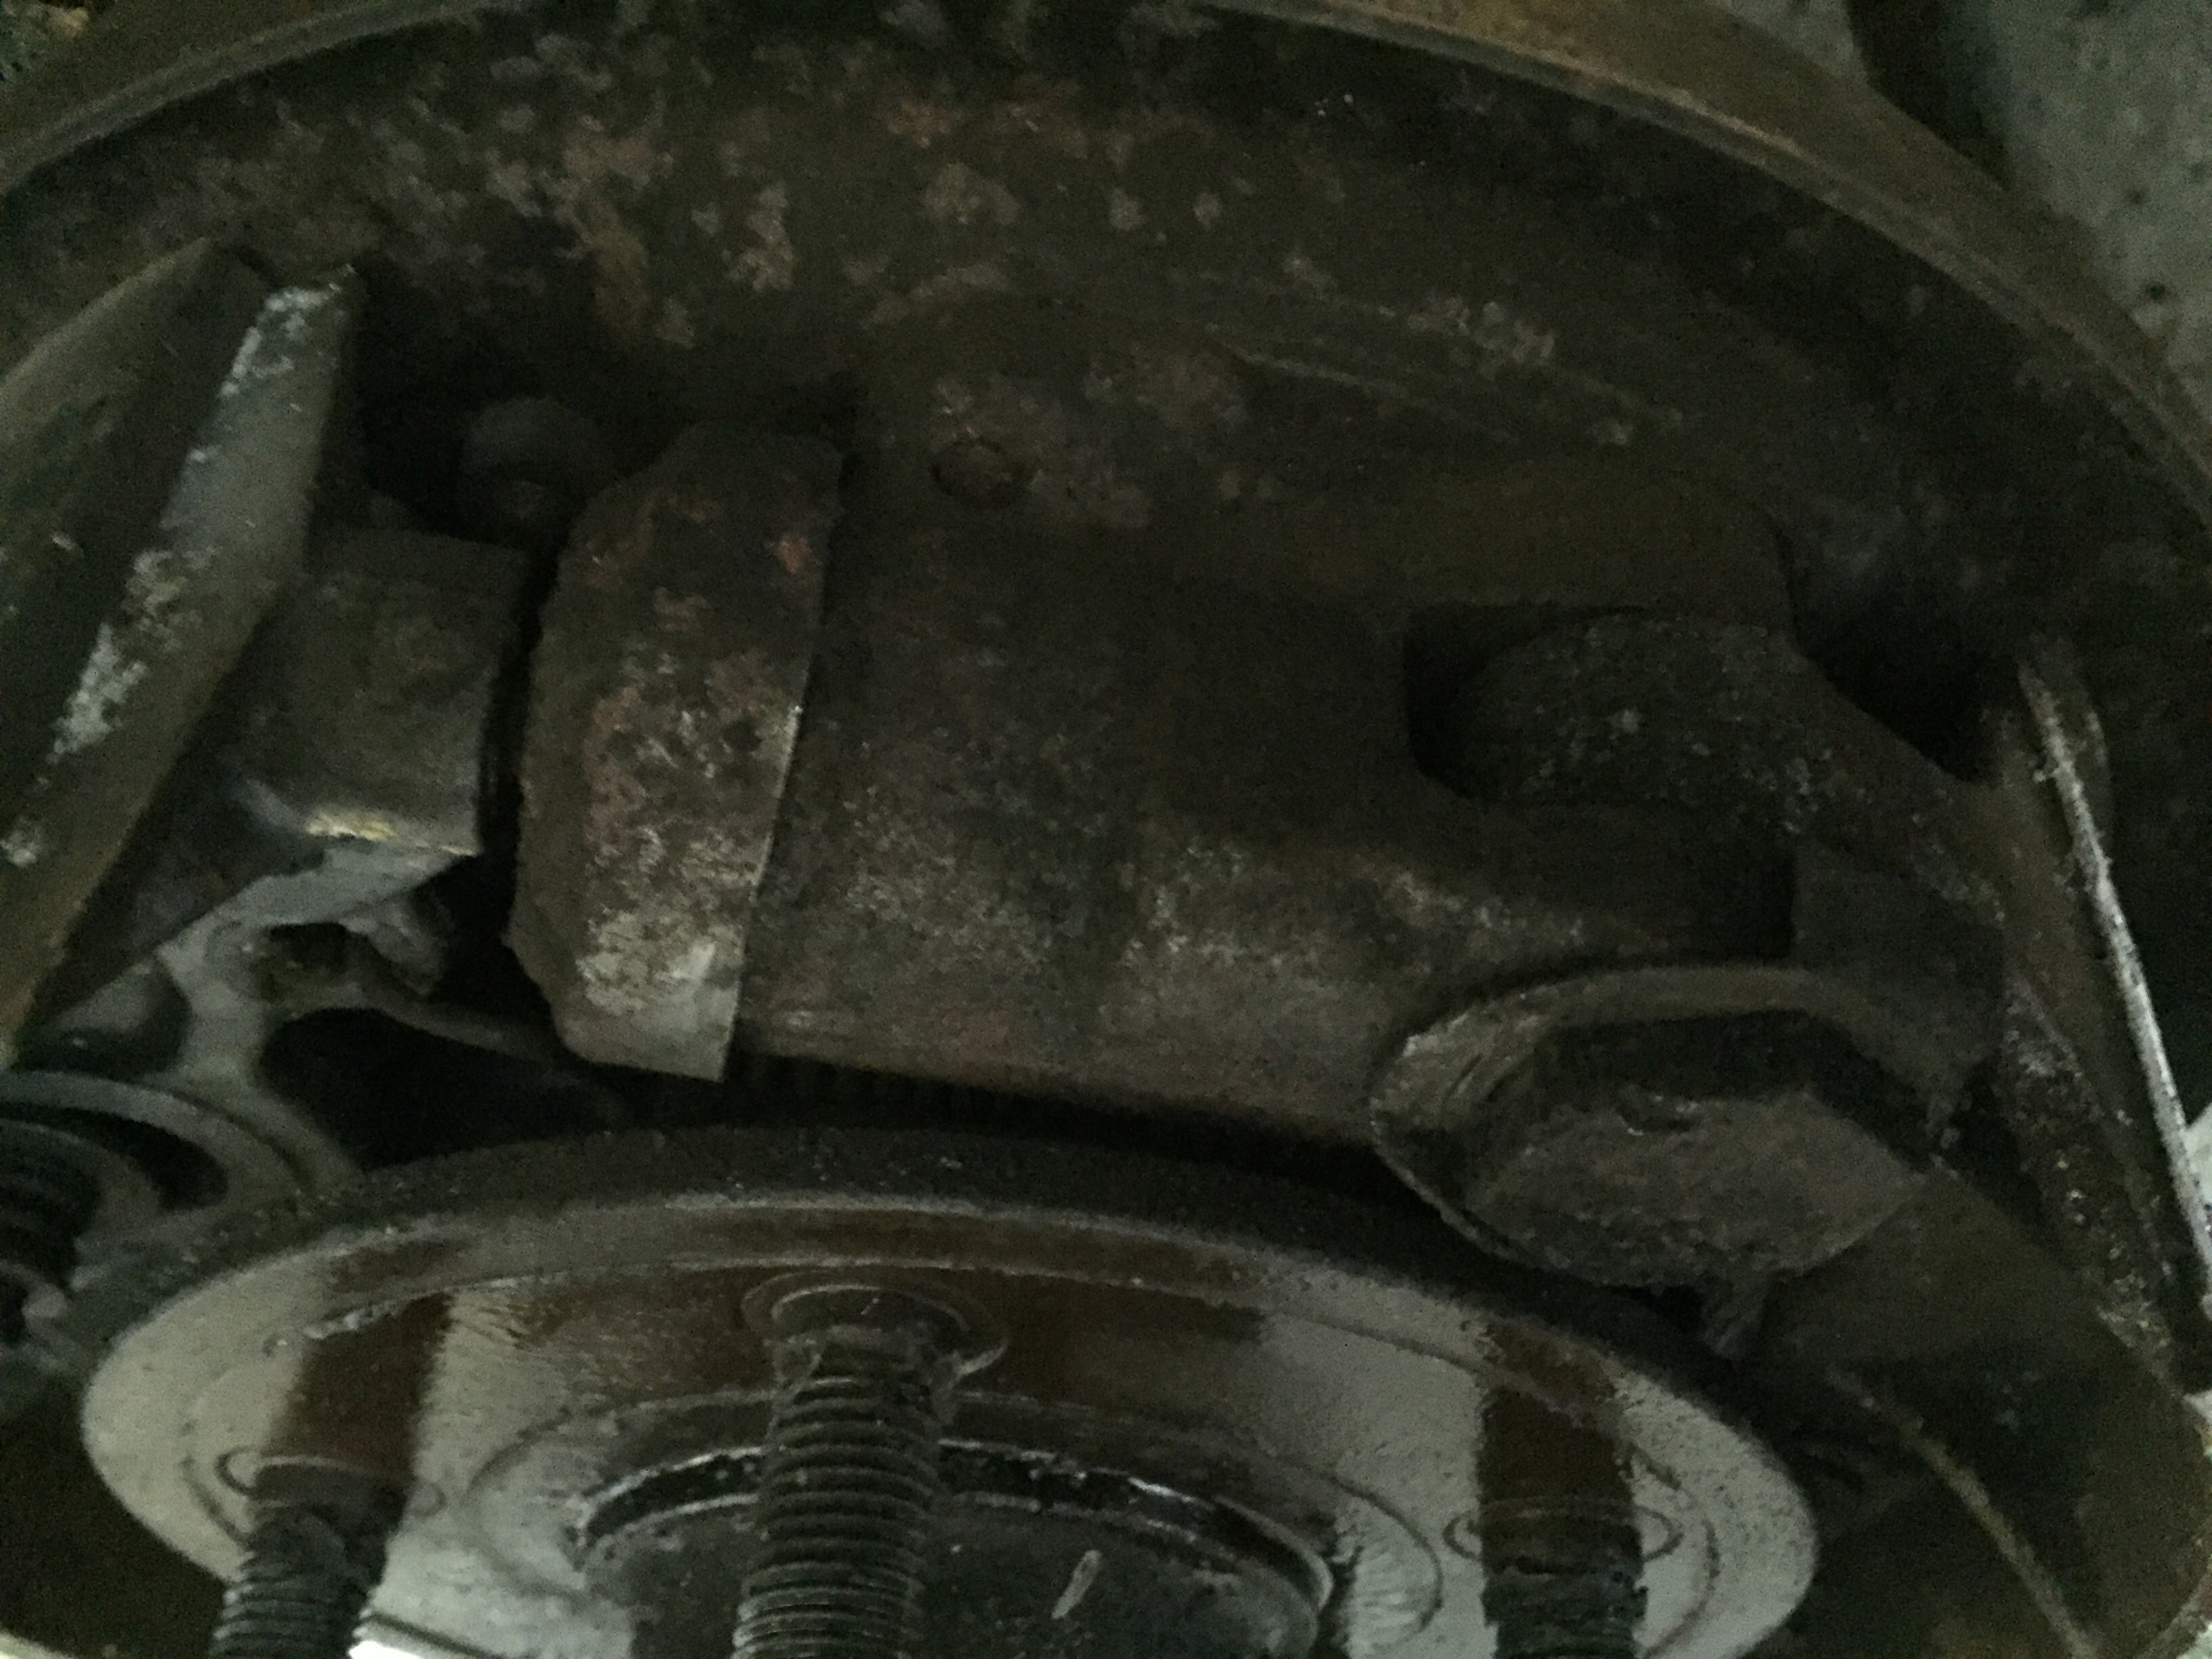
Once the wheel was off I could inspect the brake drum and surrounding area. Plenty of rust and cobwebs as expected but also it looks like some brake fluid or other liquid has leaked all over the brake drum.
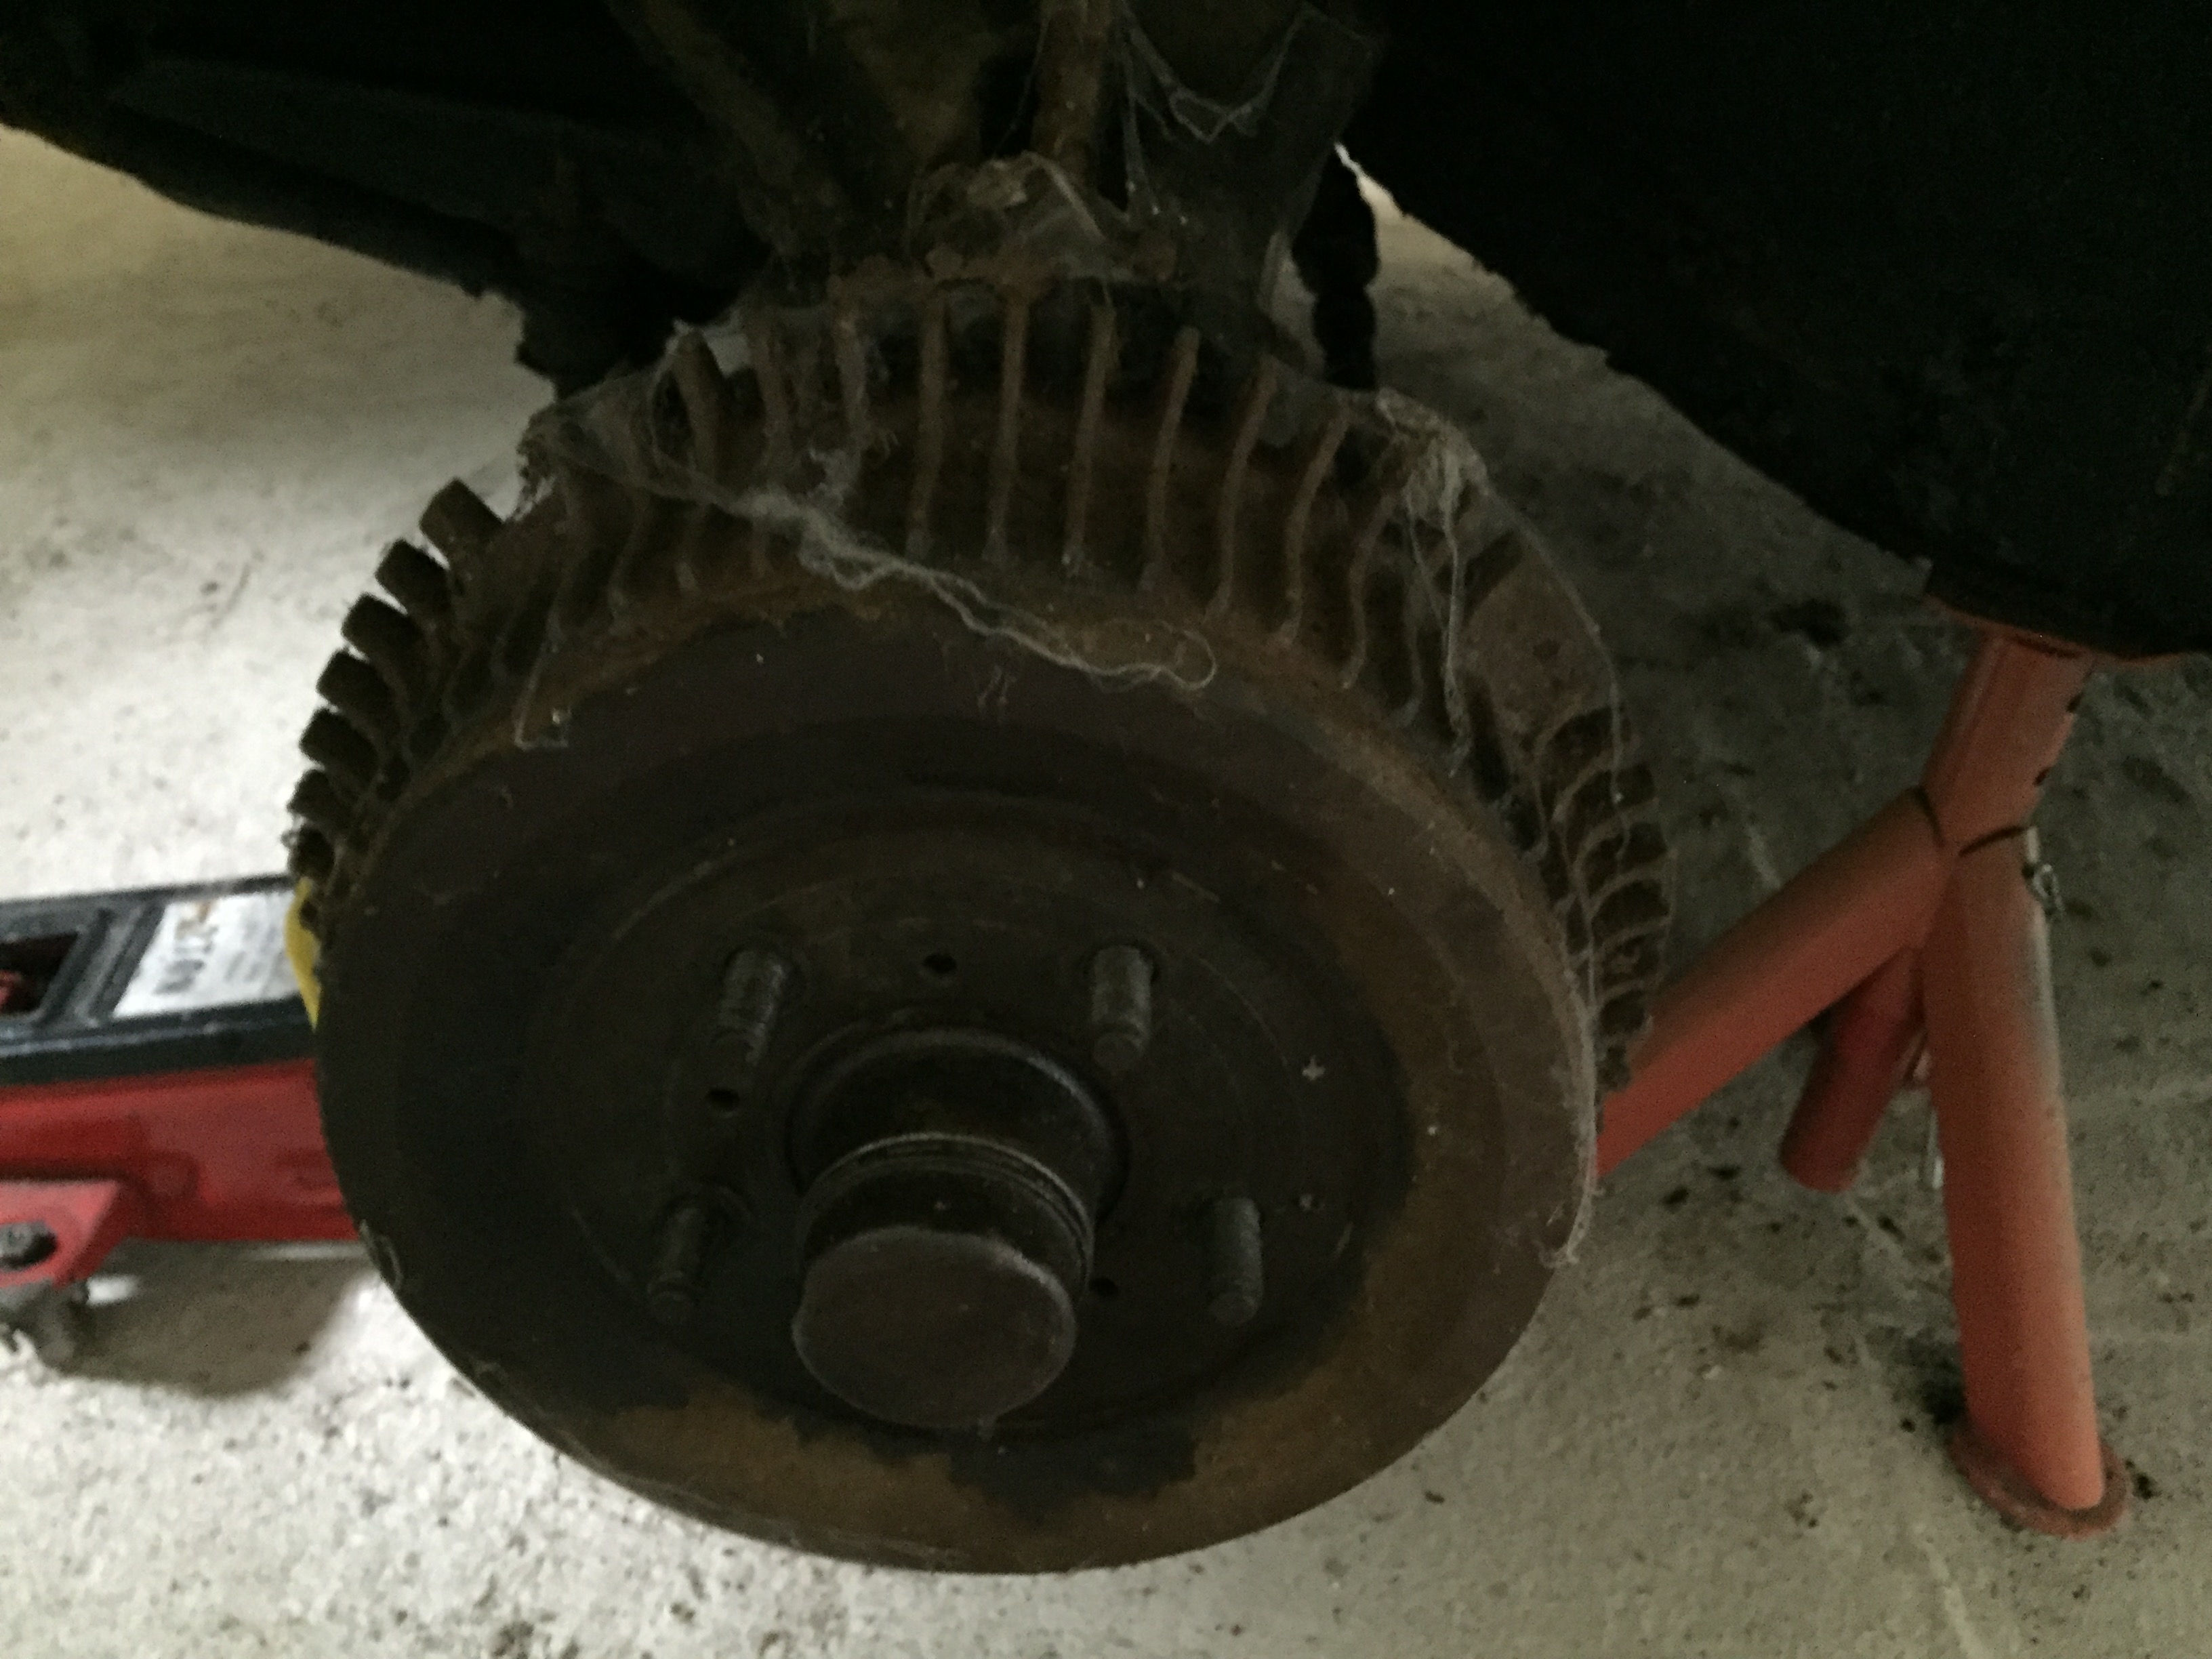
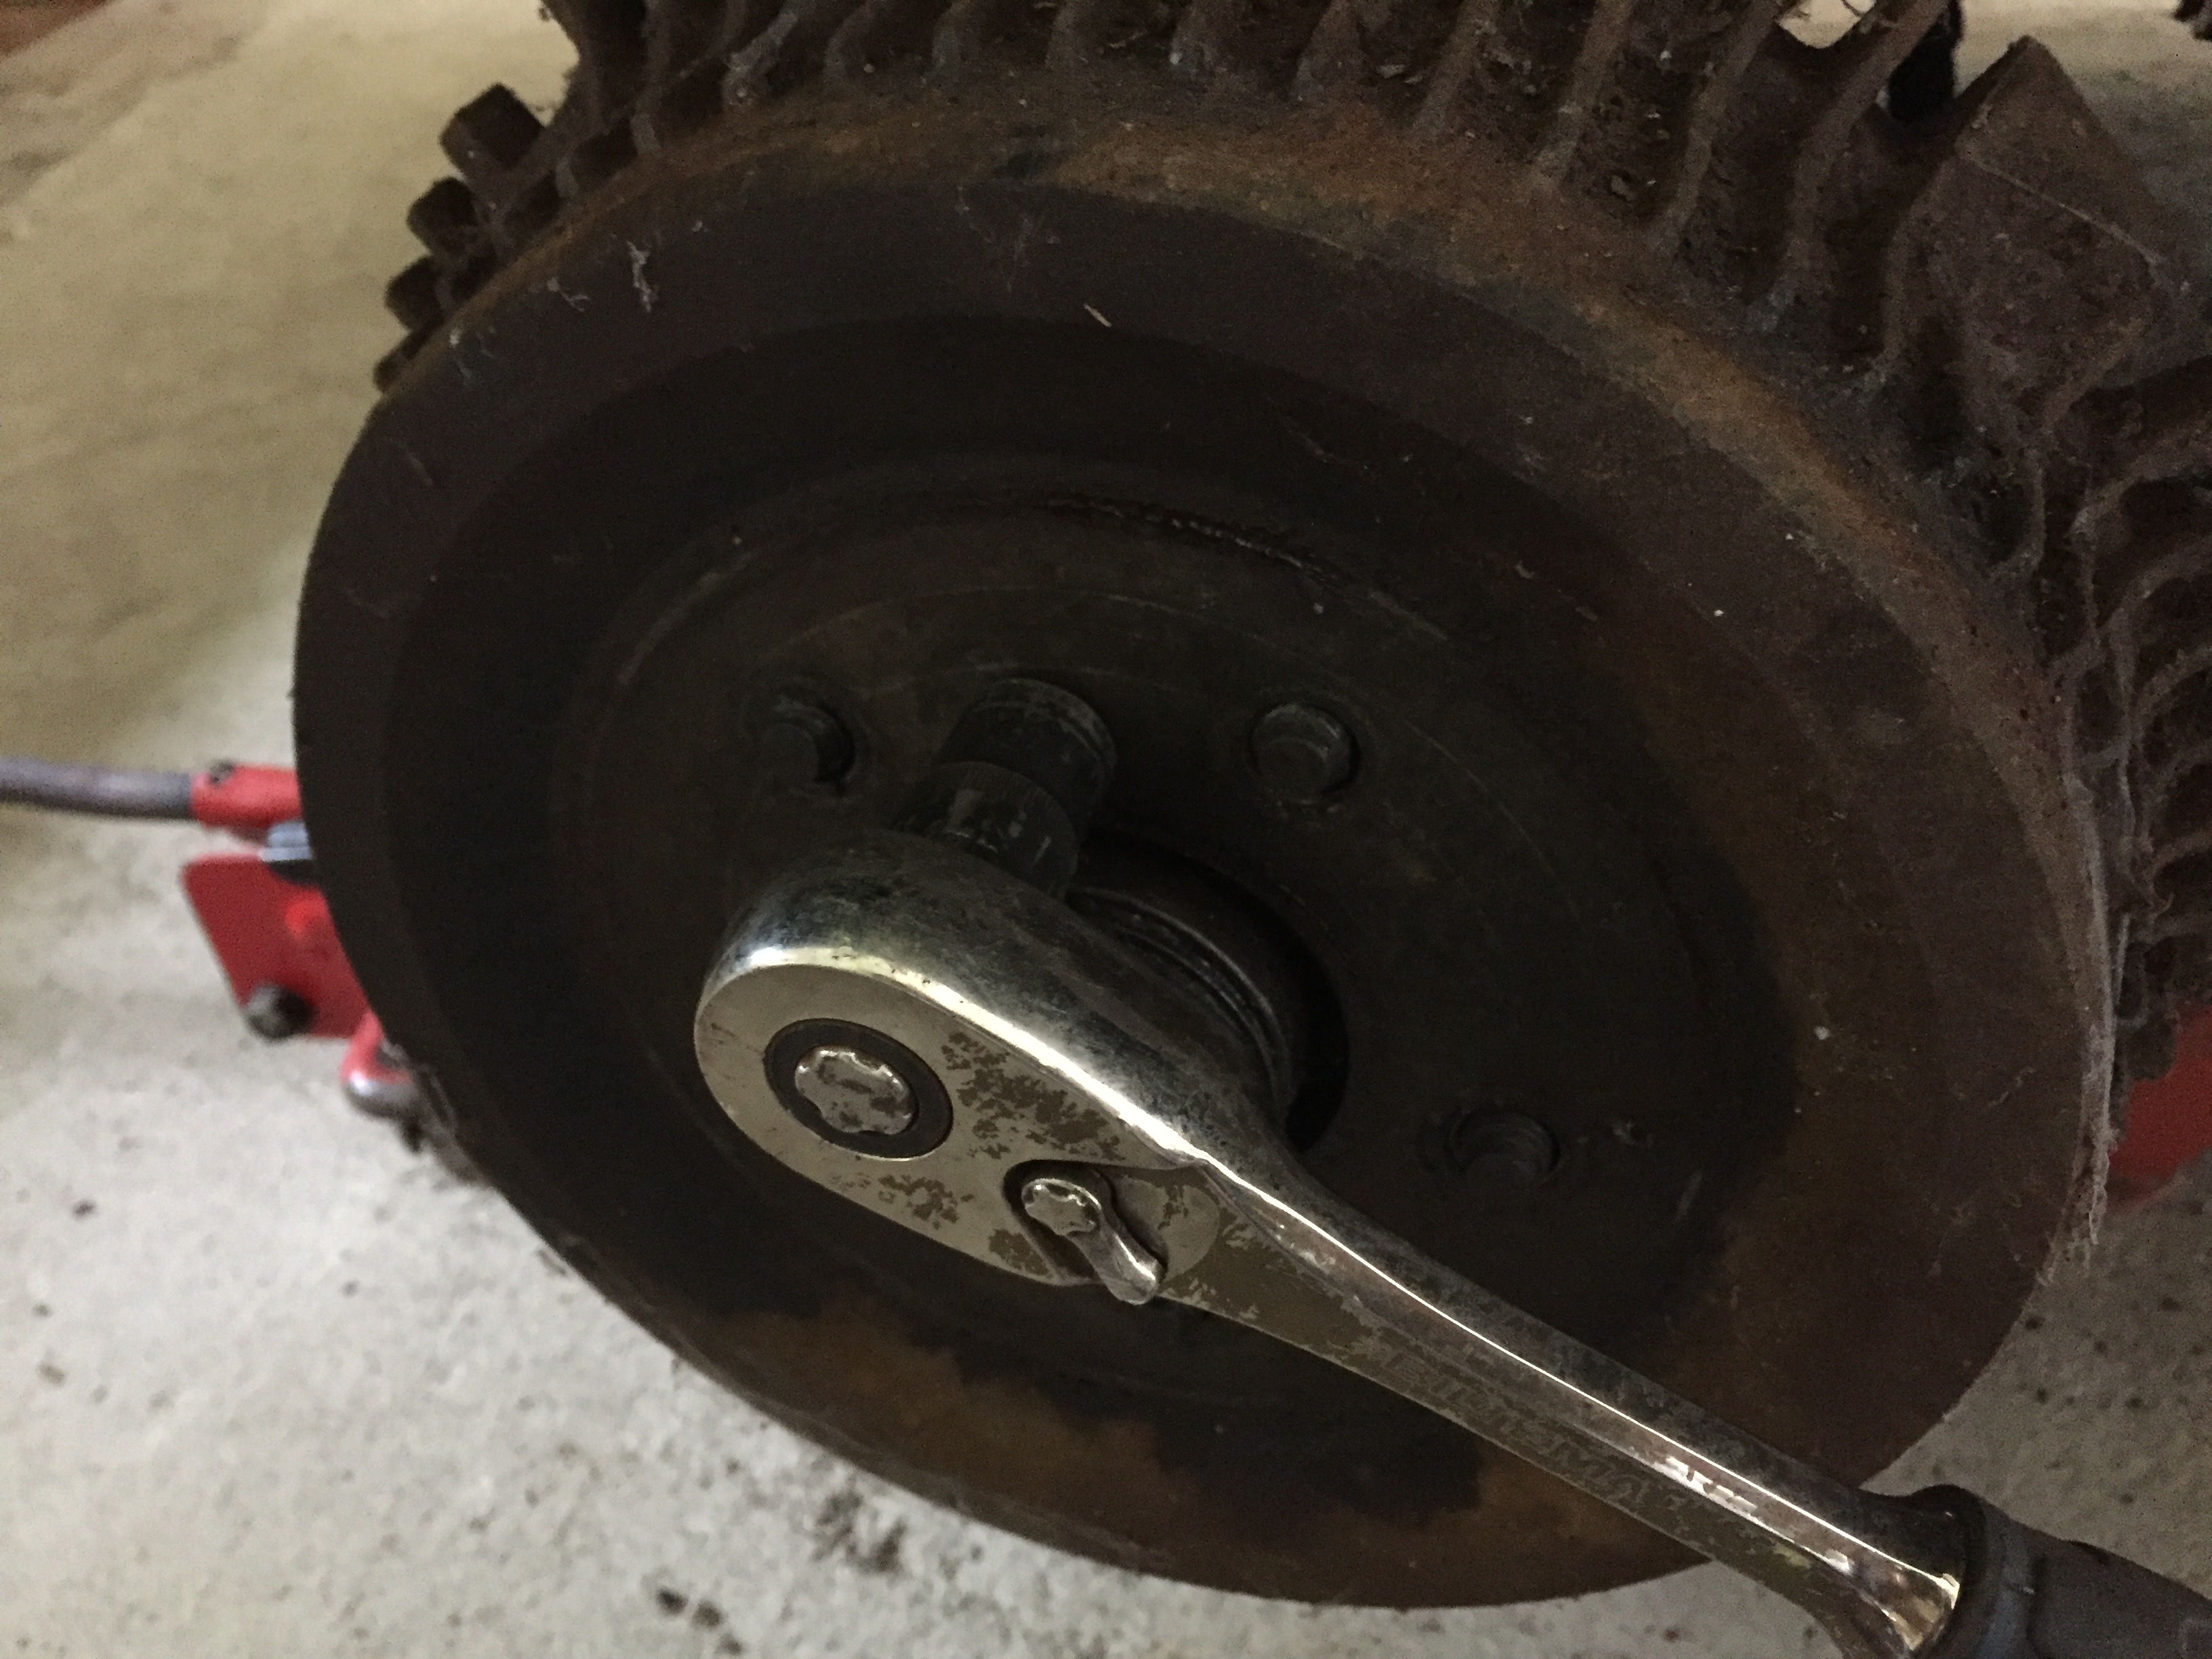
I started moving the brake drum outwards by using the recommended method, unfortunately for me, the drum was very seized and my bolt was not long enough.
This did achieve the desired result though and moved the brake drum slowly outwards until I could no longer tighten the bolt, I used all three holes for the job alternatively.
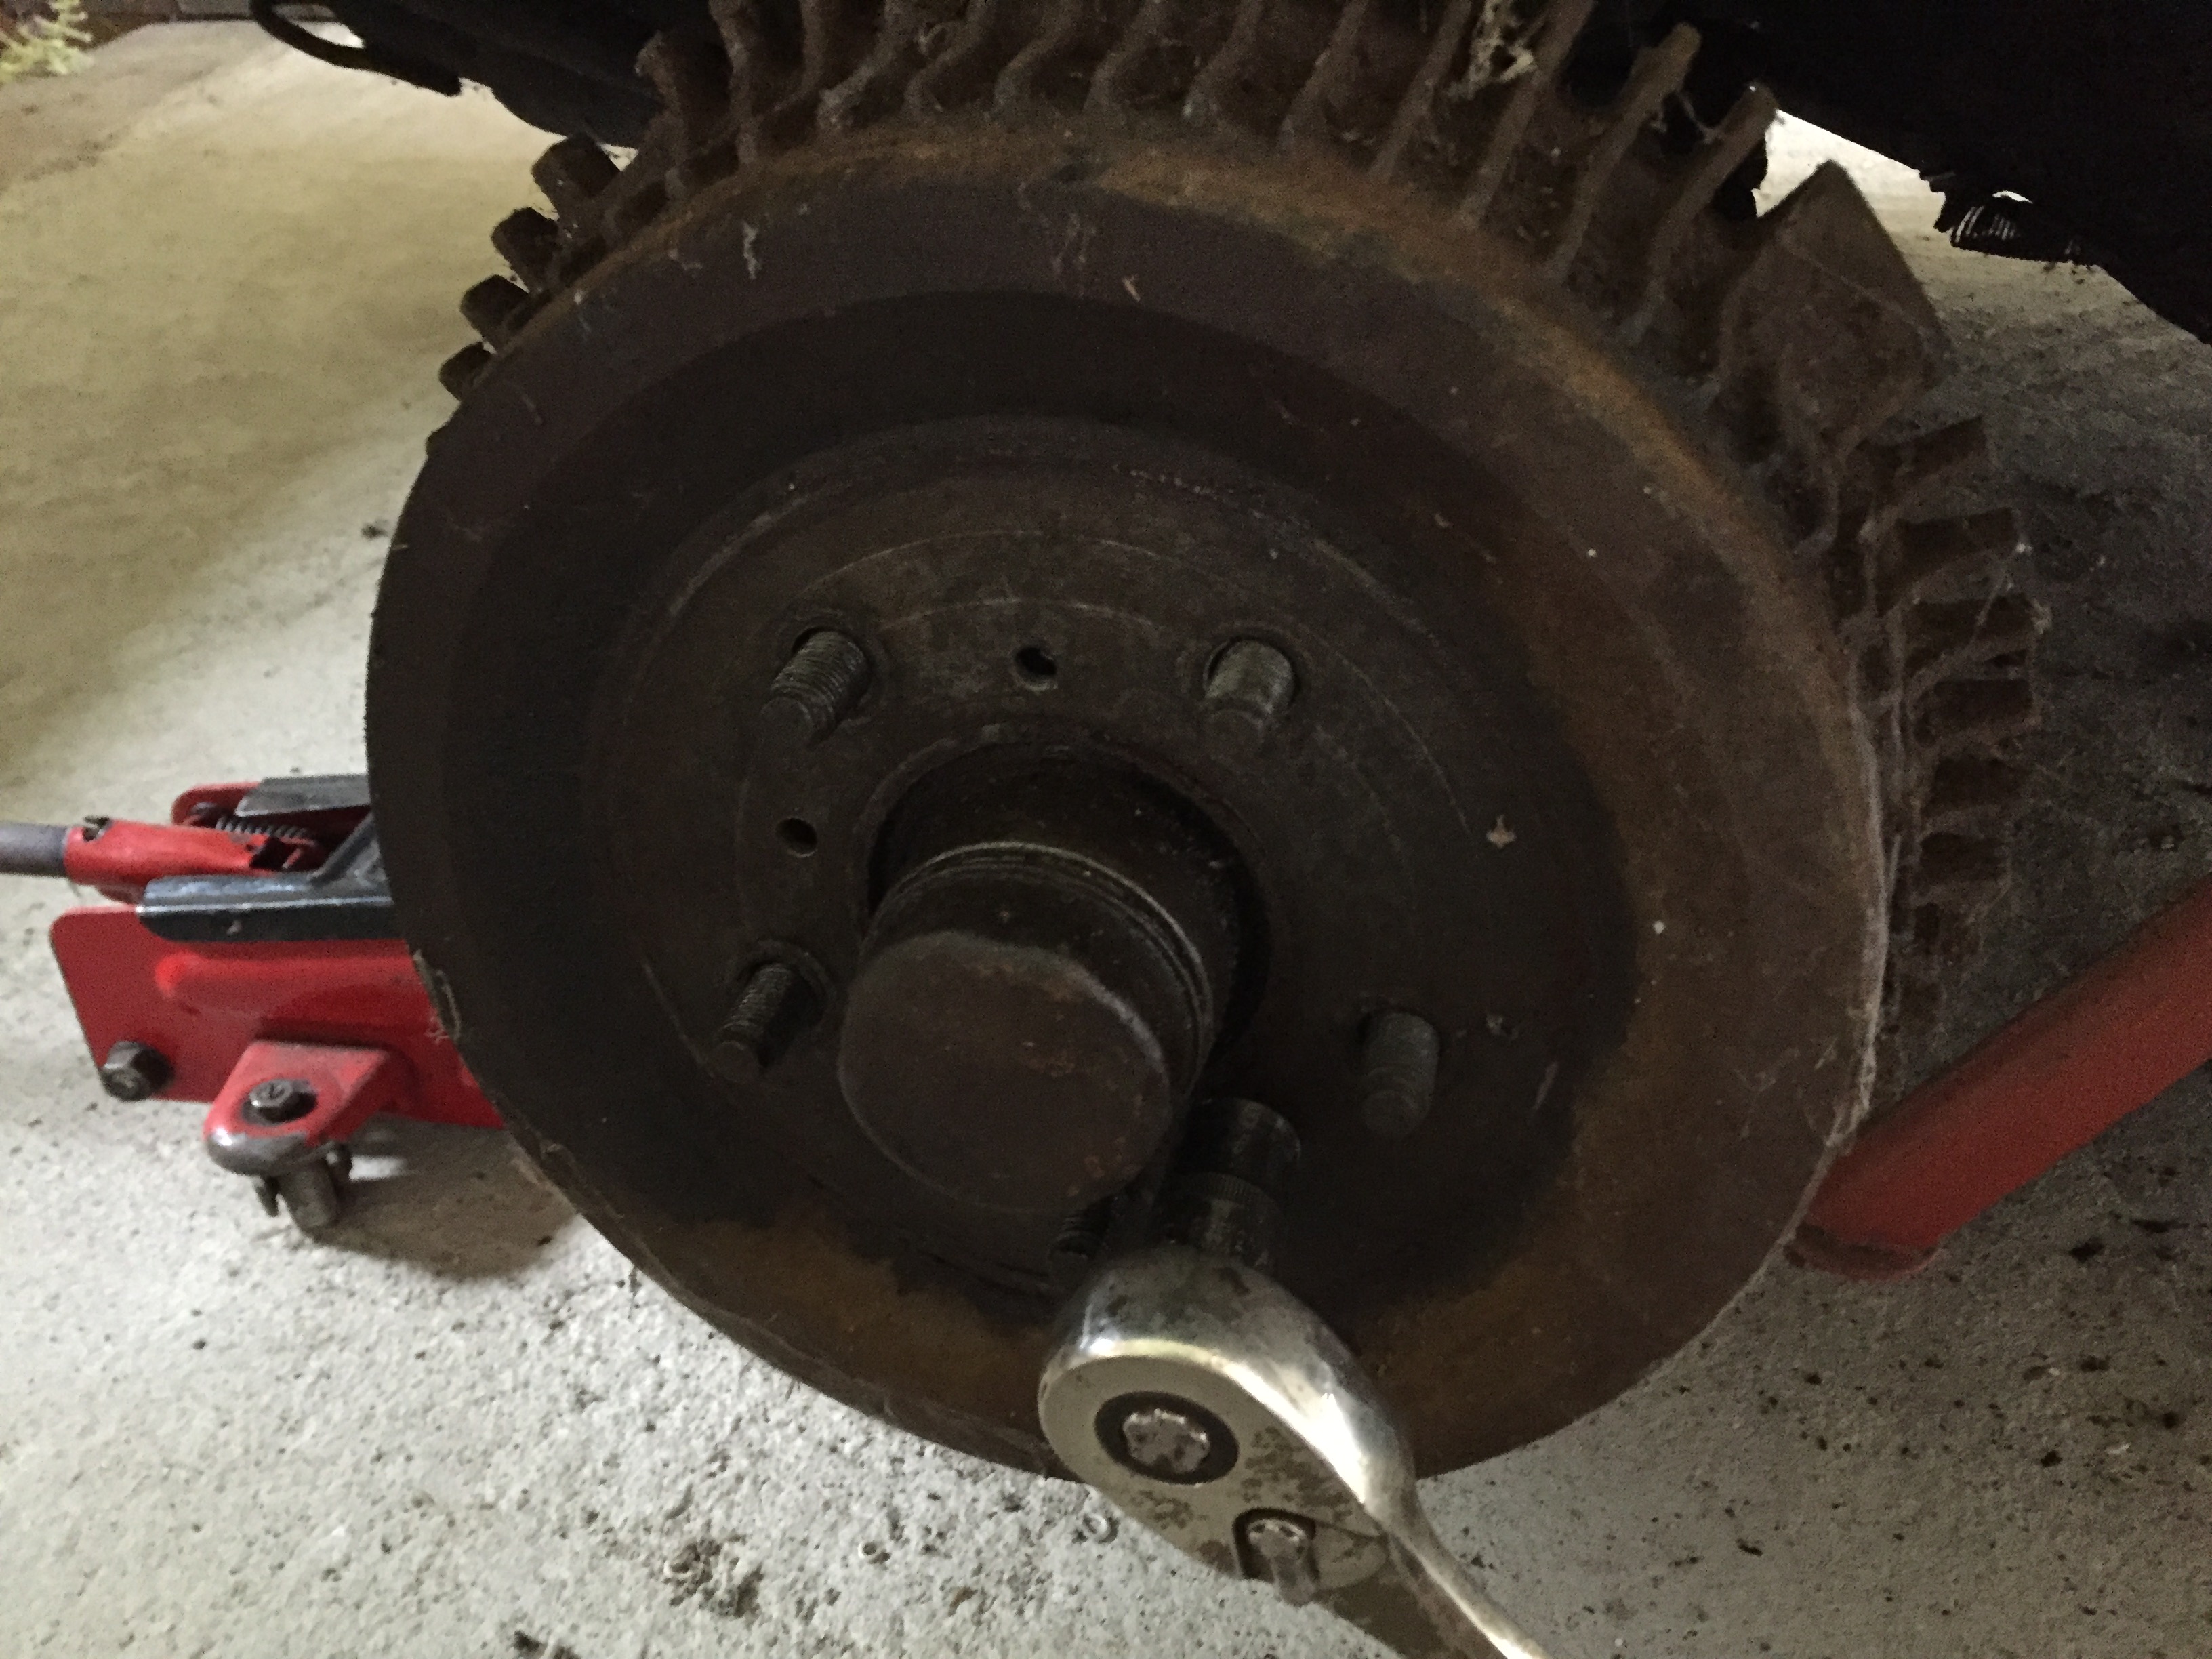
The problem was, my bolt was too short, so while the brake drum did move in the correct direction I couldn’t tighten the bolt any more and therefore couldn’t make it budge any further.
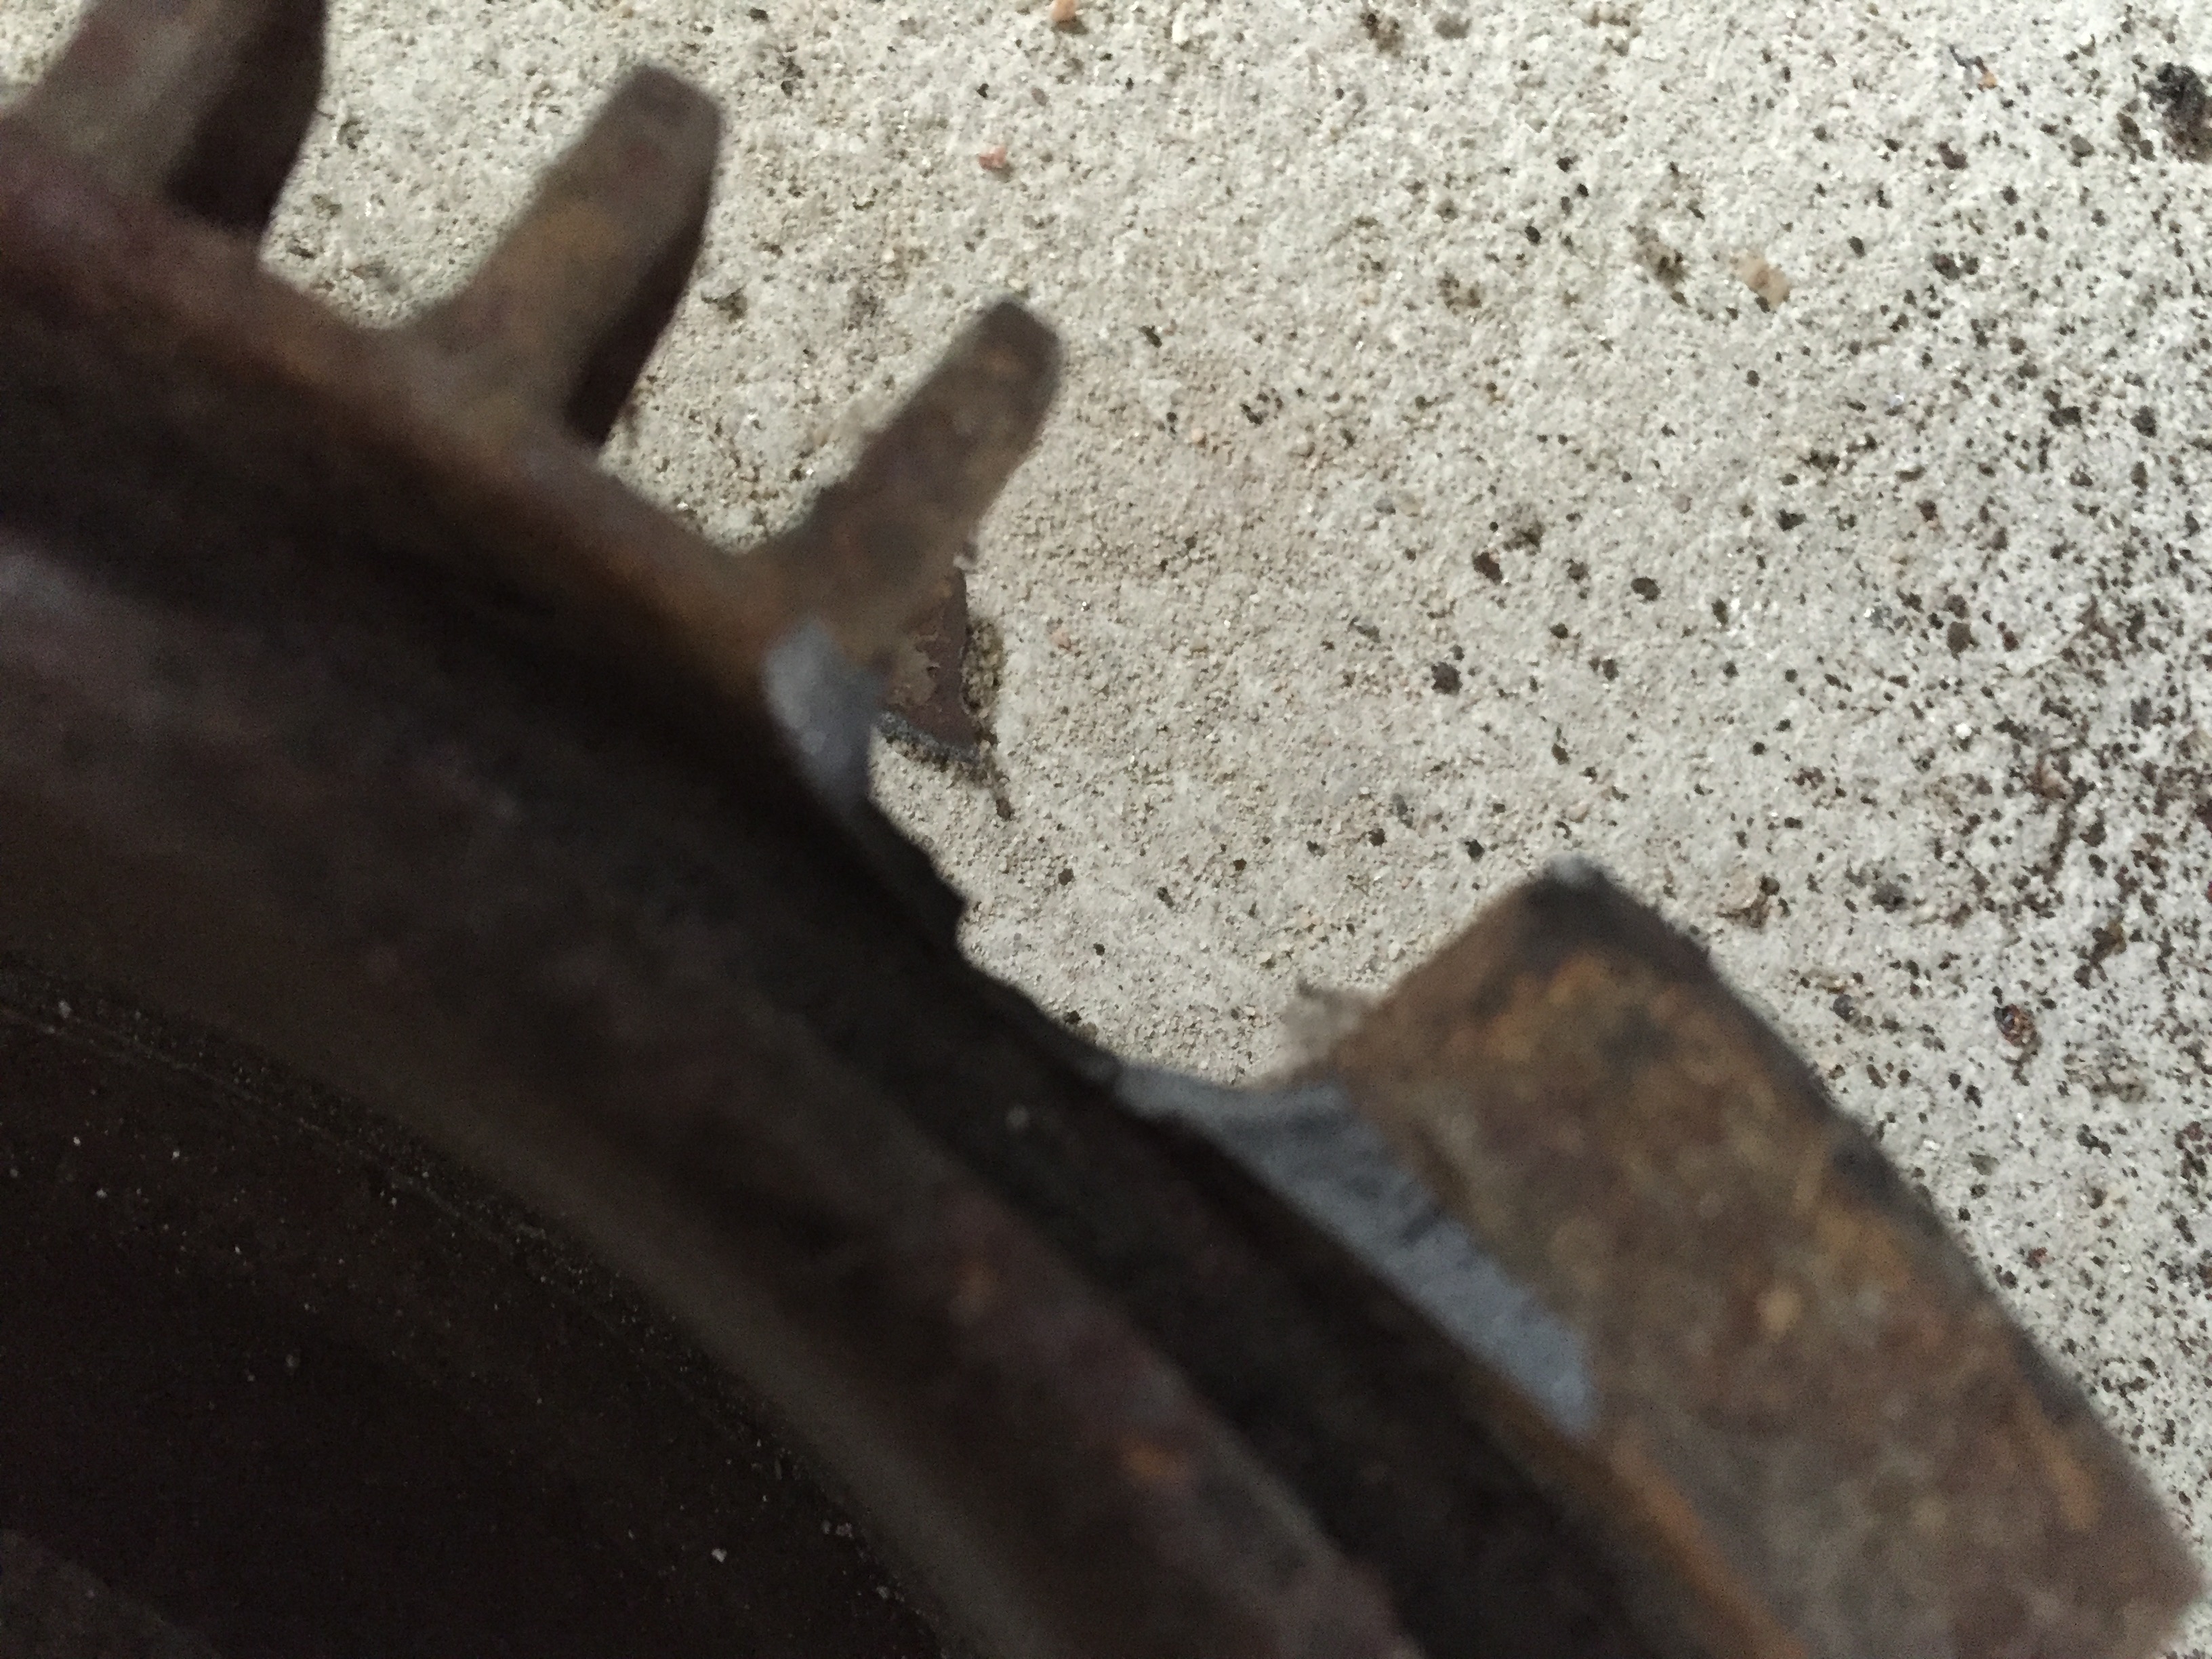
I should have quit the job there and then, but stupidly decided to whack the back of the brake drum in the three spots for the job, however I missed and knocked off a rib of the brake drum.
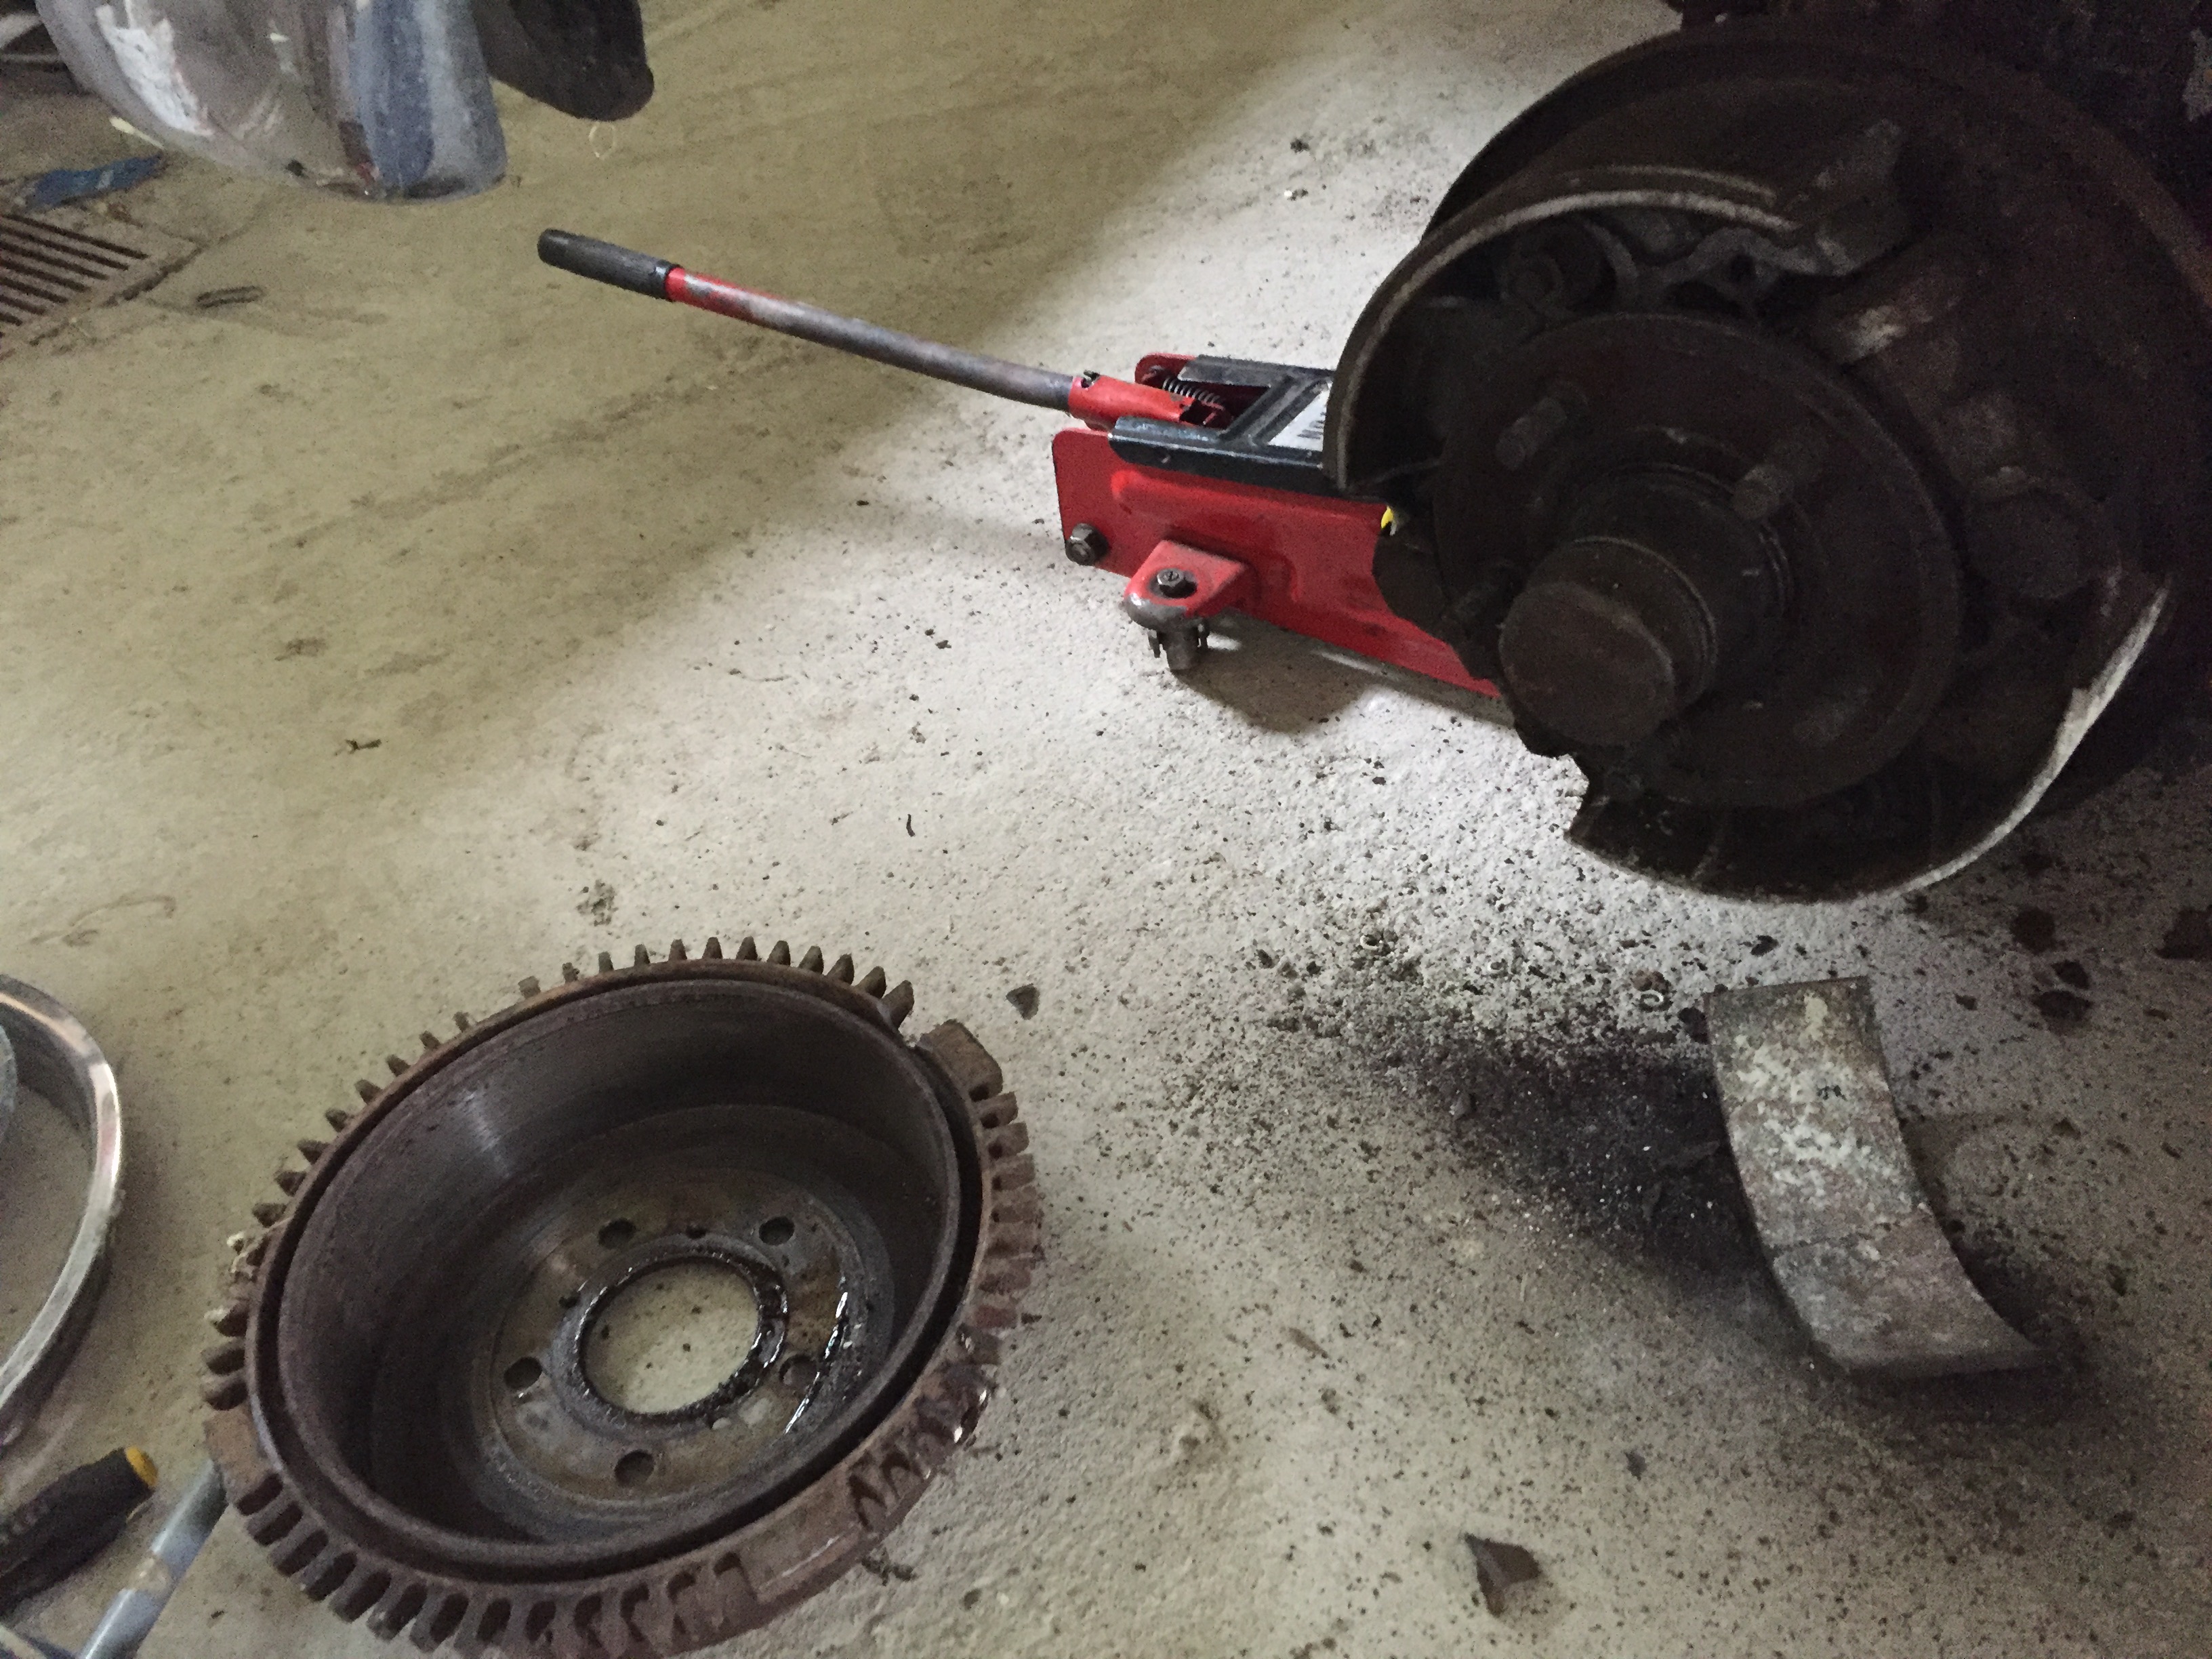
I did manage to remove the brake drum, but broke it in the process :(. Oh well, sometimes things don’t go according to plan. I’ll have to source a replacement brake drum.
Here’s a schematic of the bolts, springs, brake shoes etc from the front.
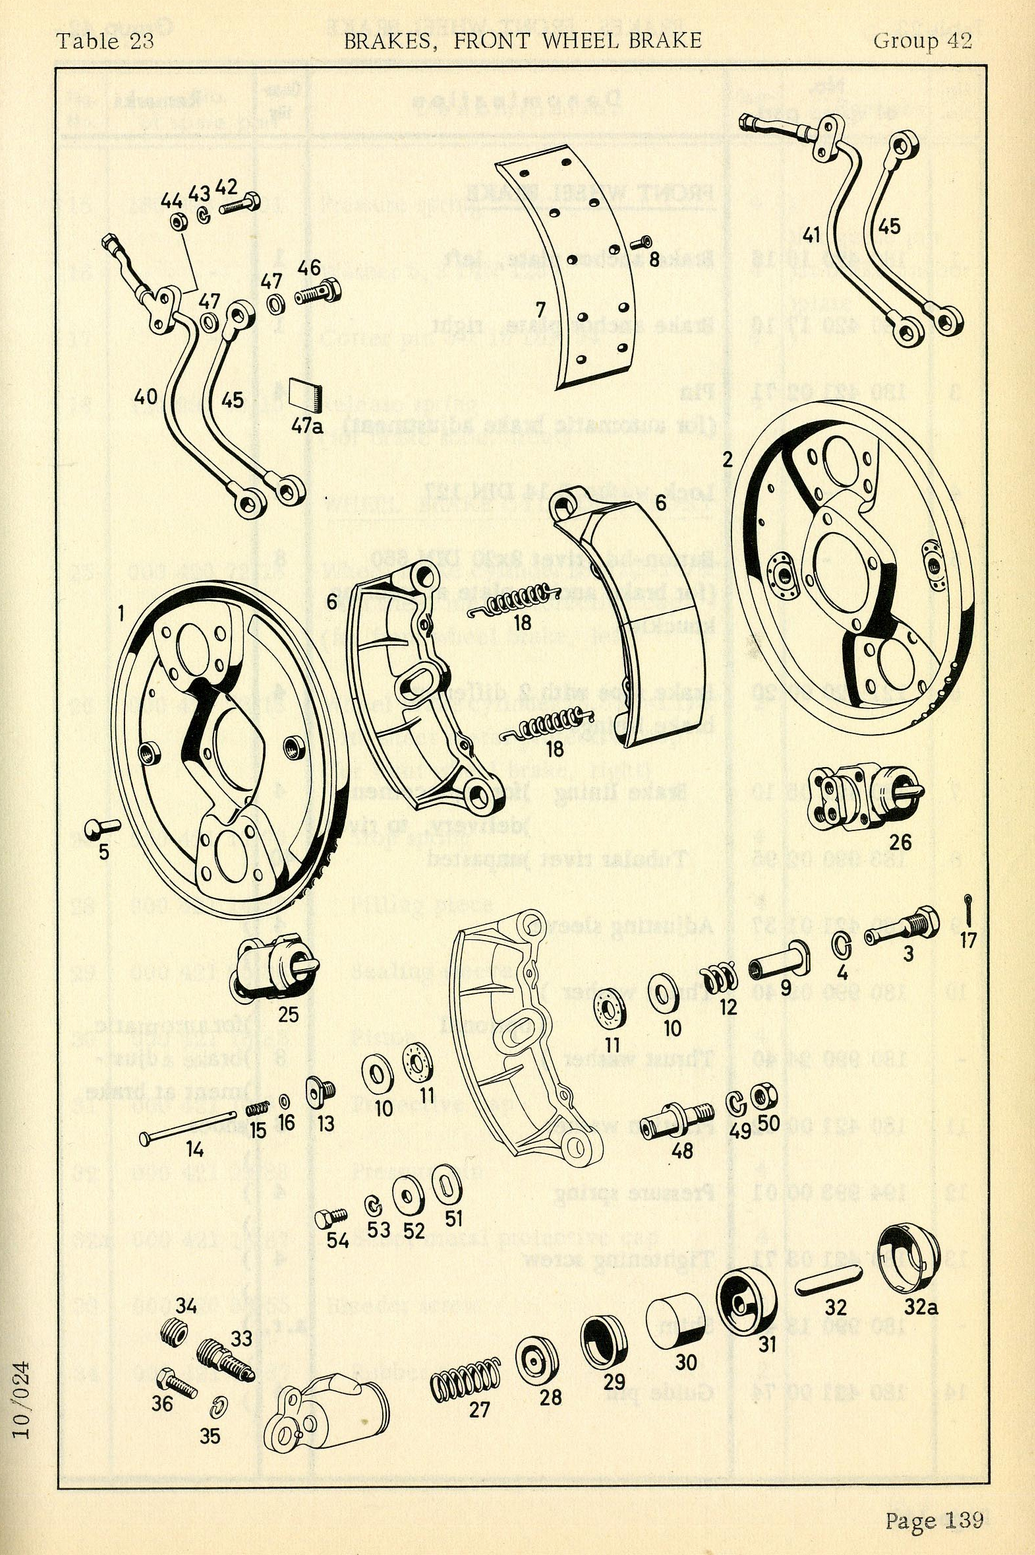
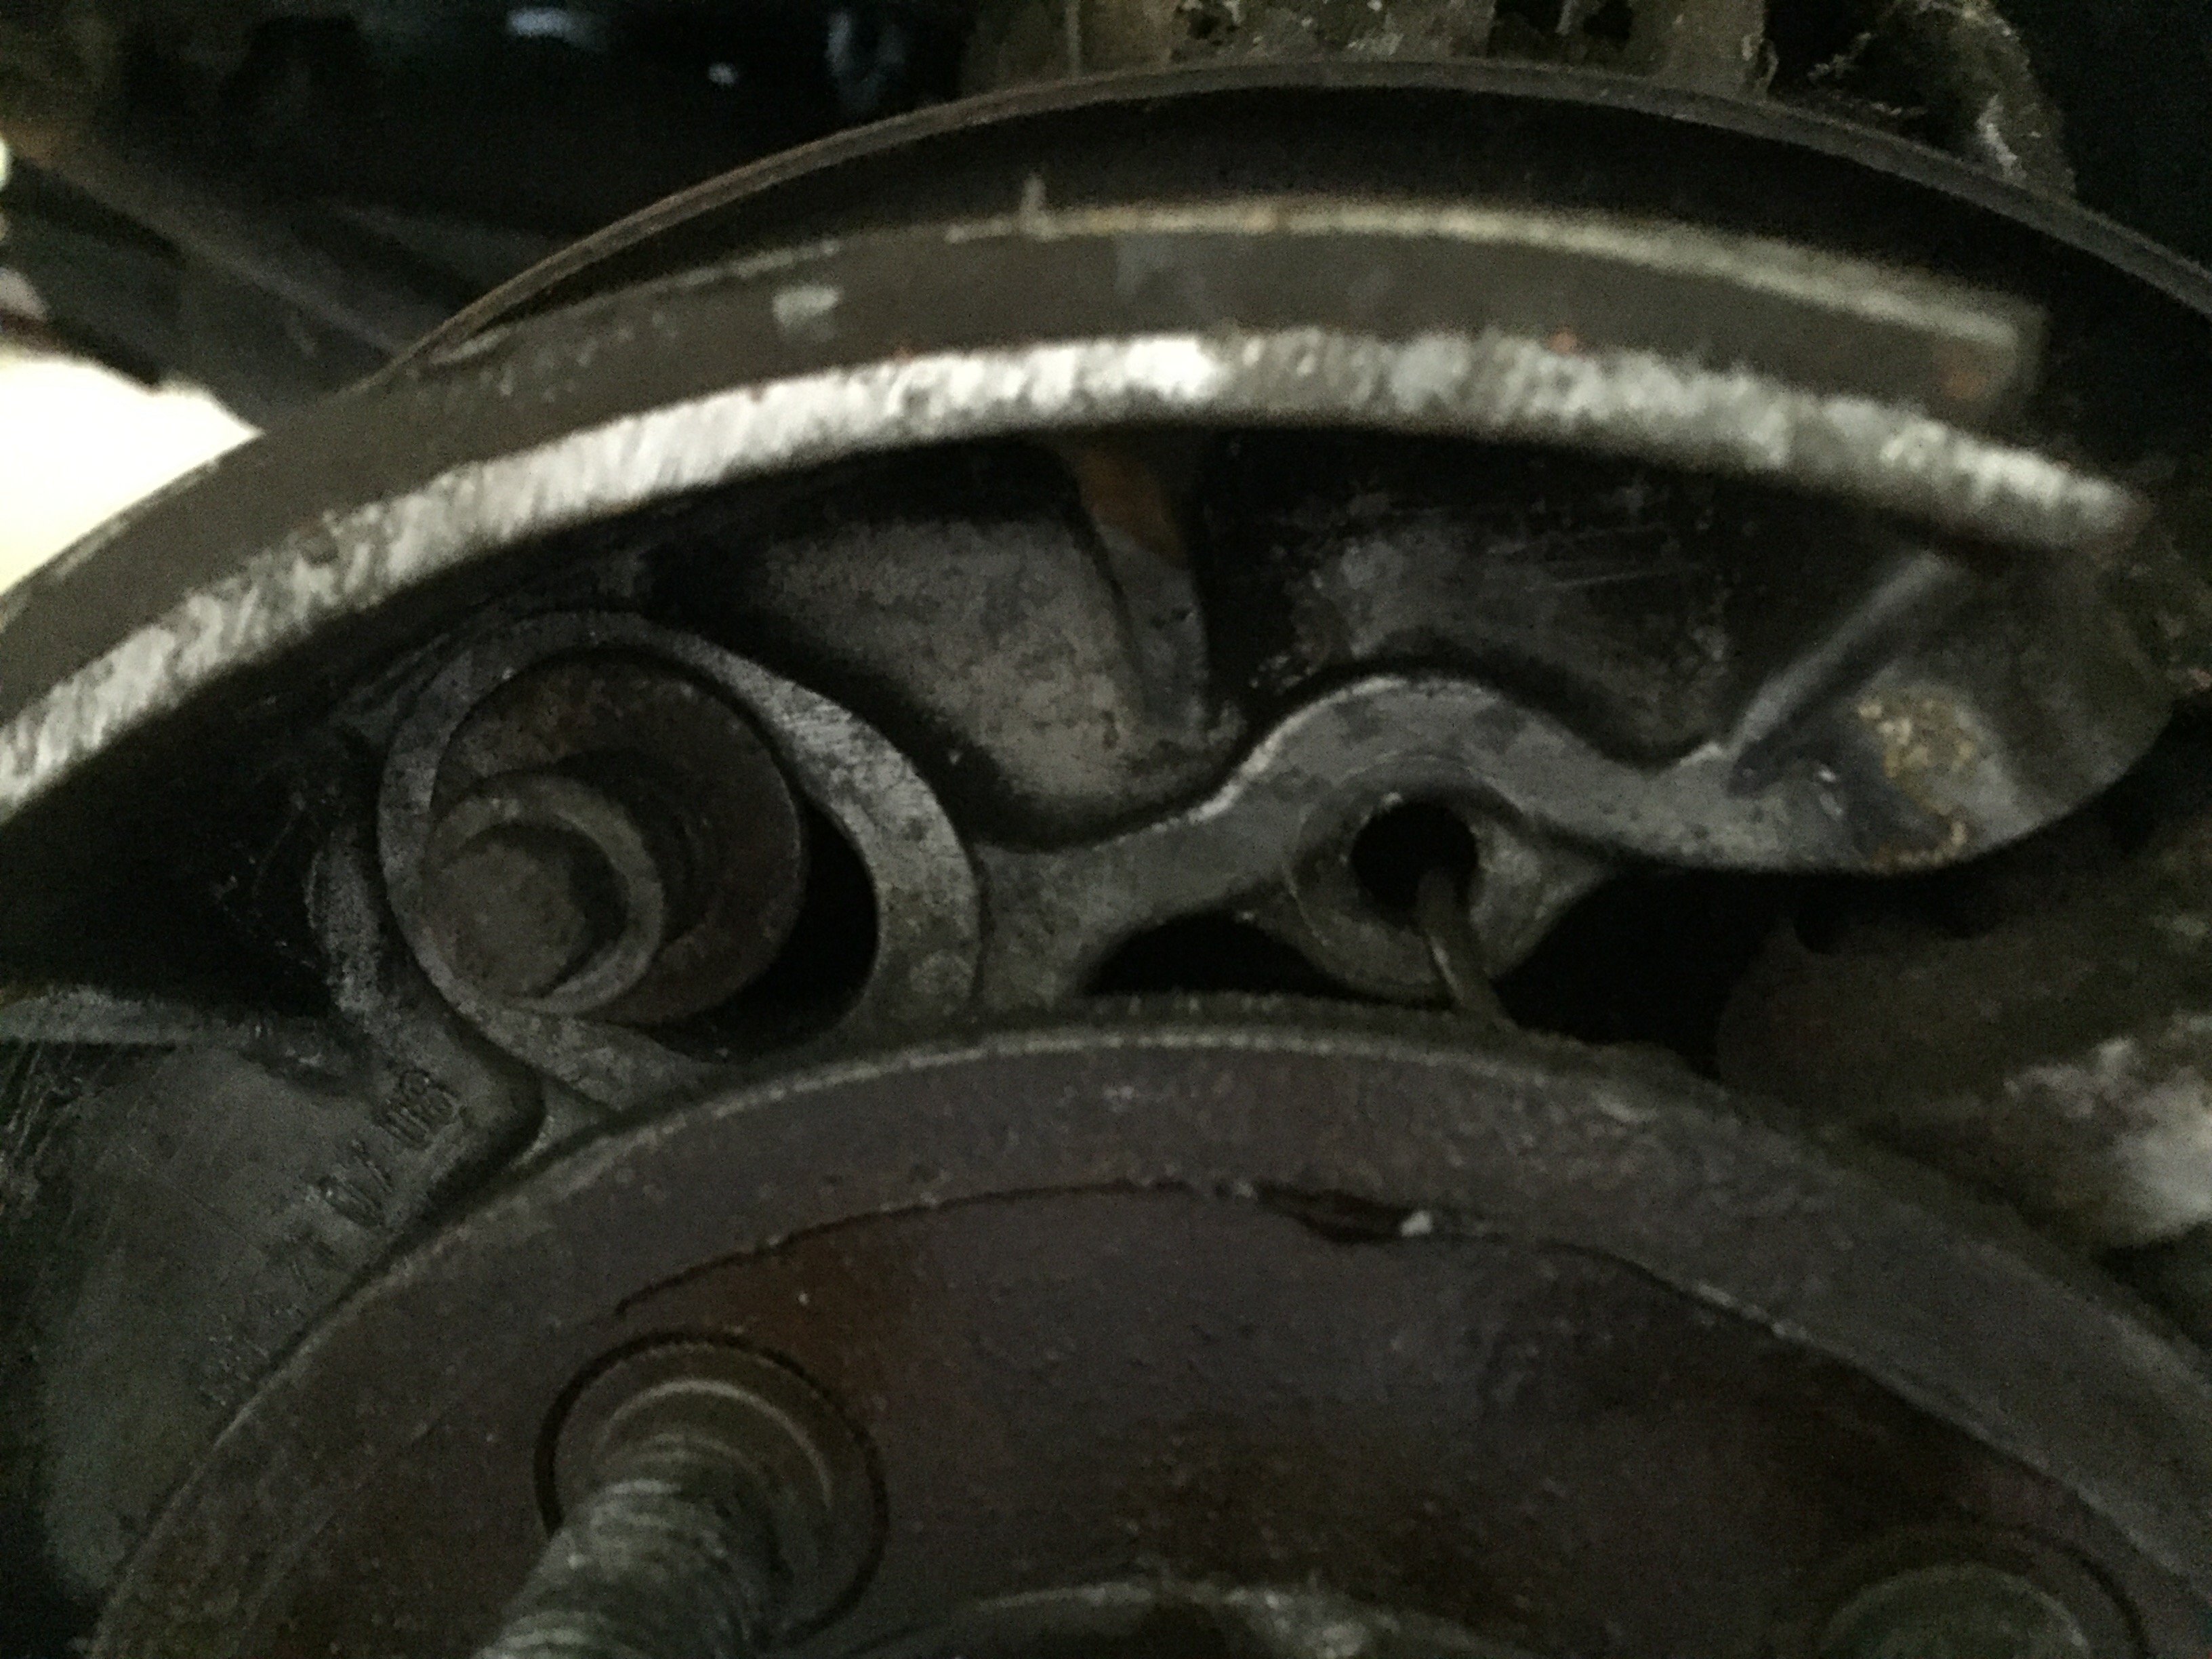
Once I got over the annoyance of damaging the break drum, I took a few photos of the brake cylinders and shoes as they were. You can make out the top most spring (18 in the figure above) holding the two brake shoes together, there’s also one in the lower side.
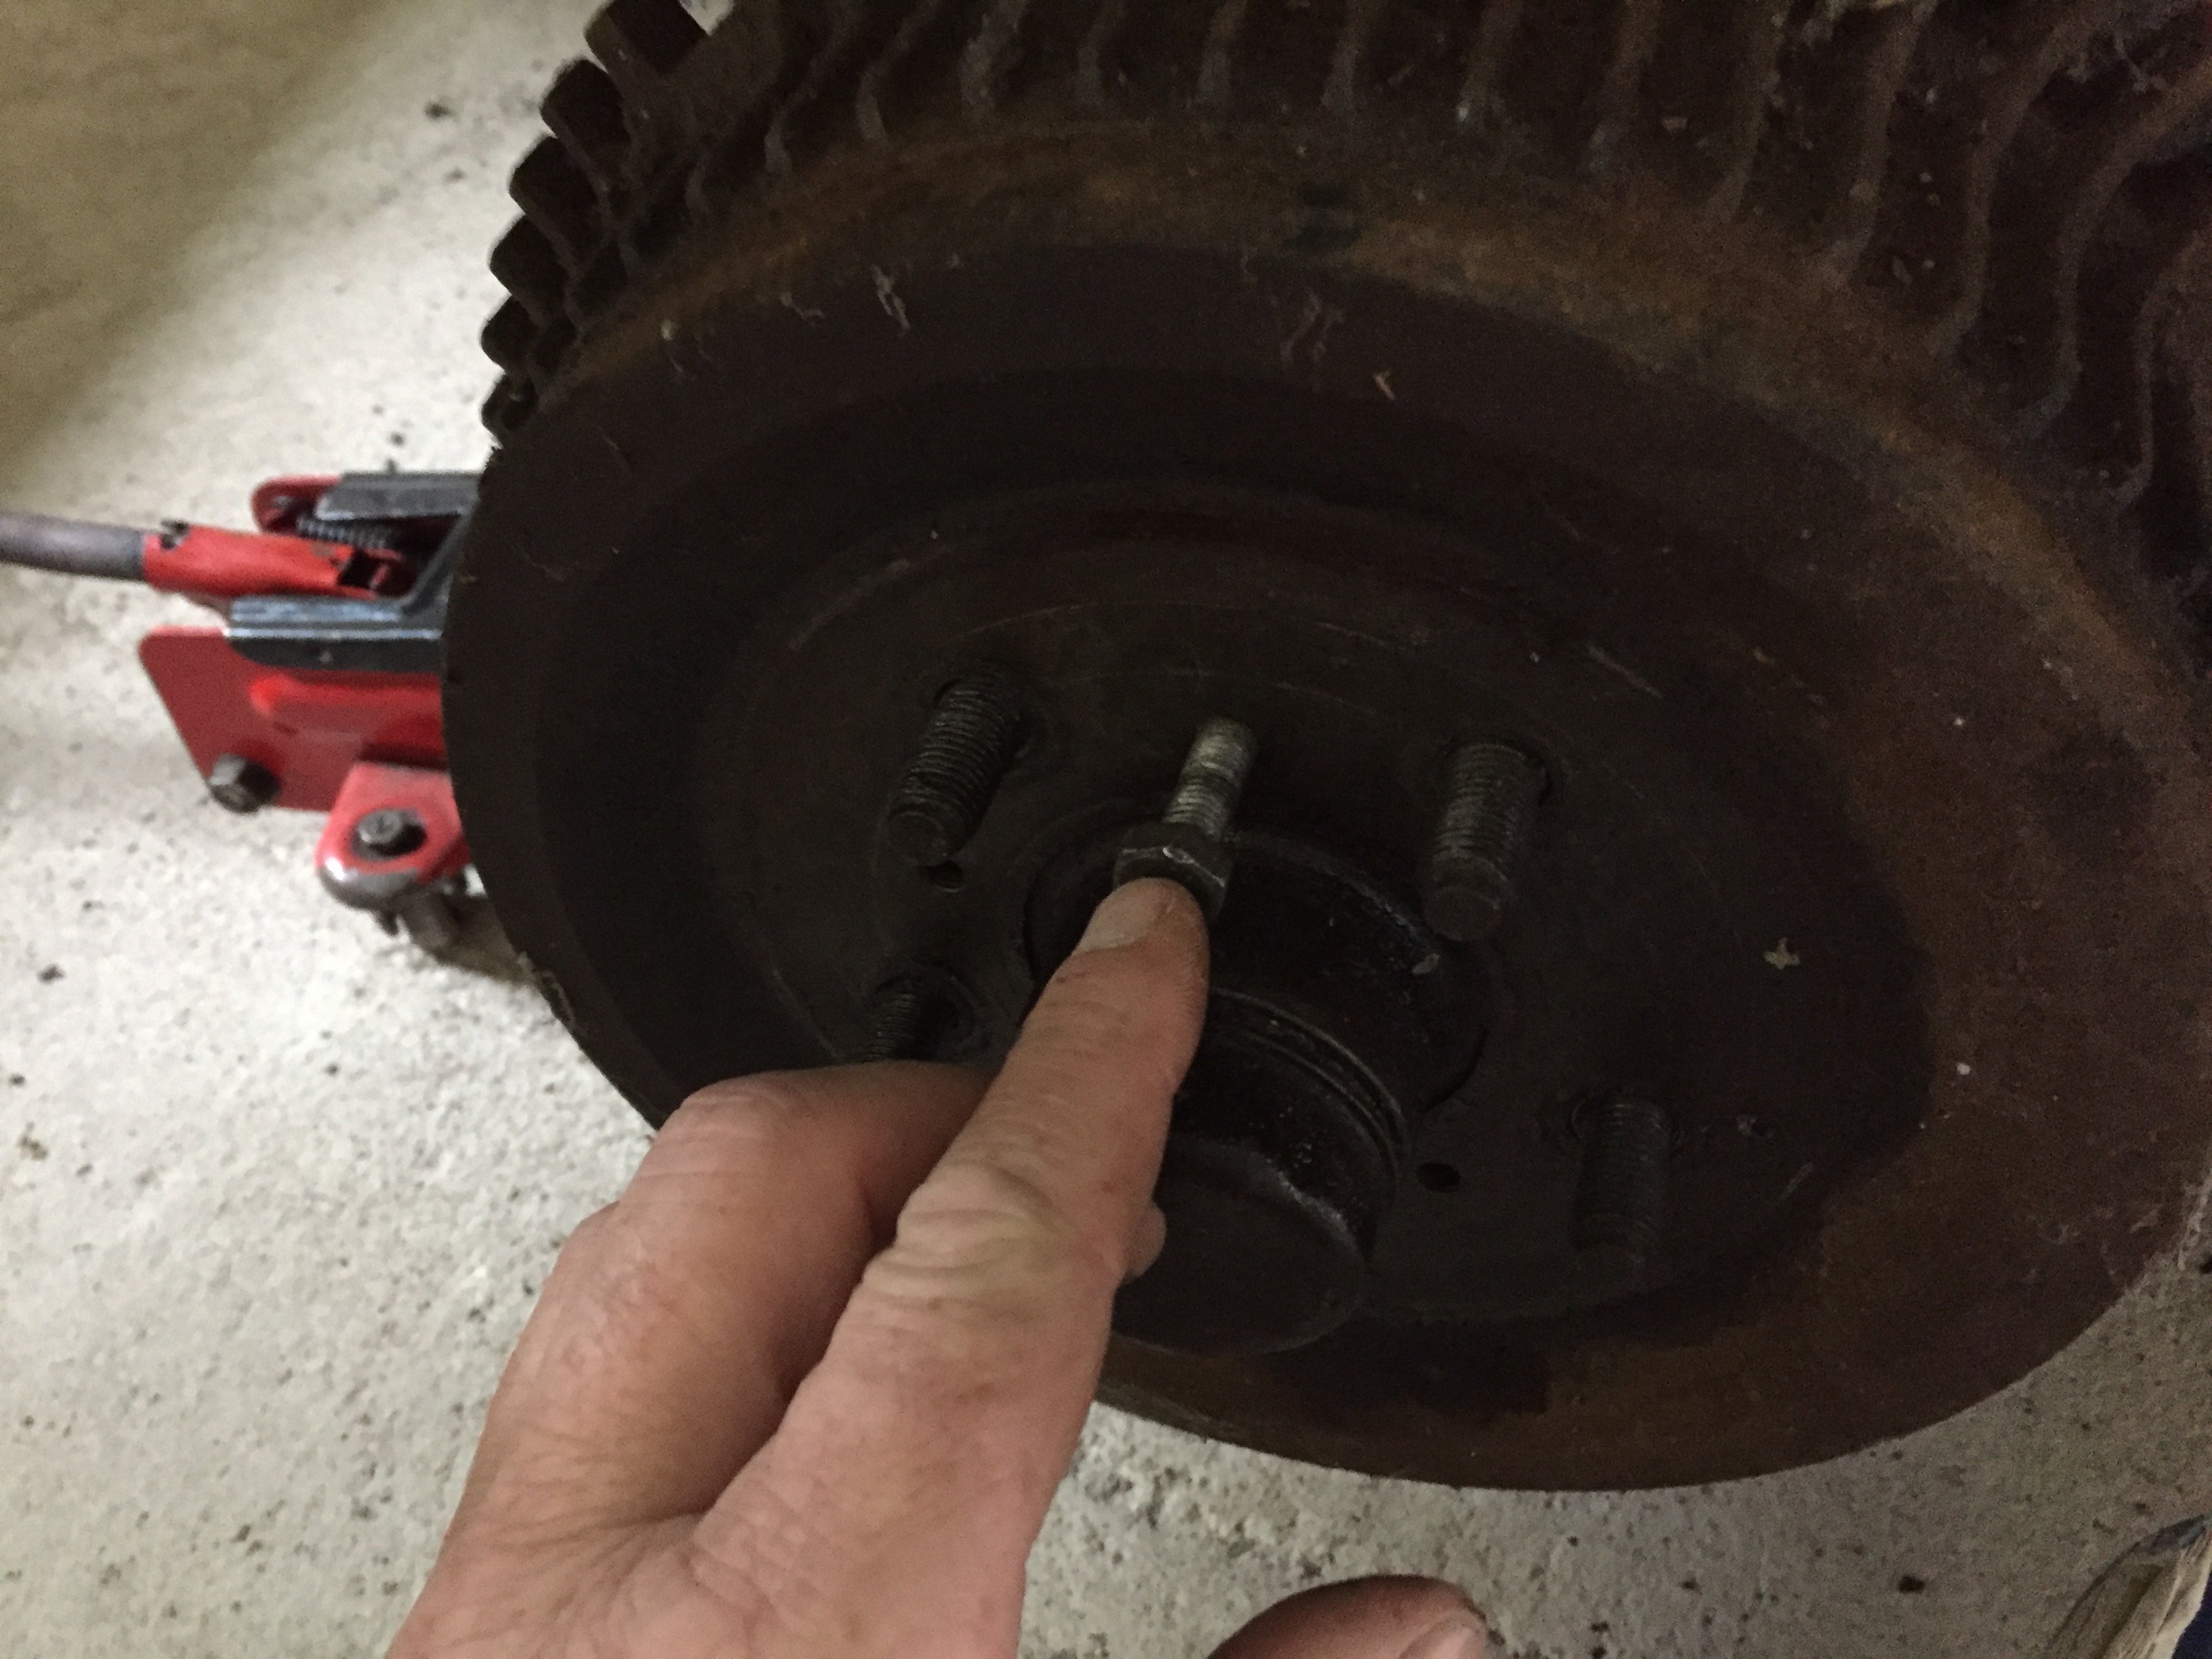
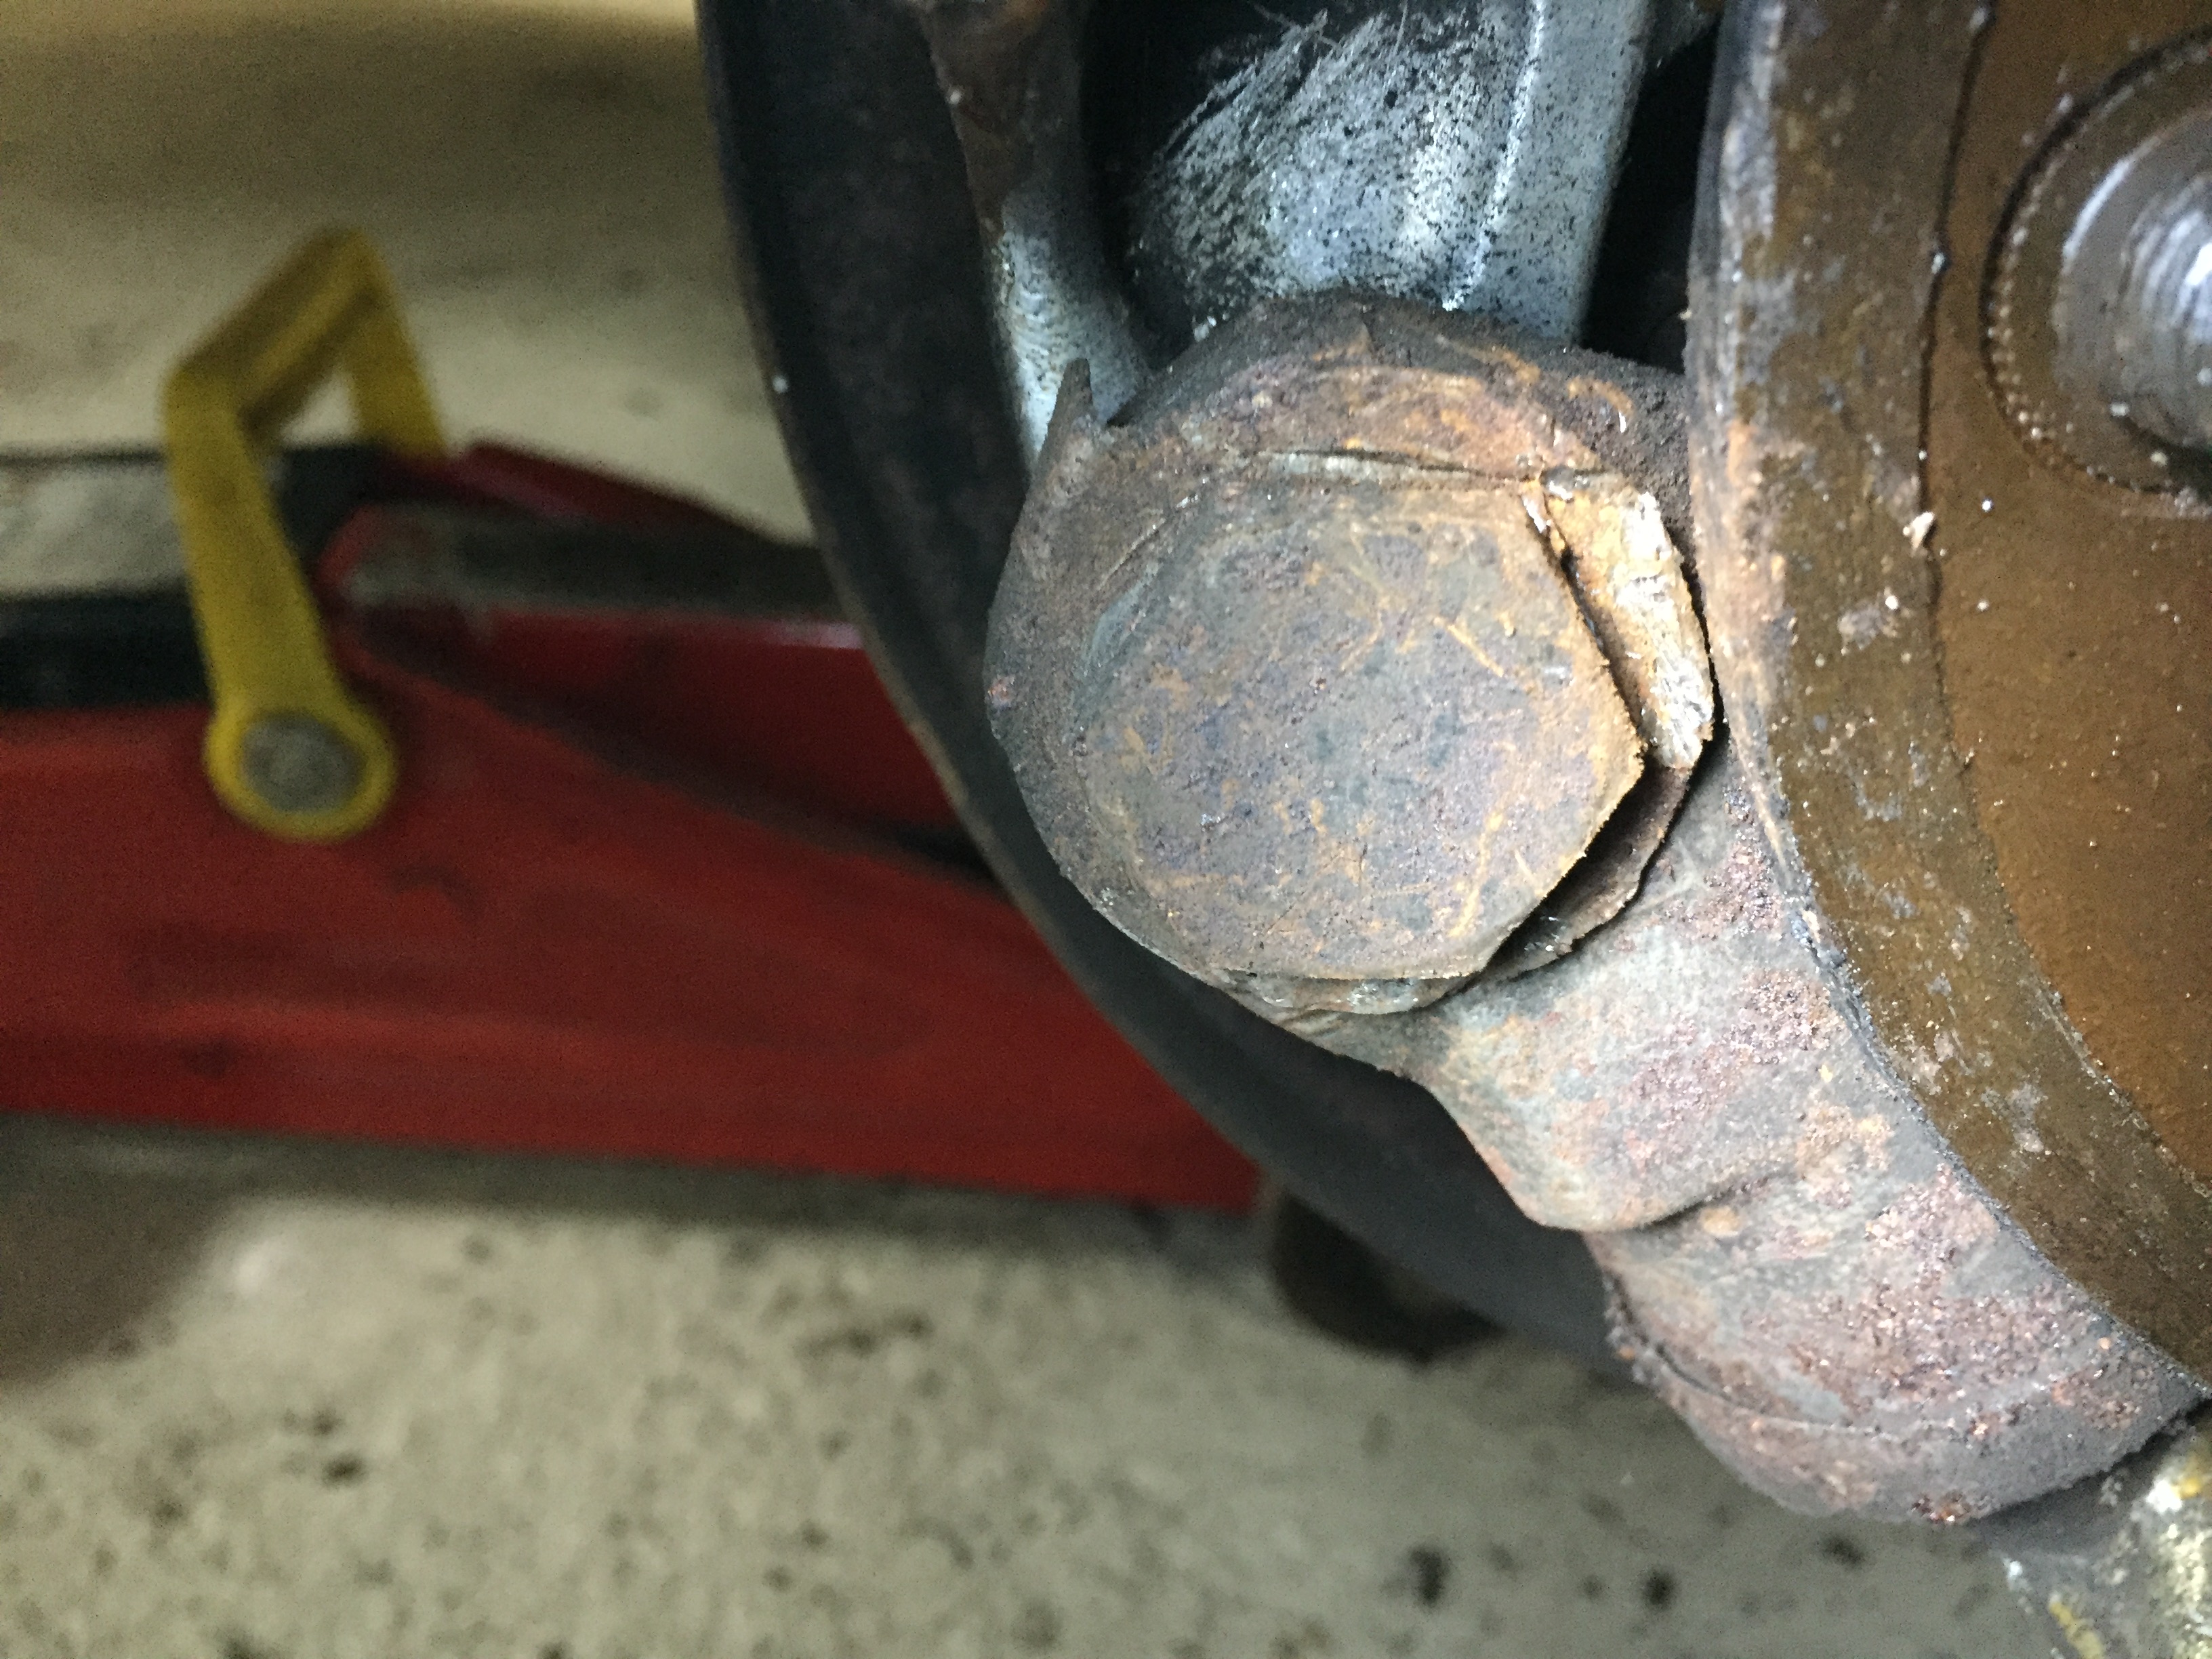
Next I decided to try and remove the brake shoes, but in order to do so you need to release some bolts.
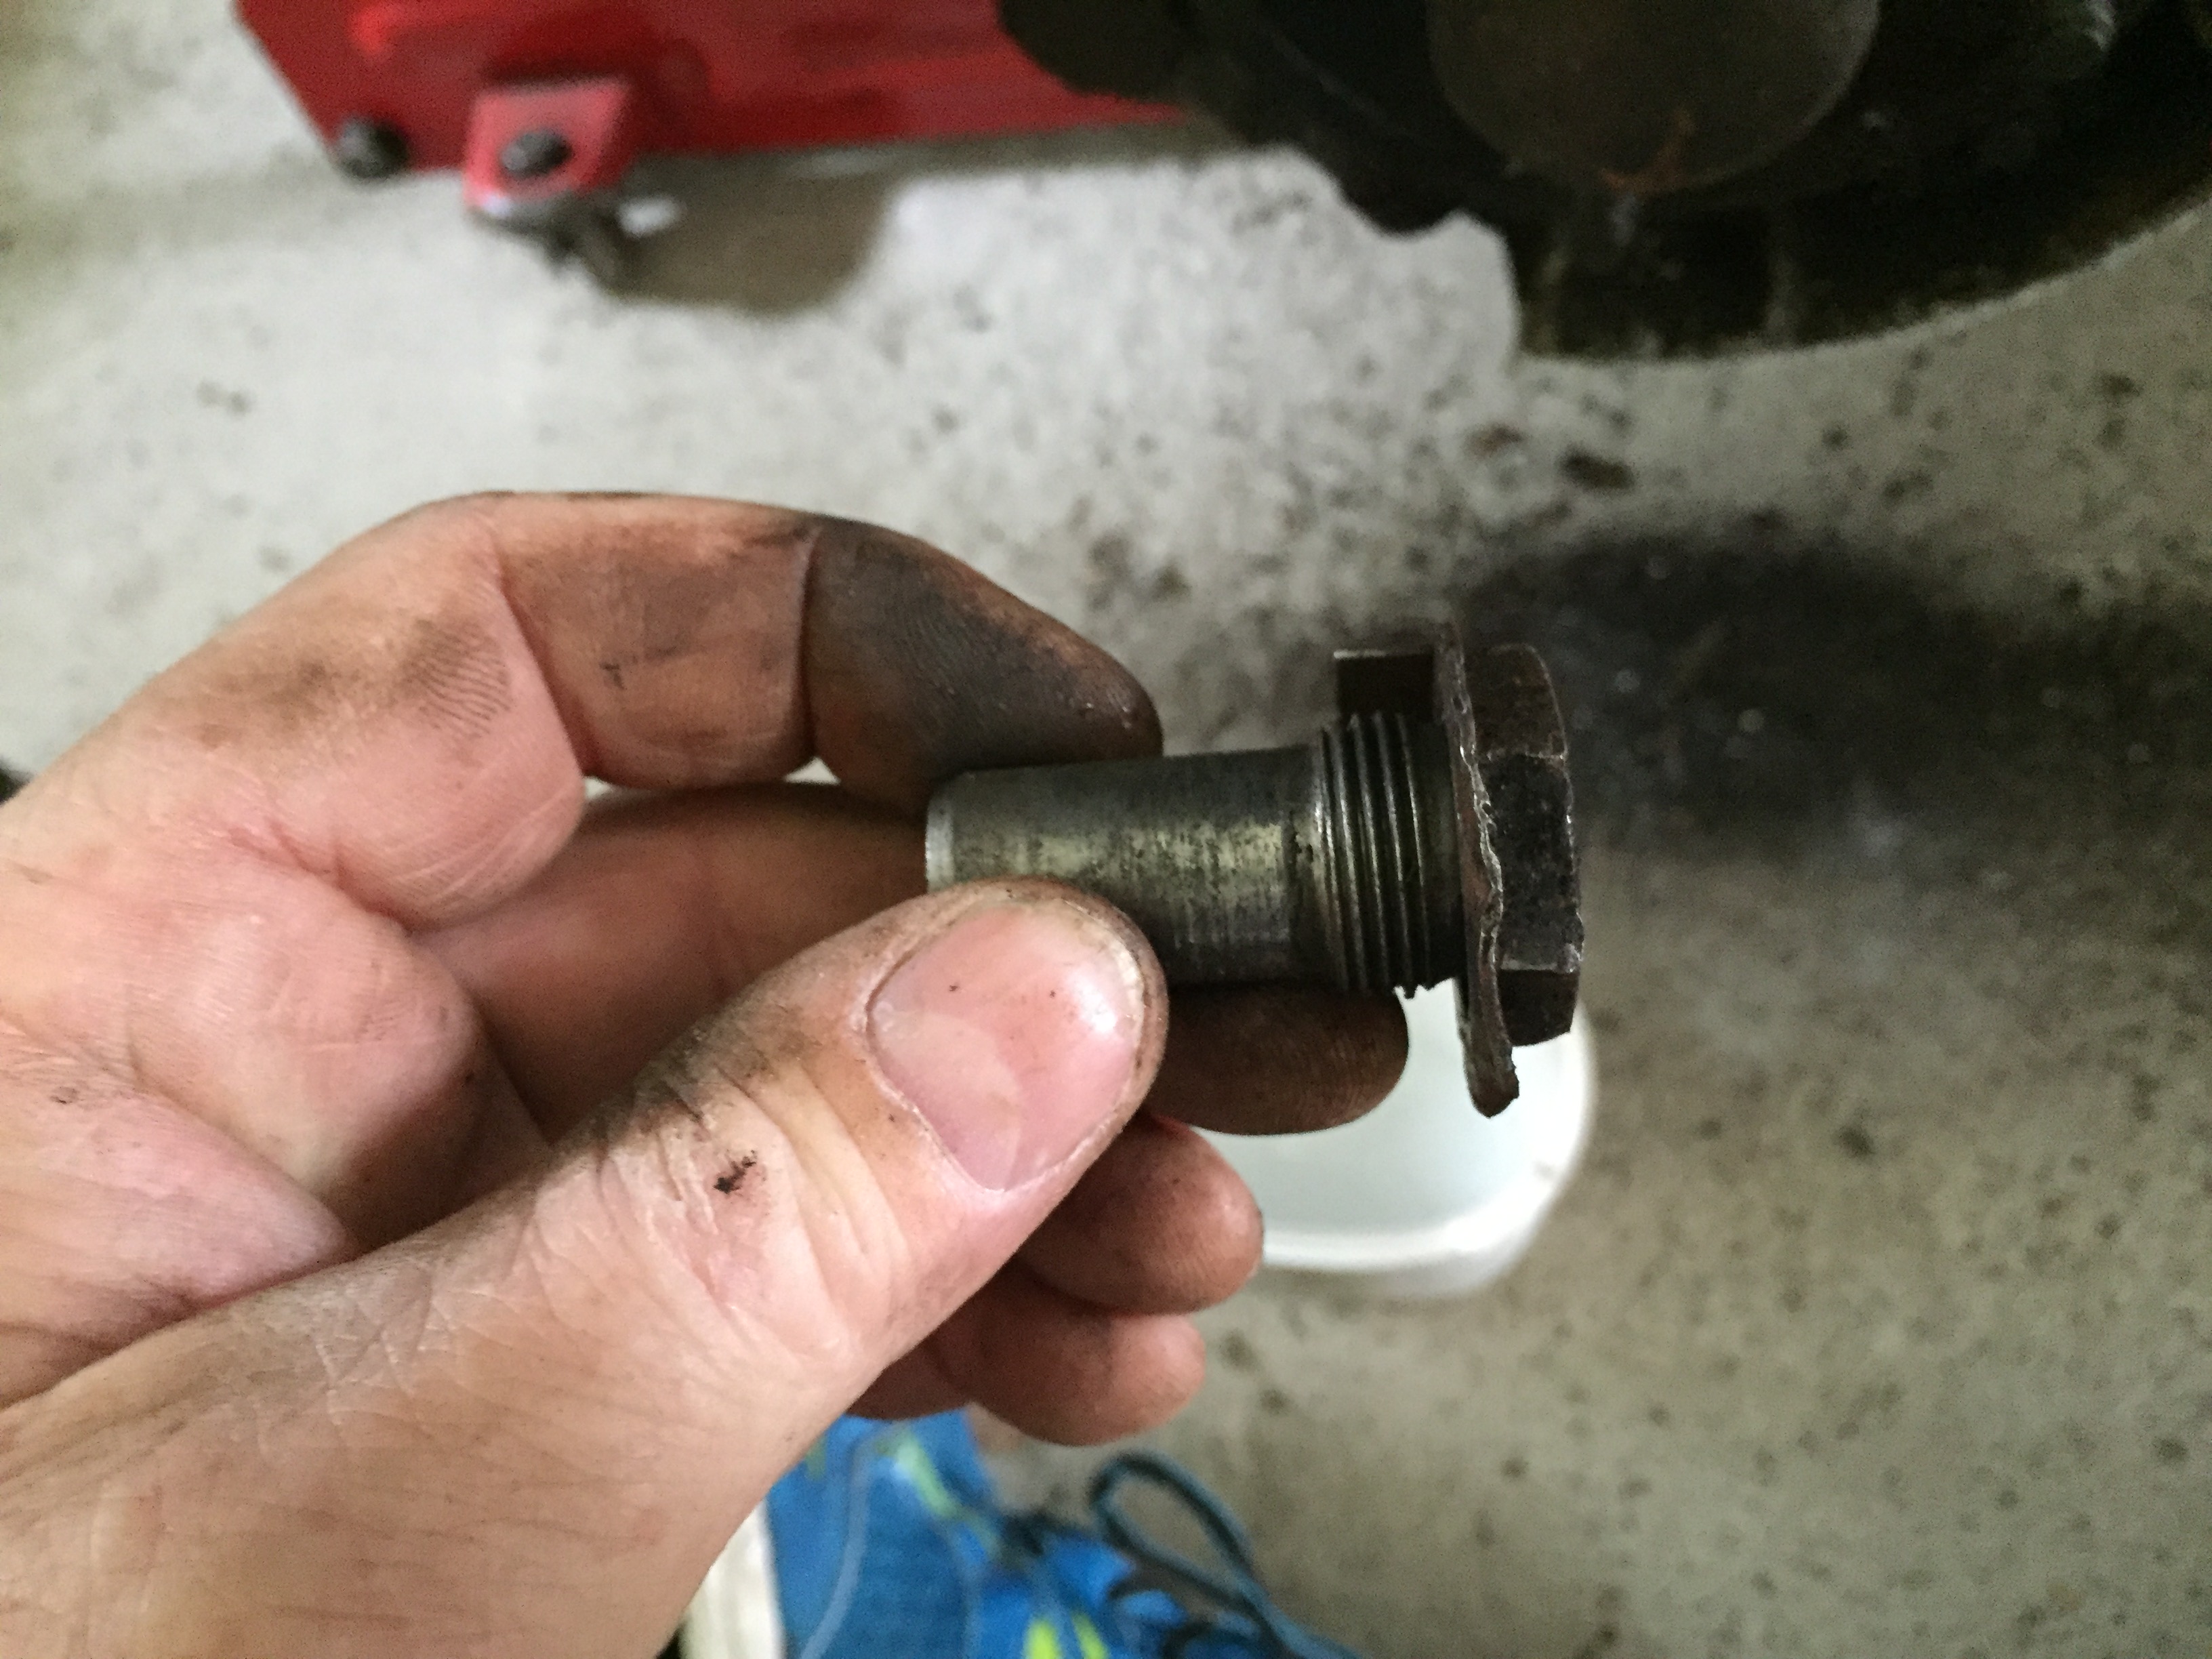
I proceeded to remove the bolts holding the two brake shoes in place, but in order to do so you have to lift a ‘tab’ on the steel washer holding the bolts in place. You can see that ‘tab’ in the photo above just in the area where the big bolt is closest to the hub.
I used a flat bladed screwdriver and maneuvered the ‘tab’ so that the washer was flat again. This allowed me to loosen the bolt.

And here it is once removed.
Then I started on the the other side, here you can see I’ve flattened the tab.
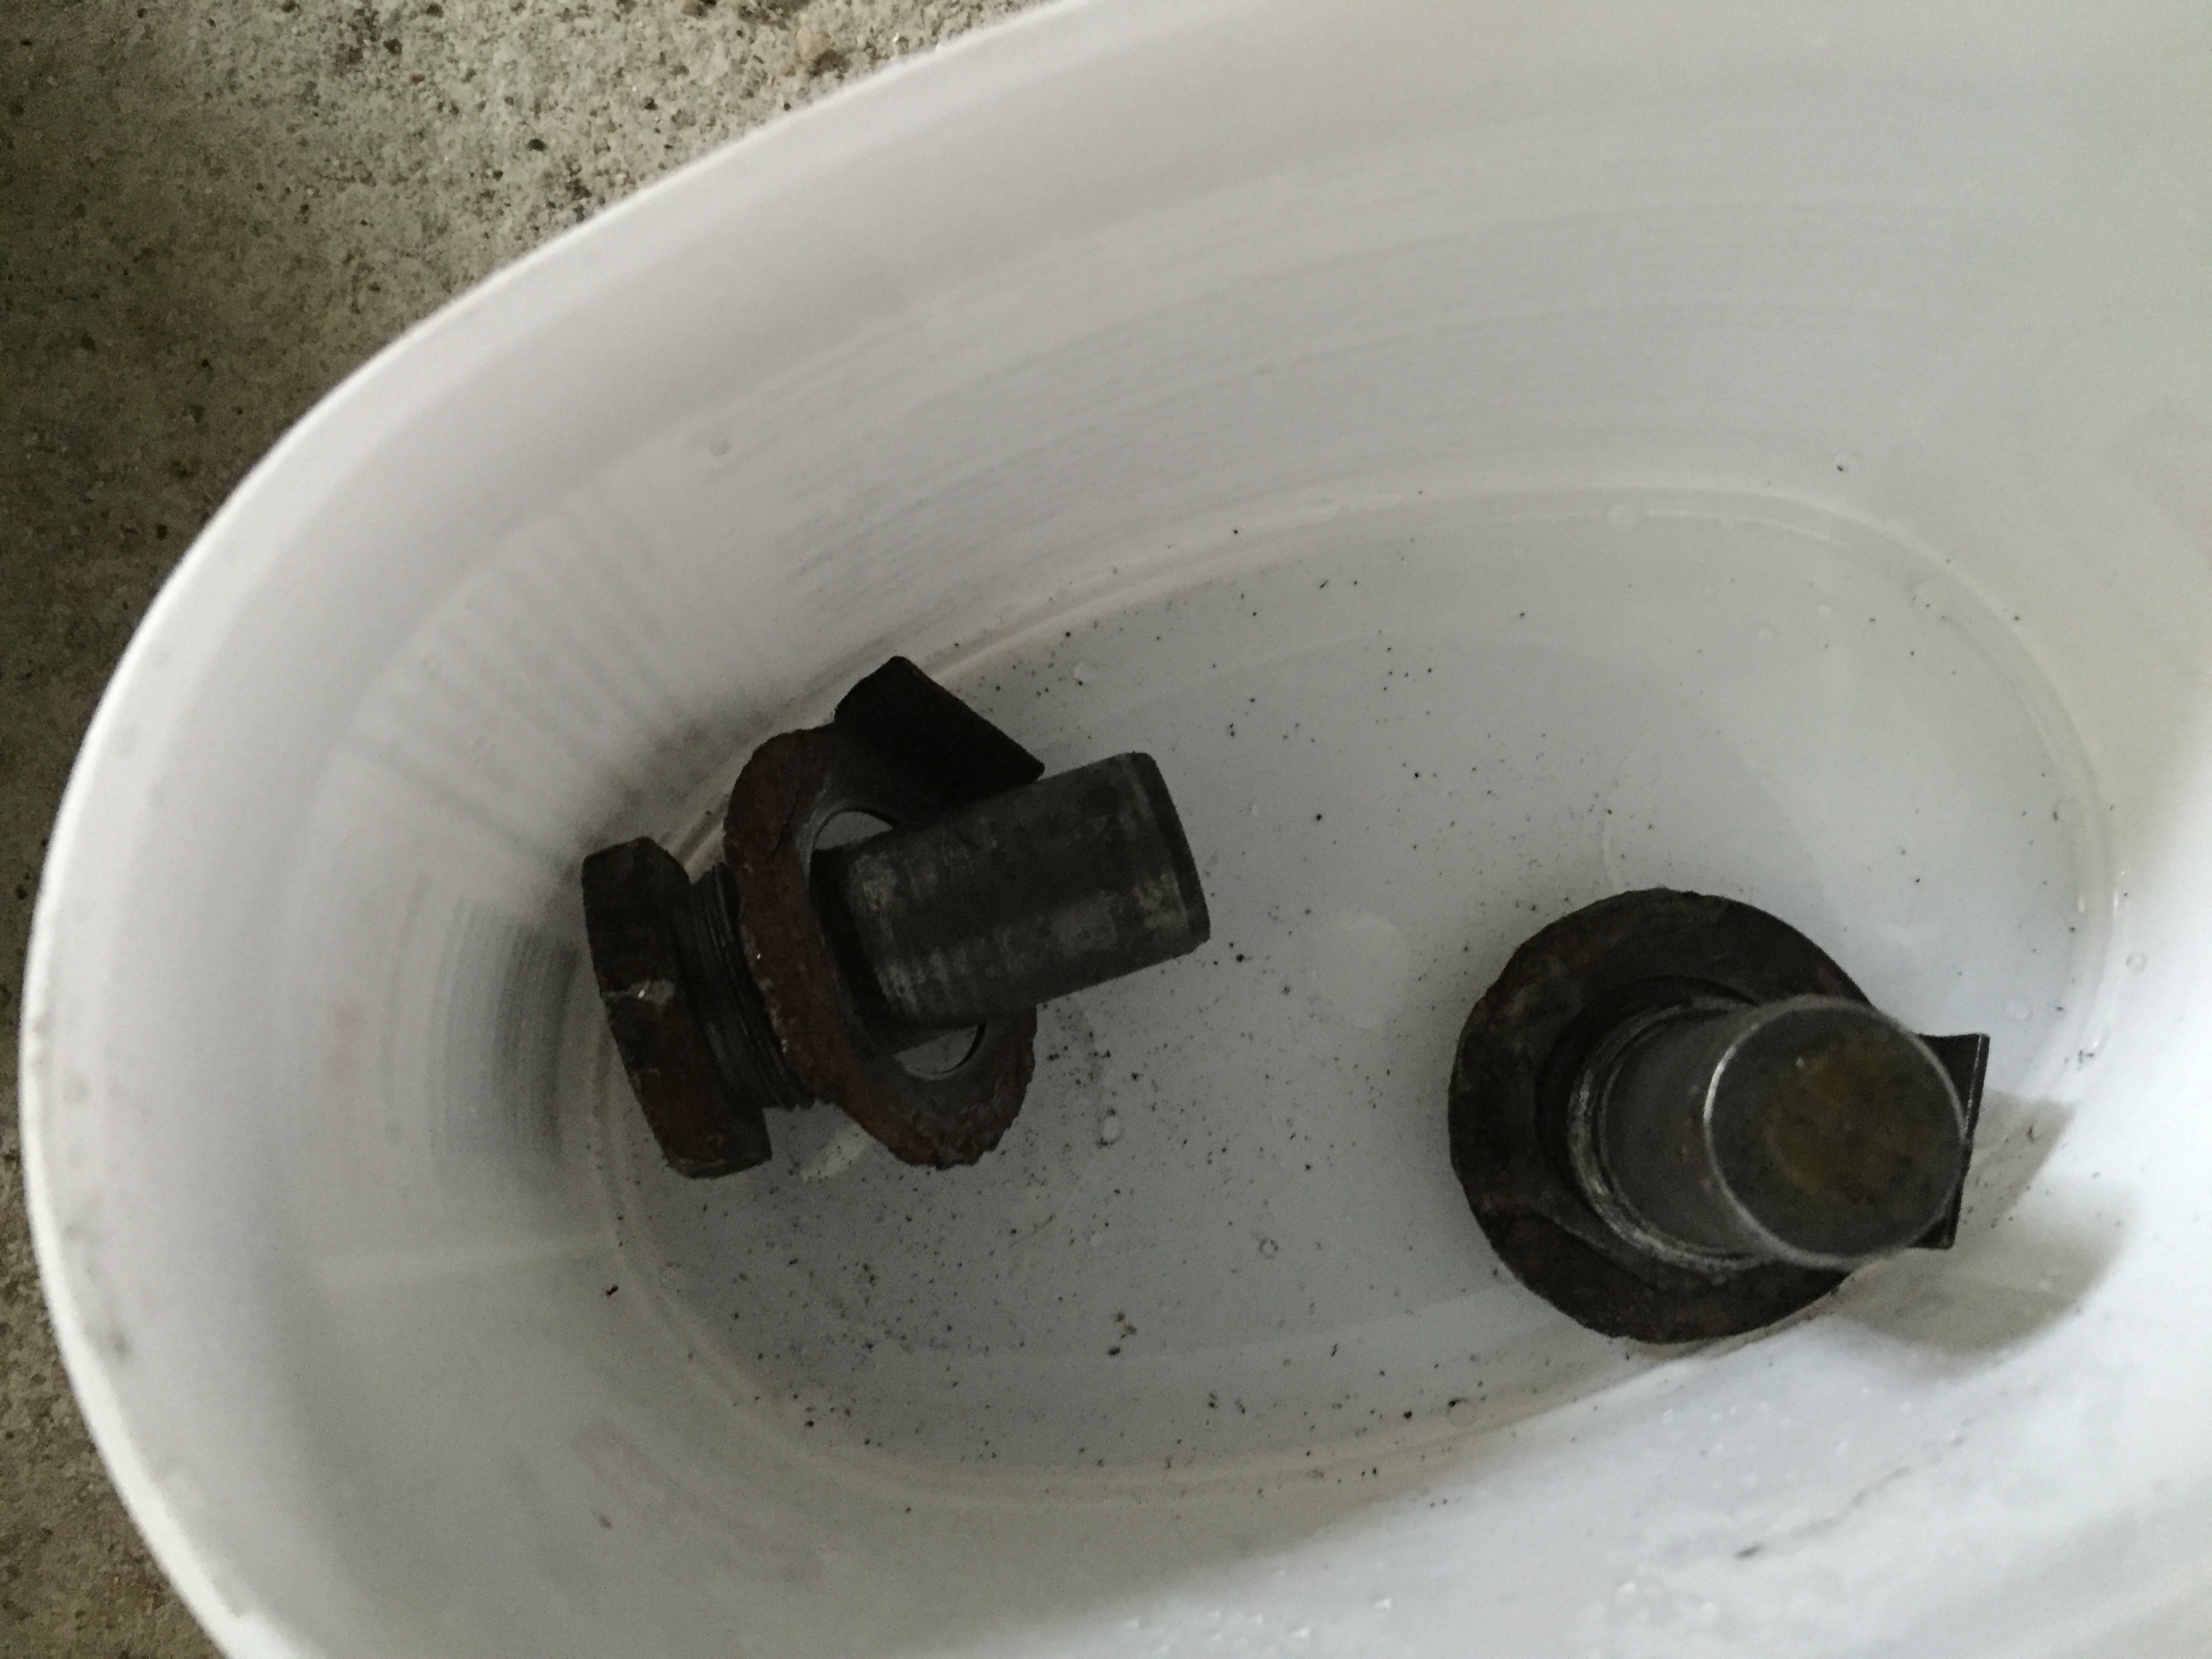
and the other bolt is out, it’s a good idea to have a clean box or old ice cream tub to place the bits in, as you don’t want to lose anything.
Next I removed the top and bottom springs holding the brake shoes together (number 18 in the figure above). I used a tool with a groove in it to easily pull the spring top out from the shoe. Here’s the top most removed spring.

Then I removed the small bolt, washer, spring, in the center of each brake shoe (

After doing that I was able to remove both brake shoes.
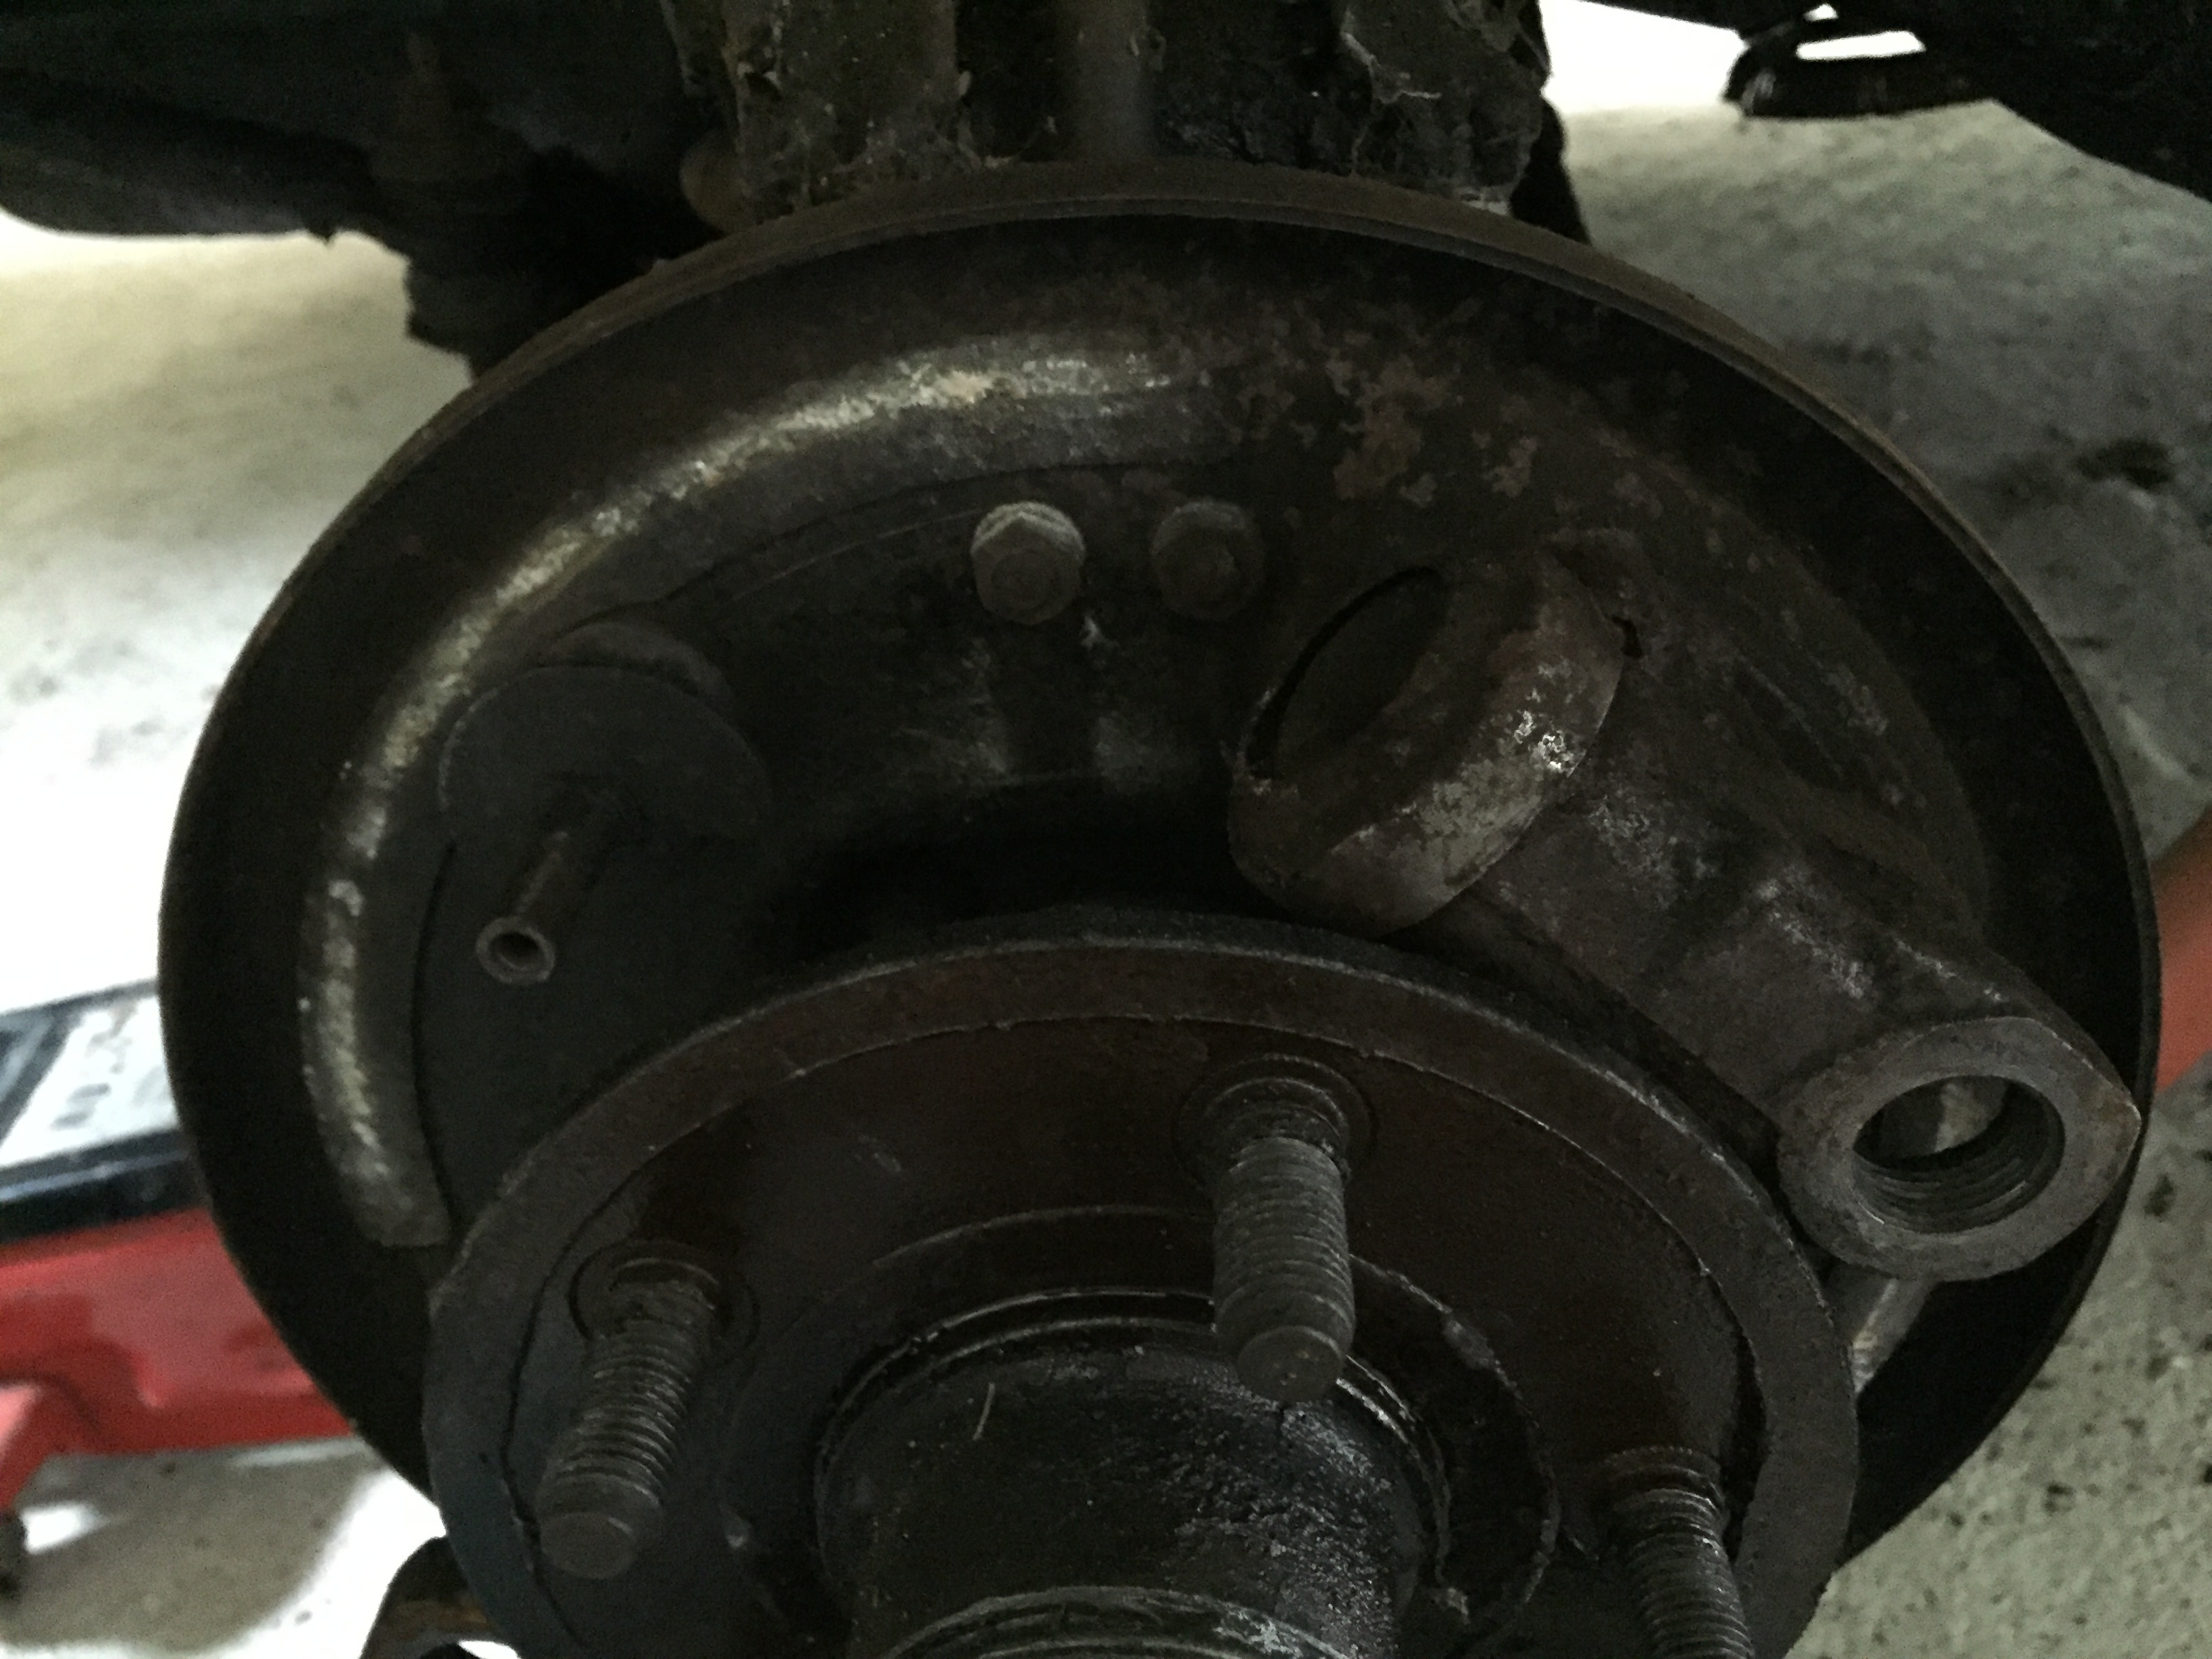
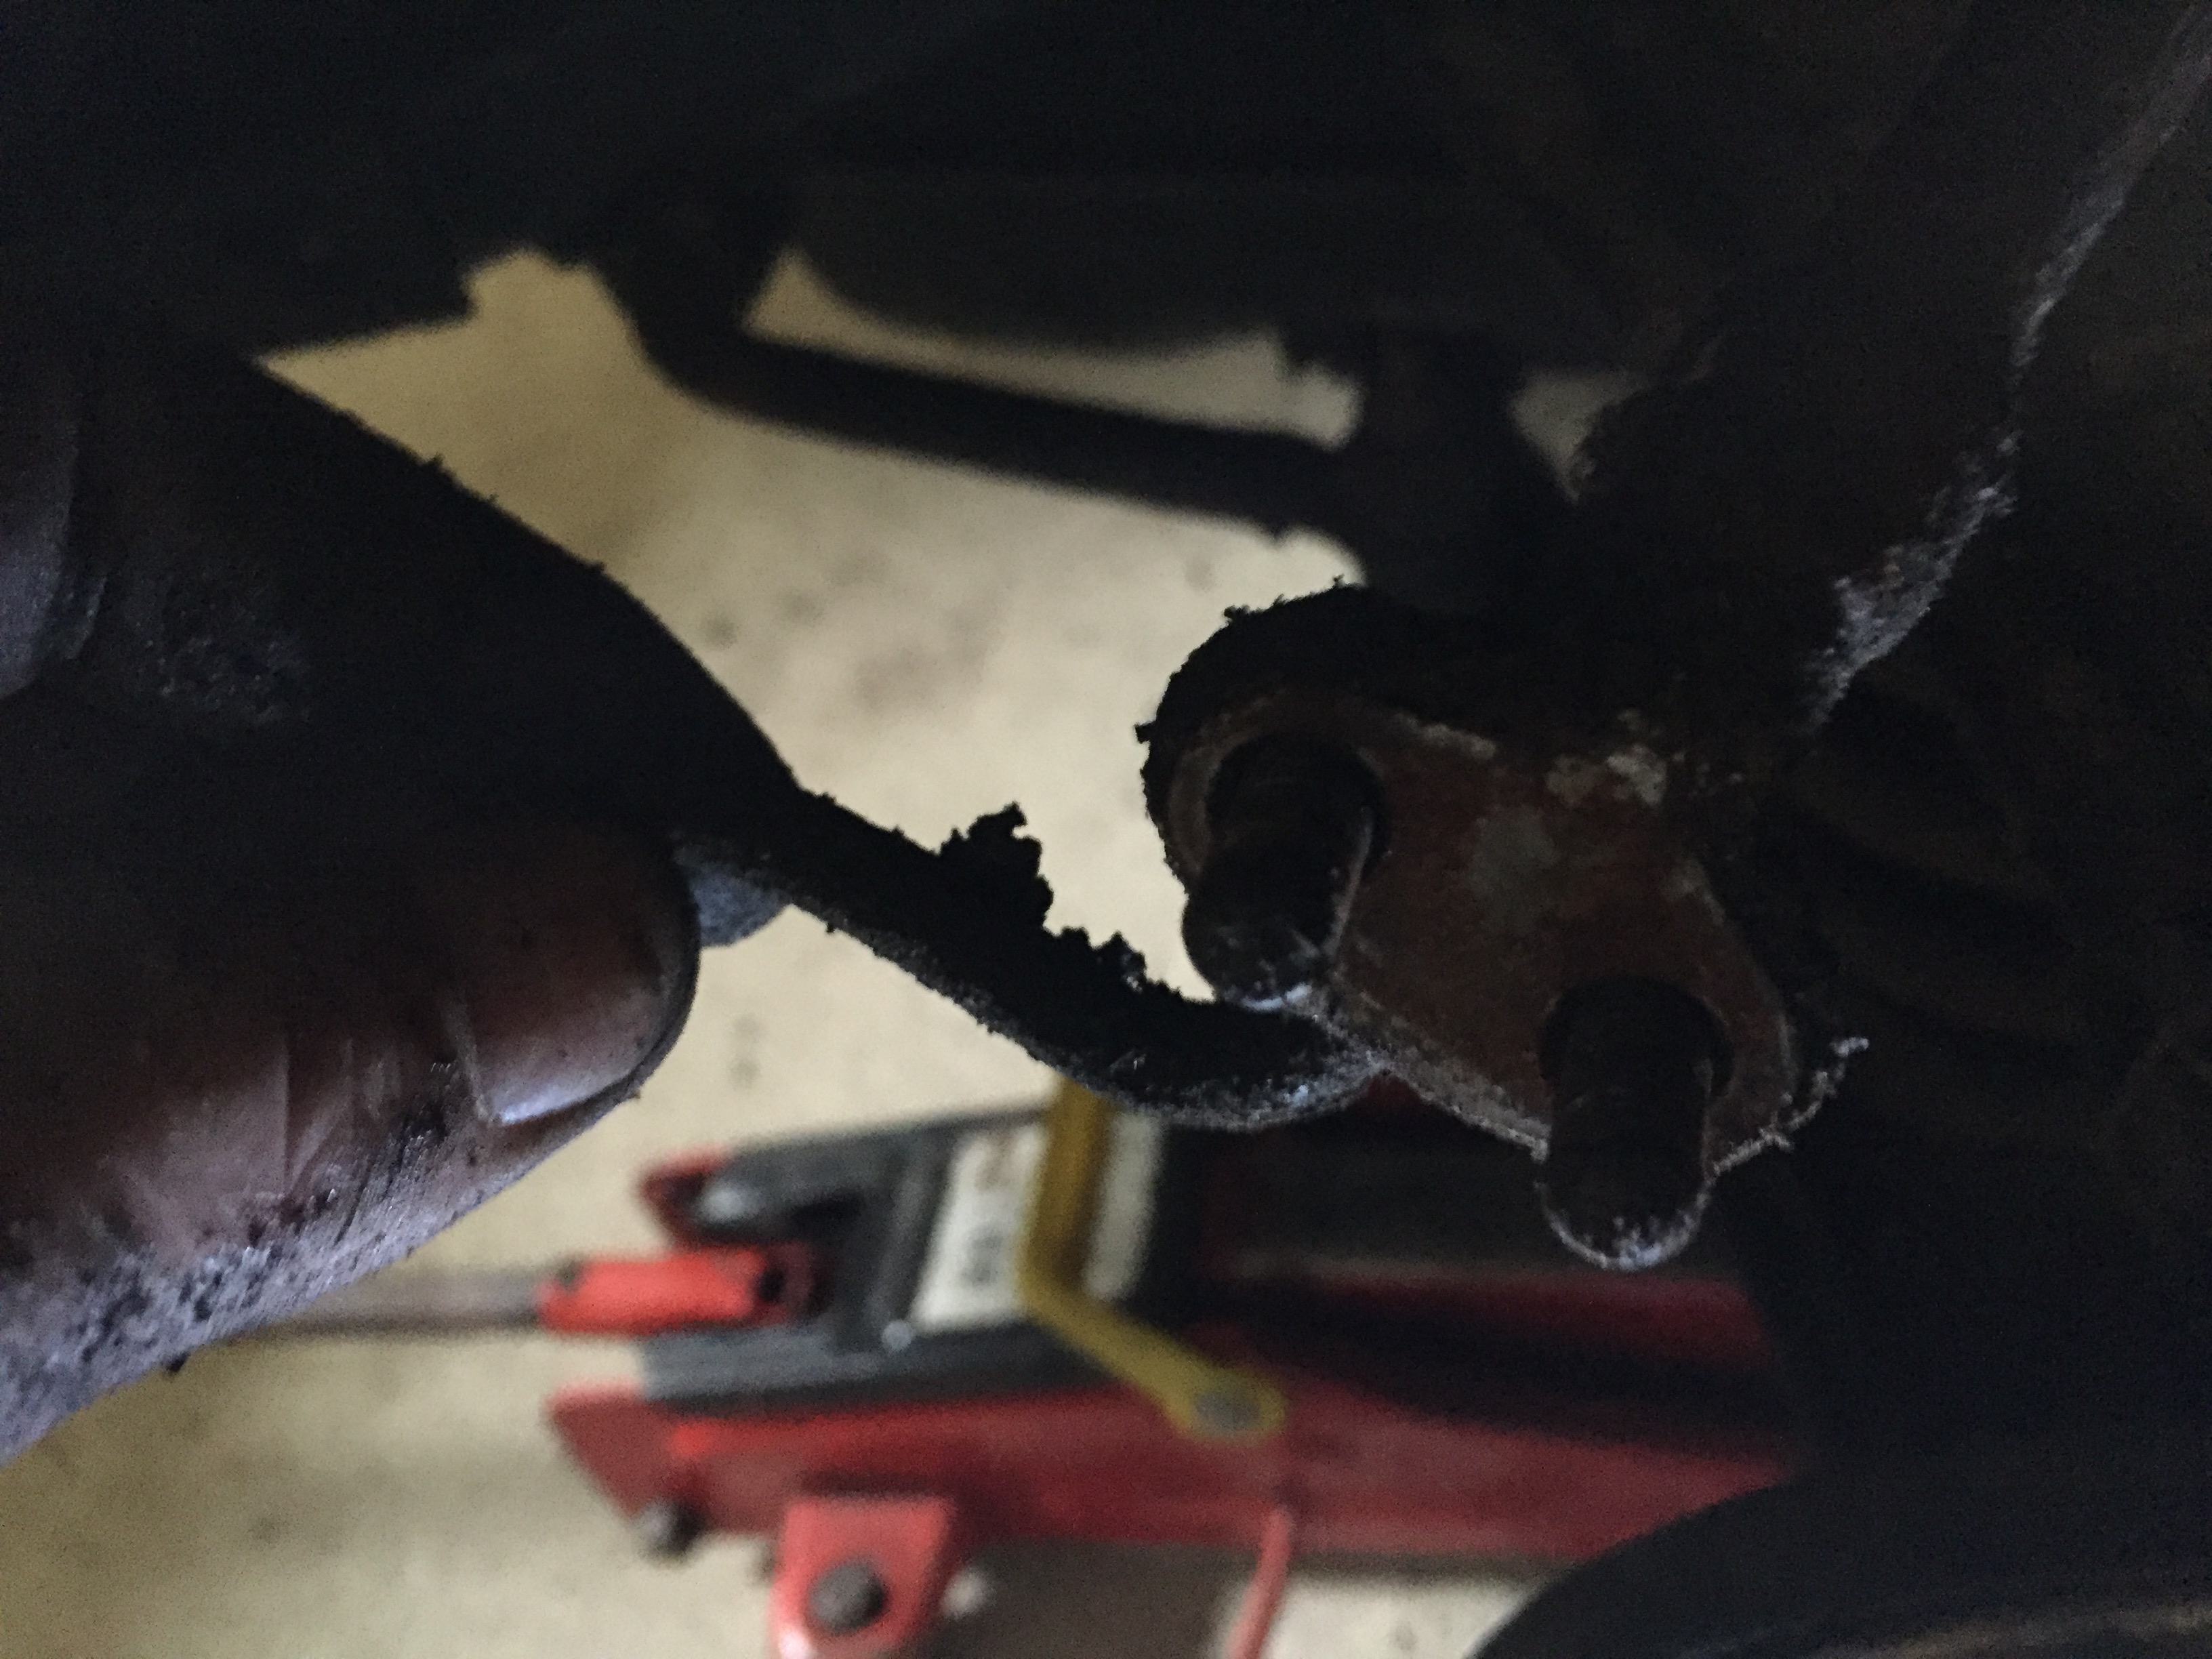
Next you need to remove the odd shaped brake tubes at the back of the wheel back plate, it’s a tricky and dirty job (numbers 40/45 or 41/45 depending on which side of the car you are on). Be very very careful removing these as they are a unique shape and I can’t imagine how you would create a replacement.
and the bottom connection, it was 14mm.

here’s one removed, notice the copper washer, there are two per bolt, one on the outside where the bolt holds it in place, and one on the inside.
to get the next odd shaped tube out I removed the bolts holding it in place, and also the two bolts holding it to the back of the brake shield (44, 43, 42 in the figure).
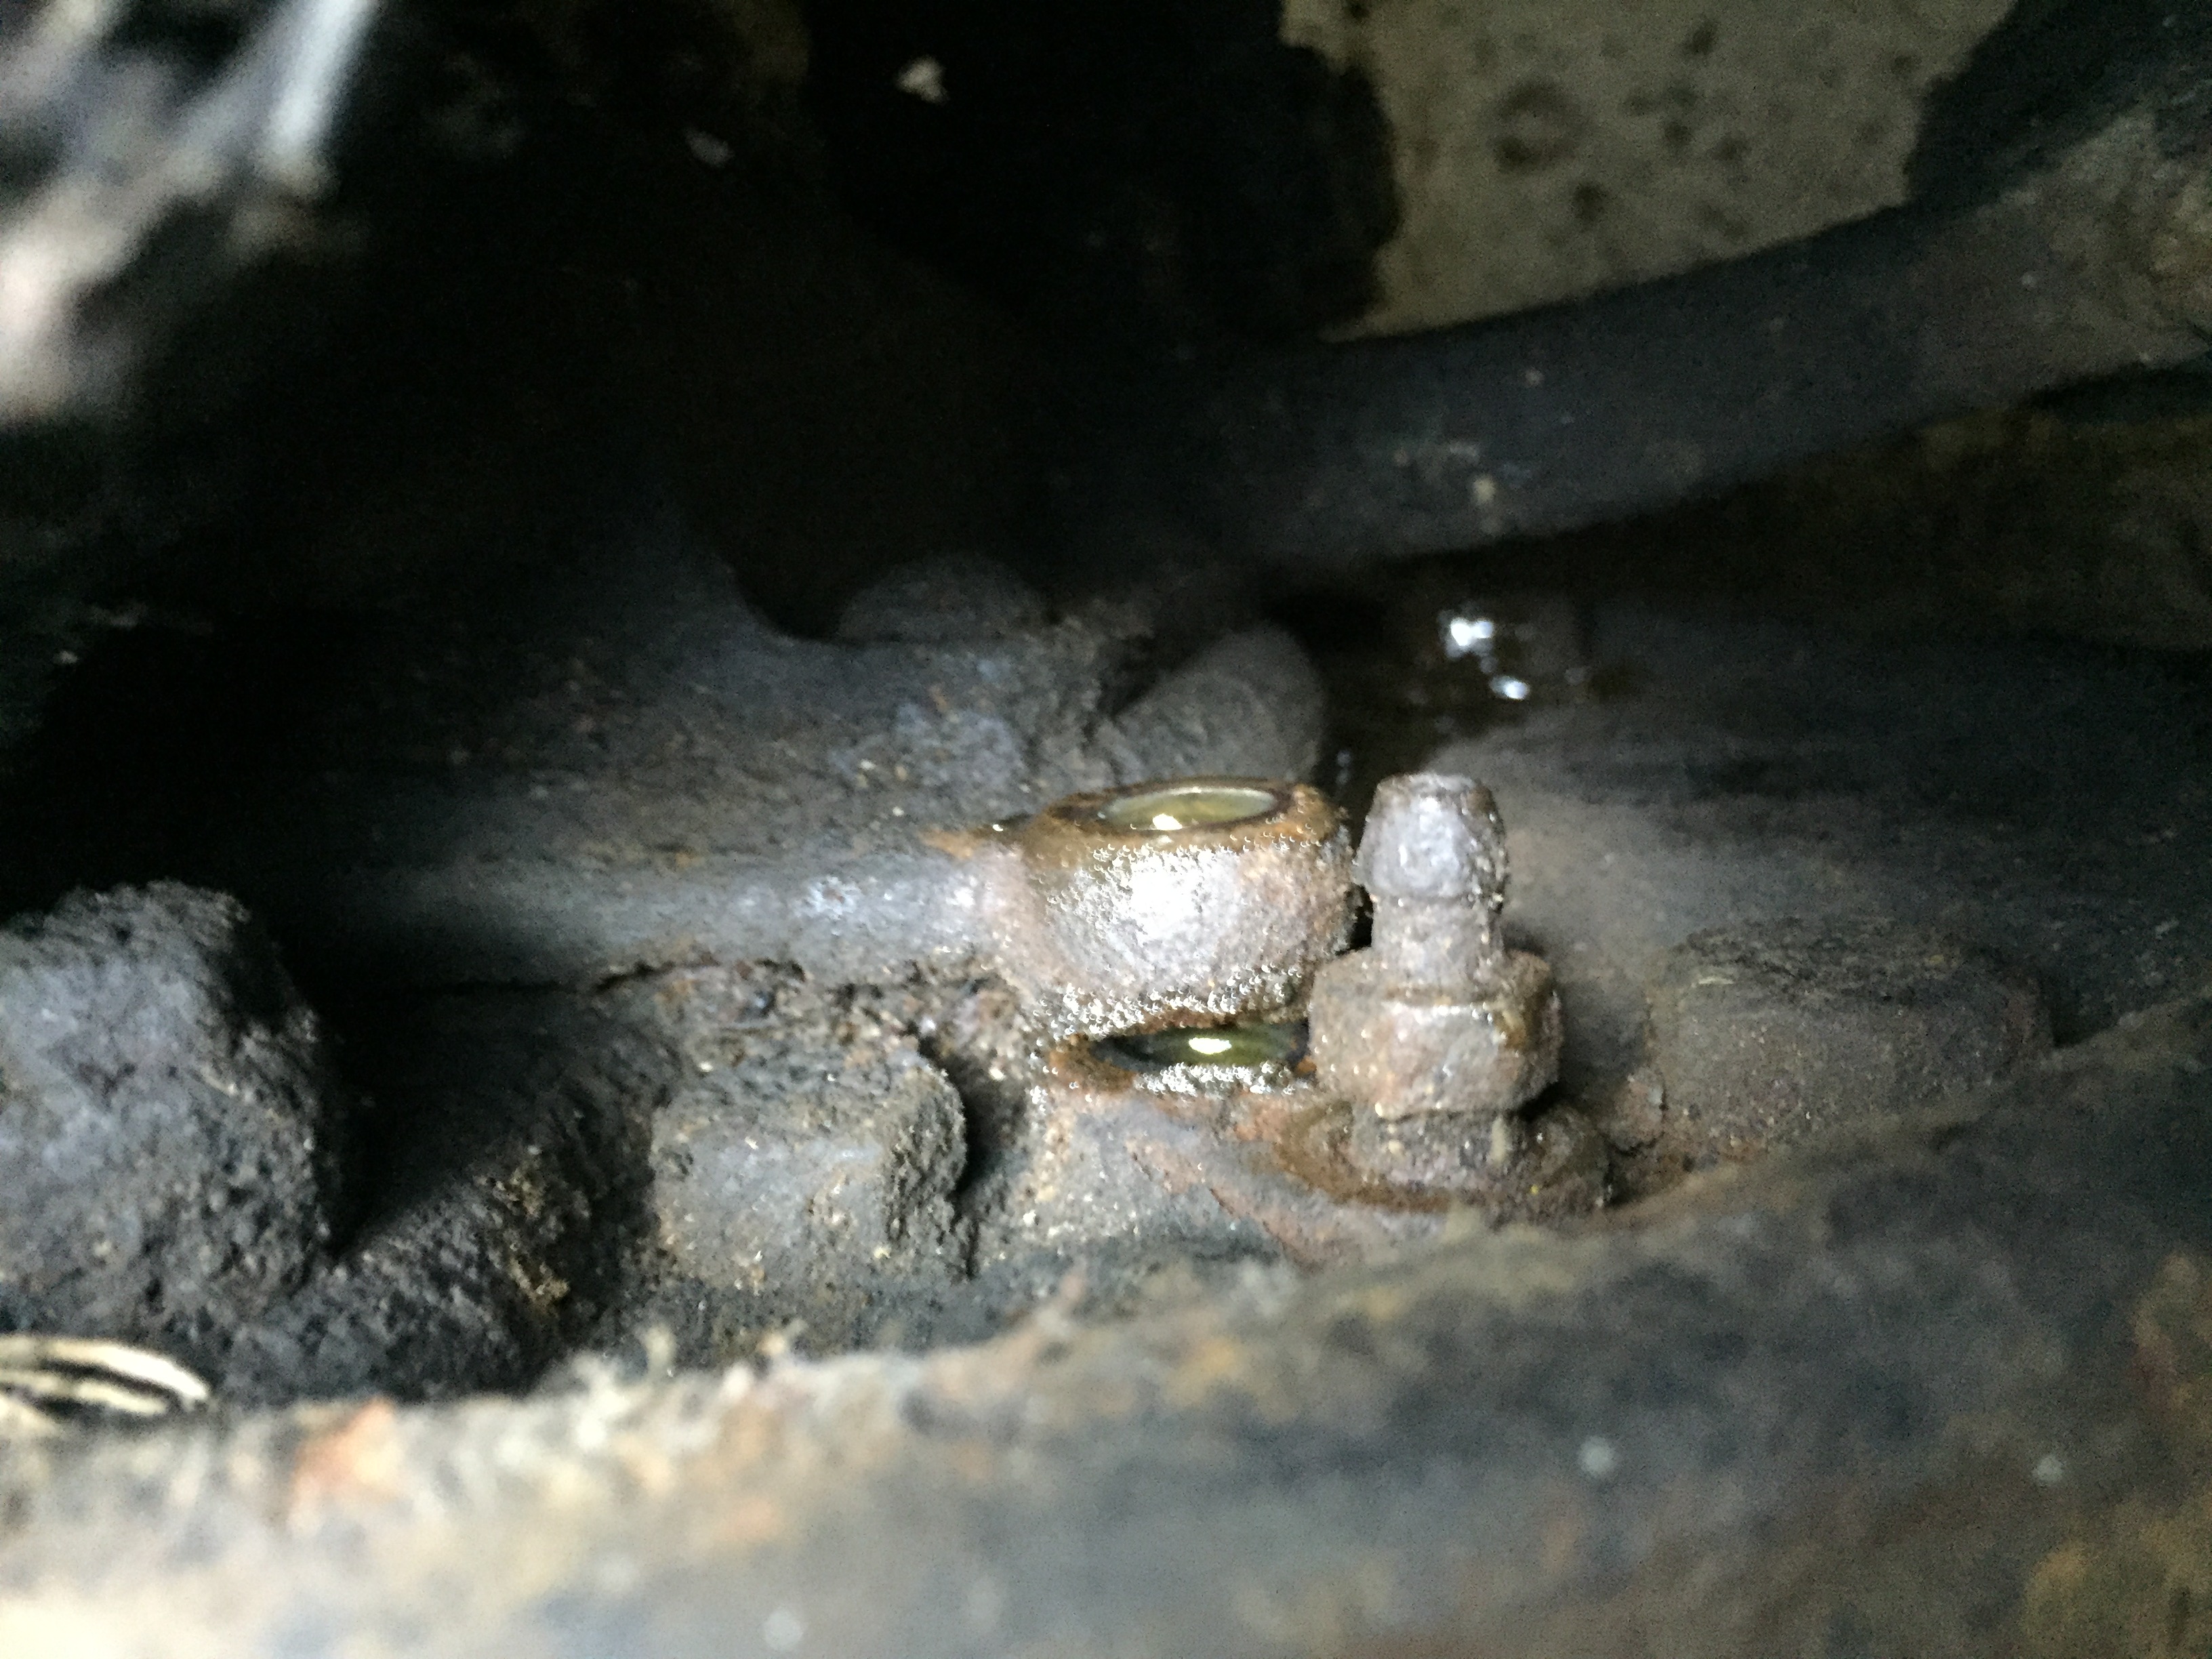
Then I disconnected the brake hose from the odd shaped tube which goes down to the back of the brake shield. I used two 14mm spanners for this job and it took a lot of force to get them to move, which was hard seeing as i was covered in grease at this point.
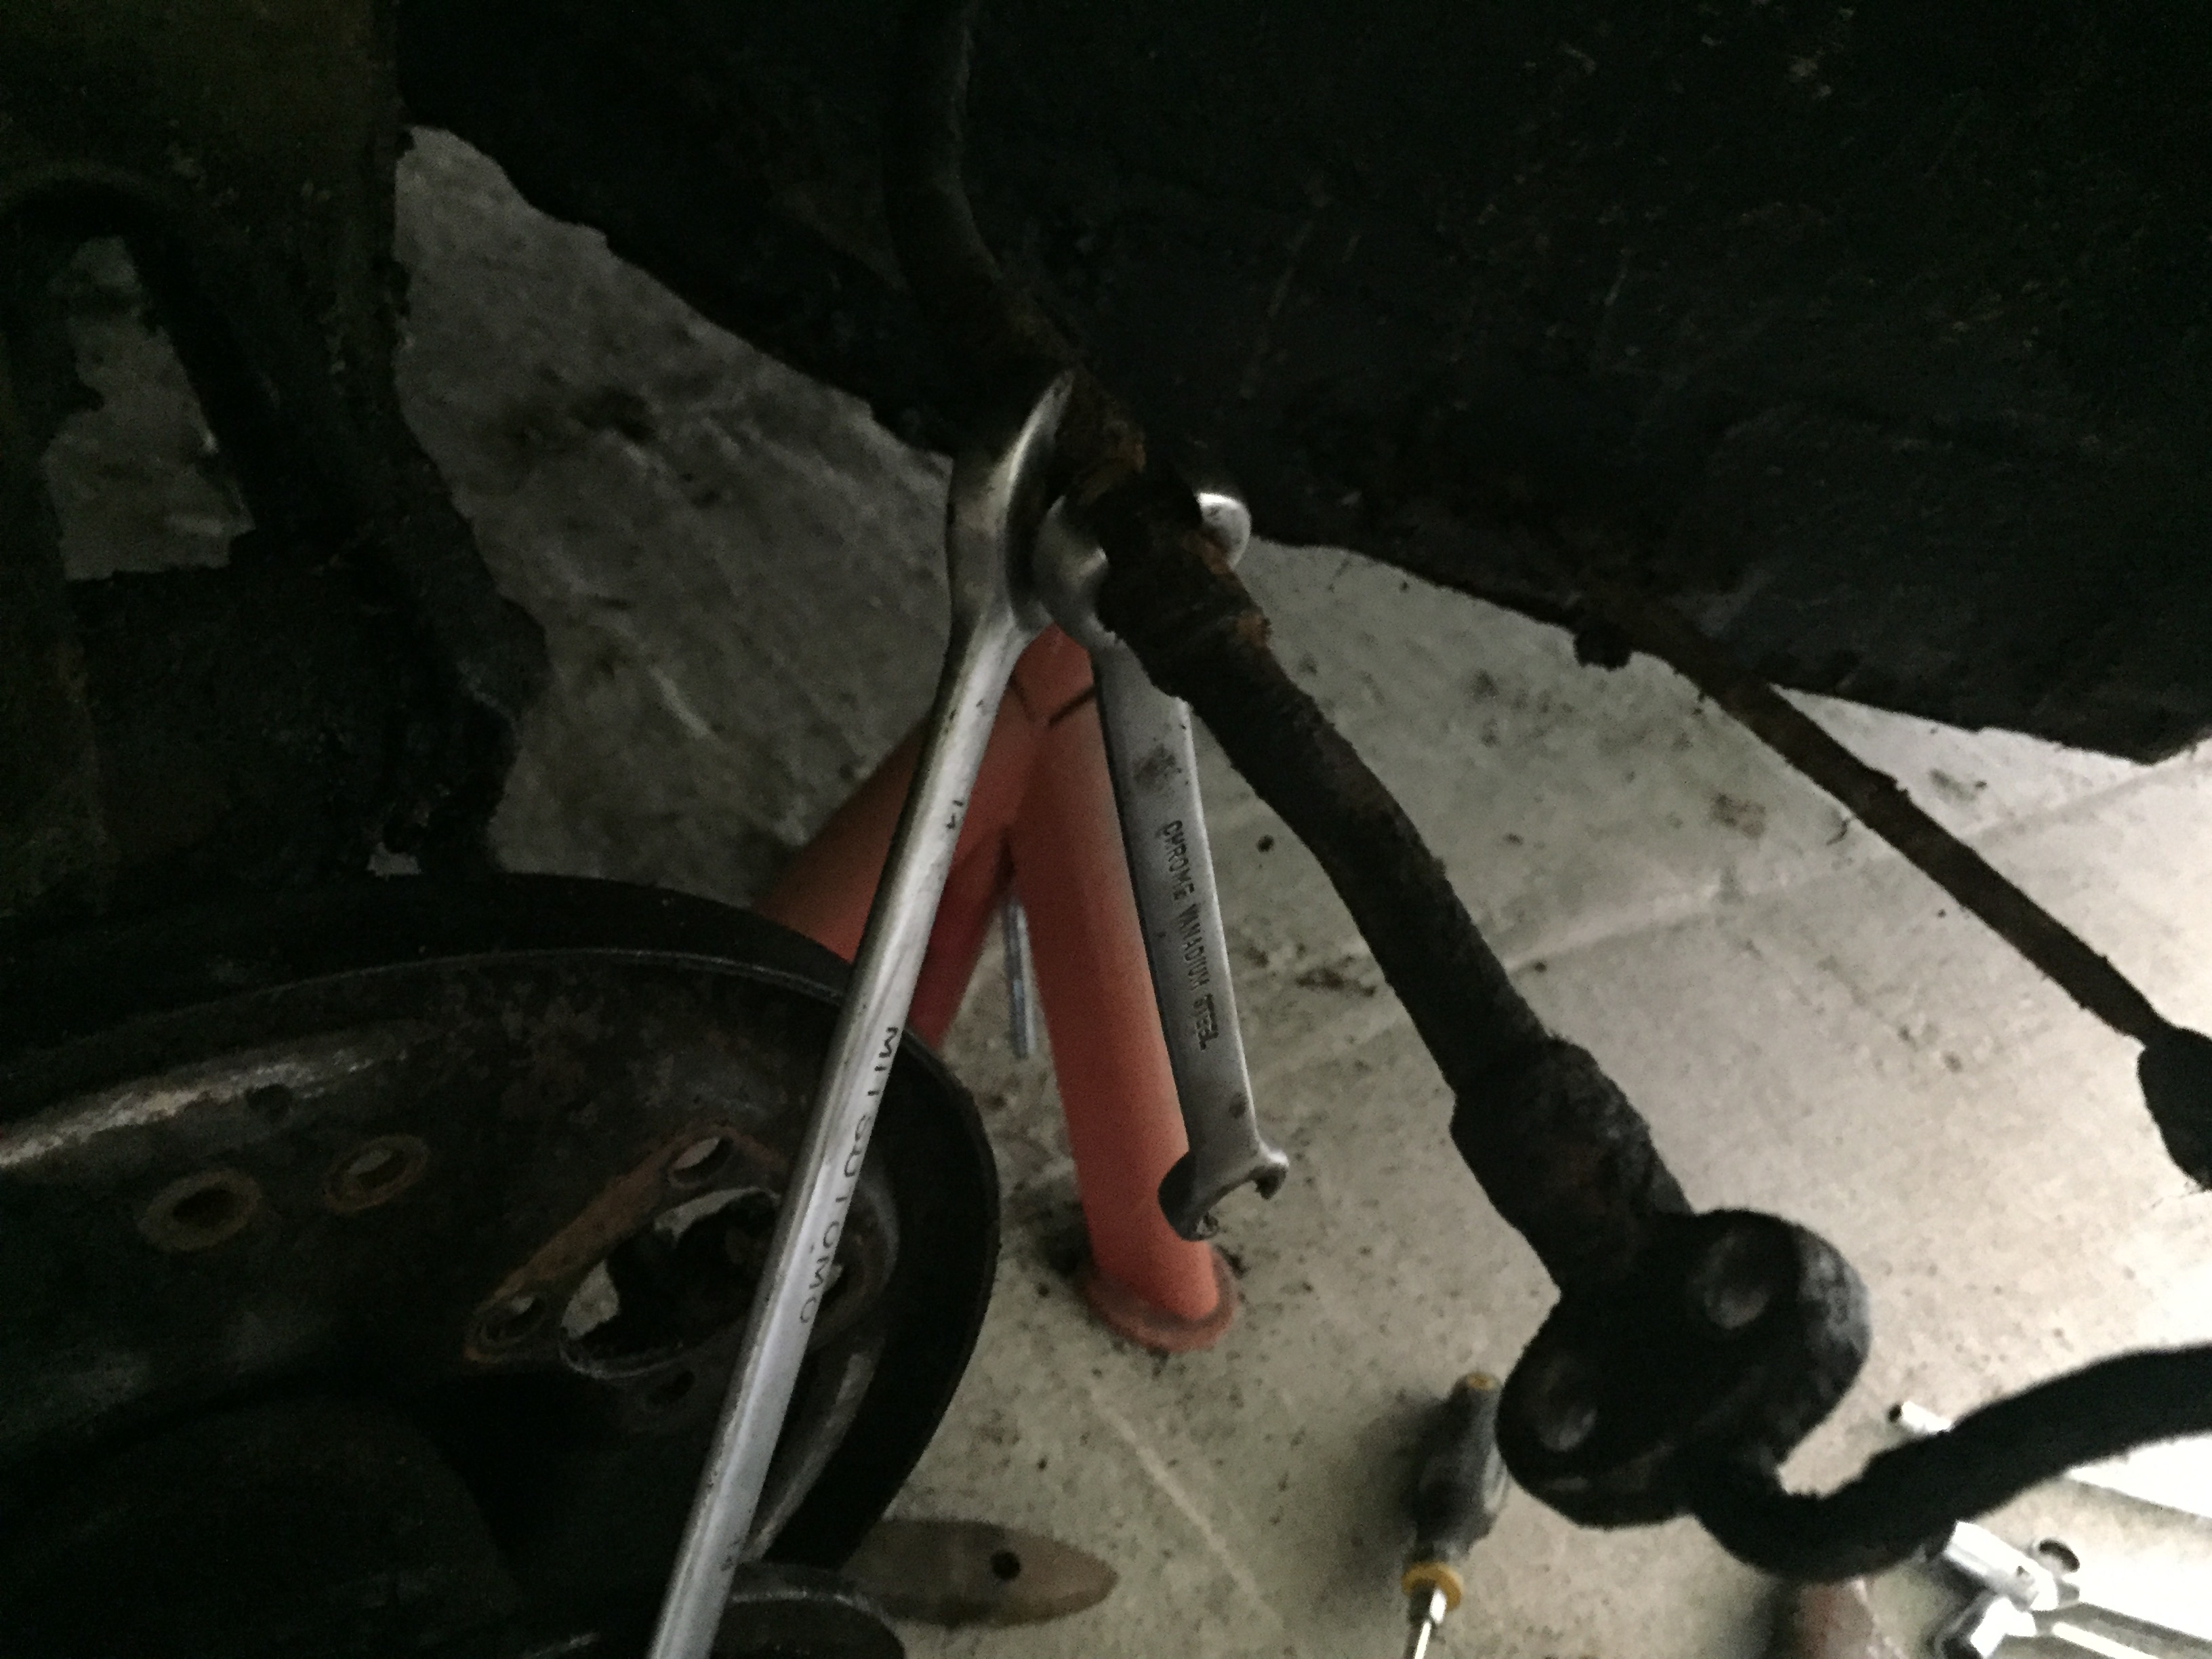
but eventually I got it off, here you can see the exposed connection, I have yet to remove the brake hose, I’ll do that job another day.
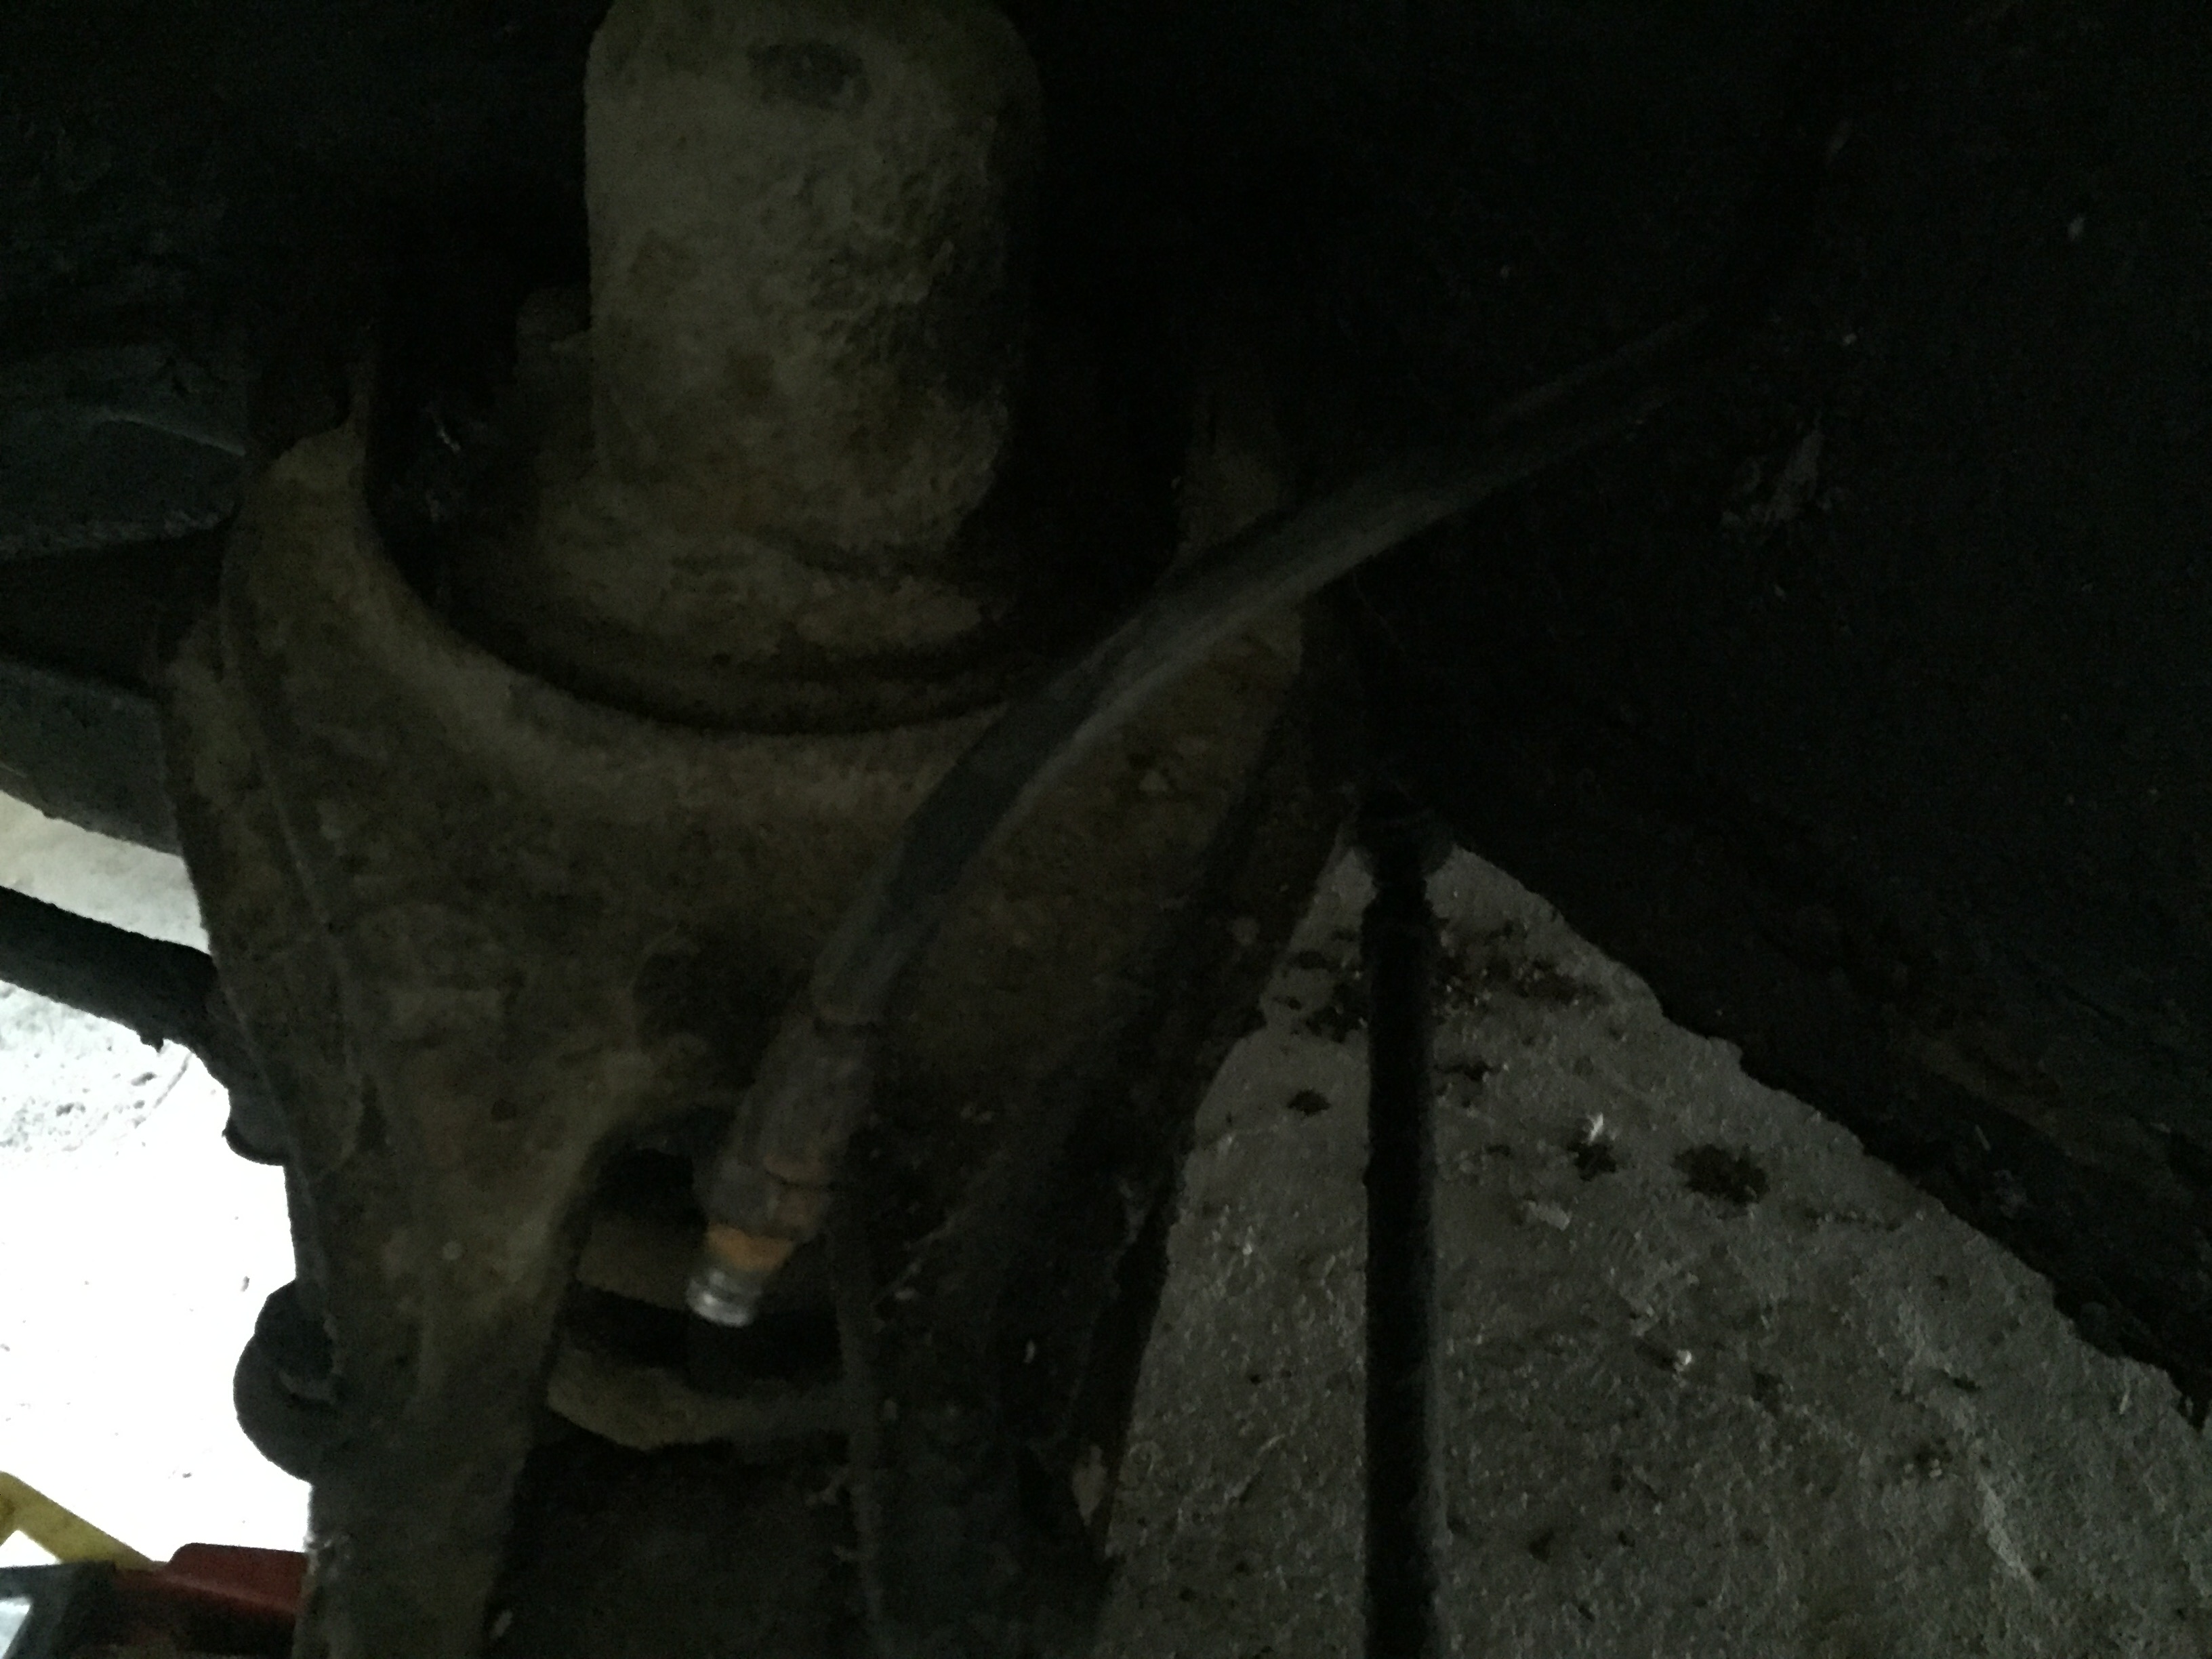
With the odd shaped brake tubes removed from the back of the brake shield I could undo the bolts holding the cylinders in place. The top one was easy to do, the bottom one difficult and I had to turn the steering wheel left so as to get access to the bottom bolts.
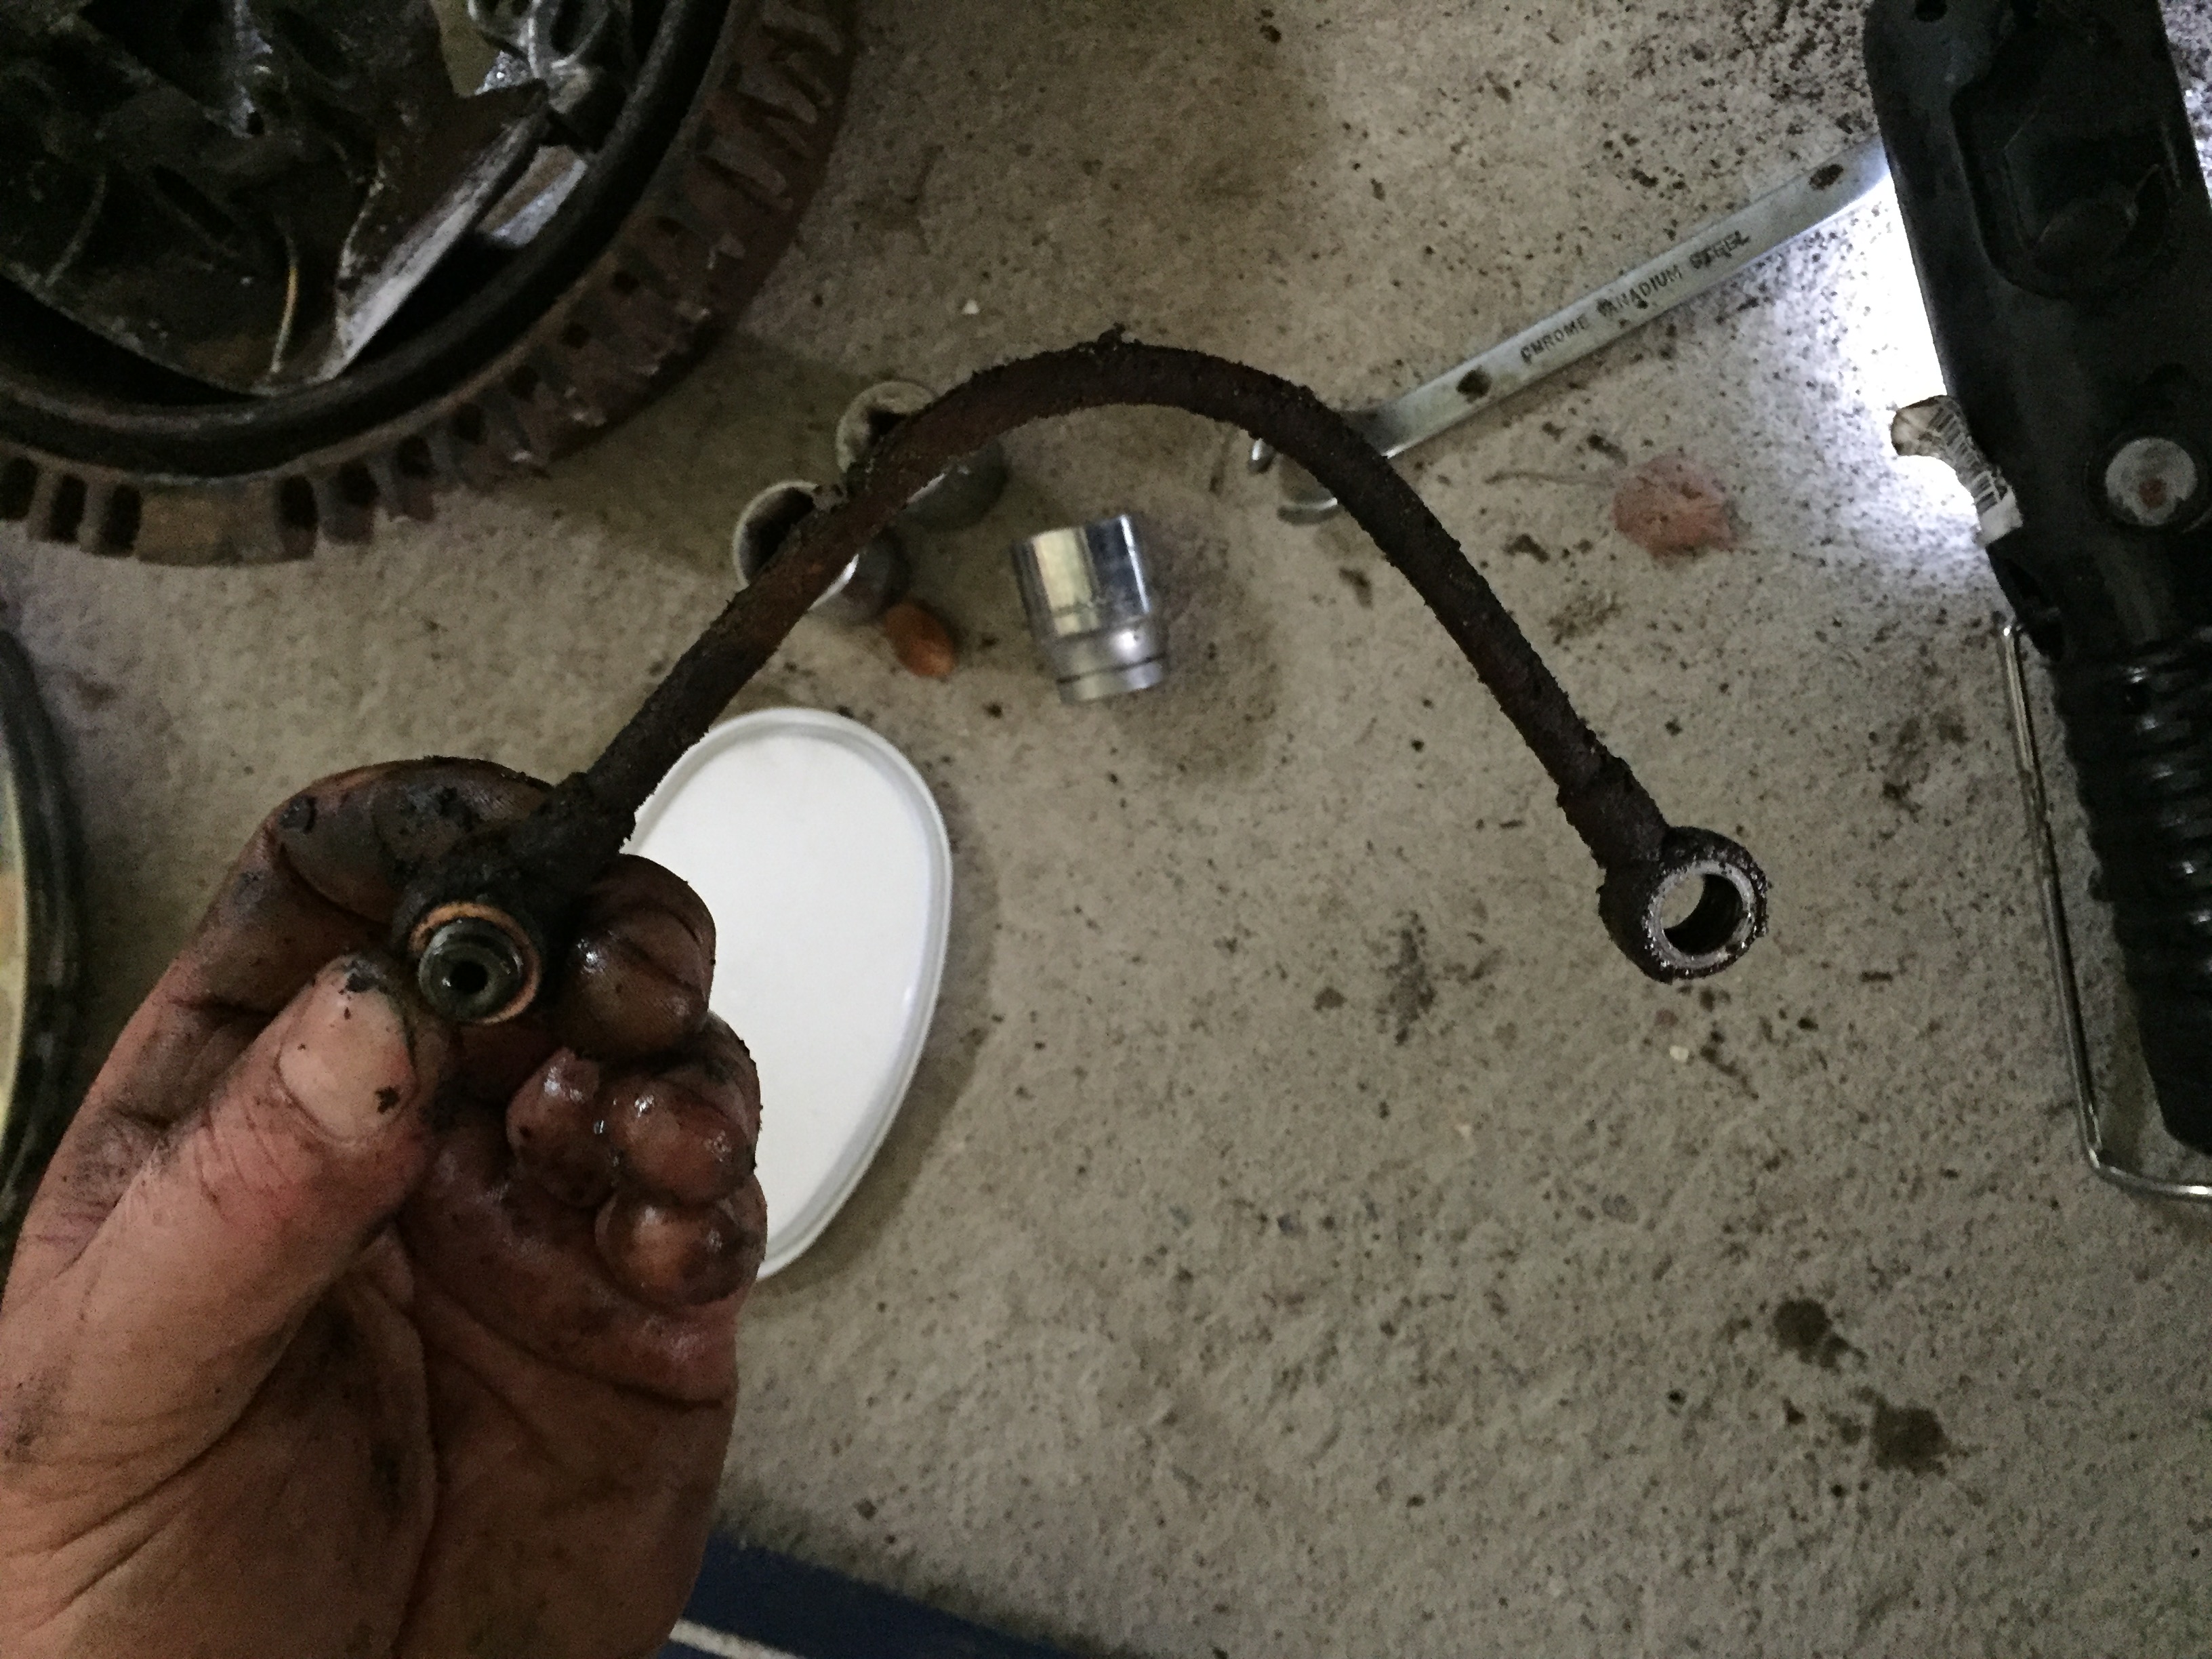
But eventually, success ! and both brake cylinders were removed. Here’s one, yes it looks awful, but I’ll clean it up and get it working again in a separate blog post. Notice how I’ve got the 4 bolts screwed in, that’s so that I don’t lose anything.
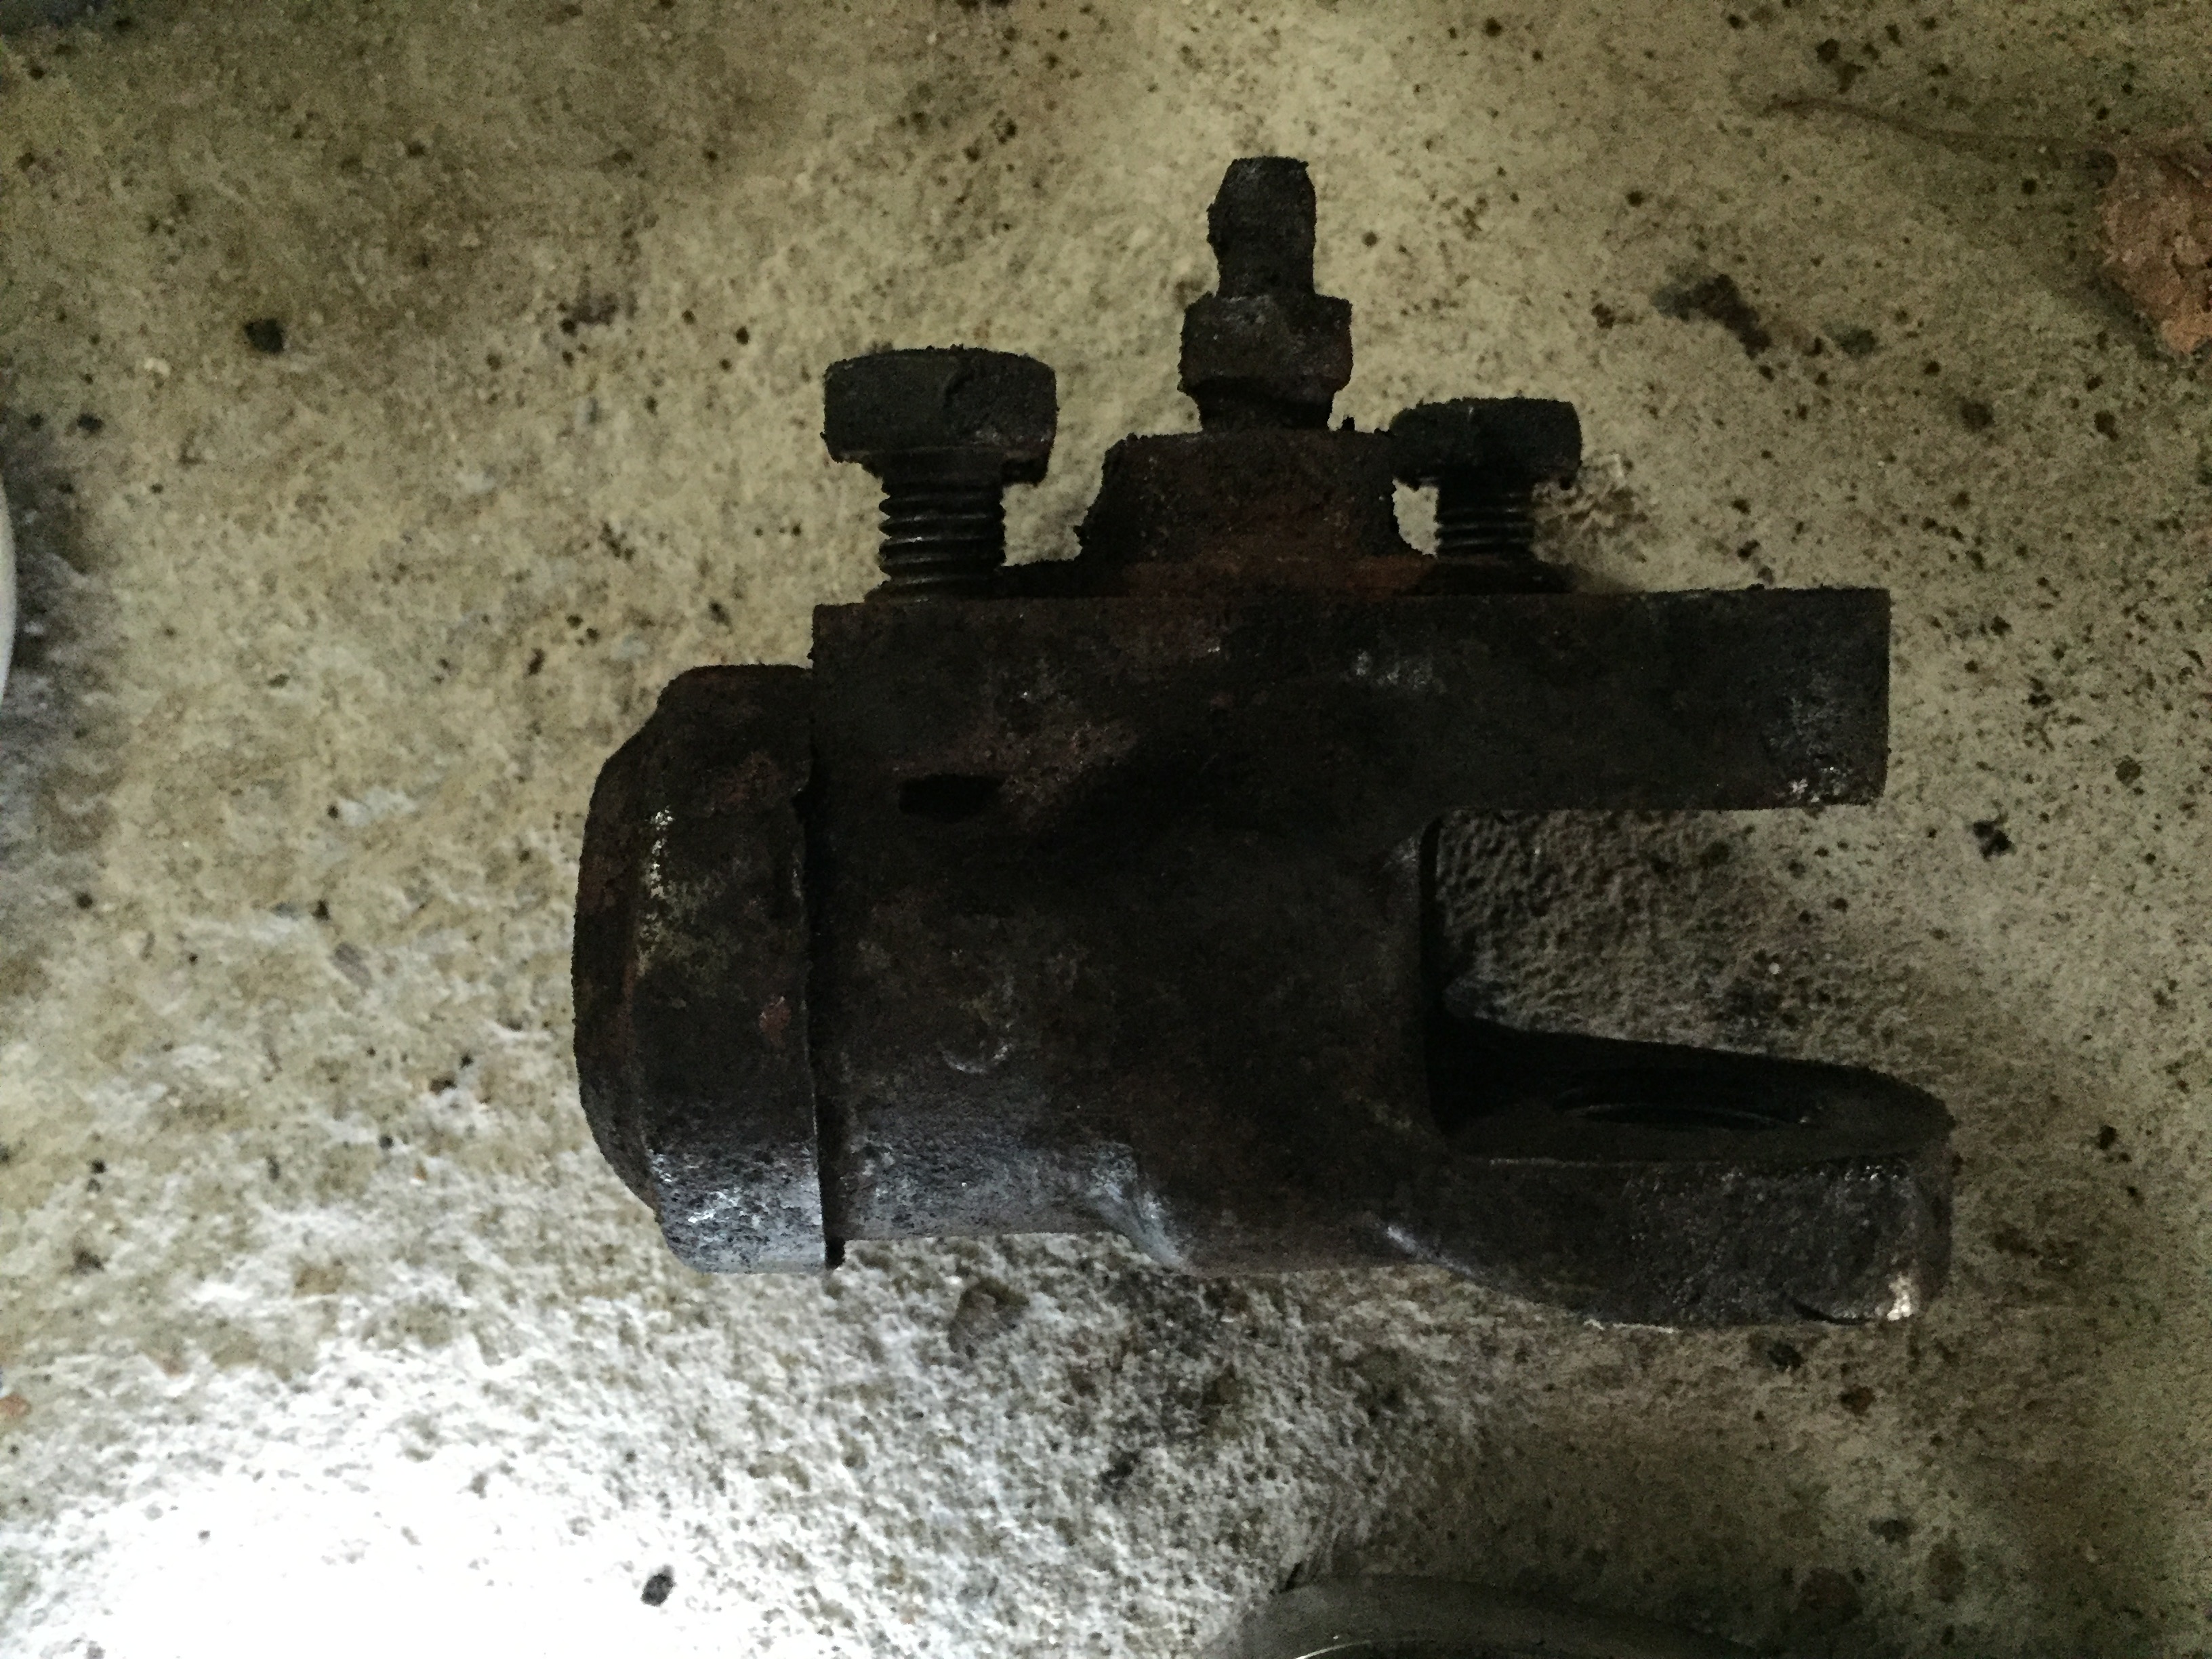
And here’s the other one, yes my hands are absolutely filthy with grease and oil from the back of the brake shield, it was a mess.
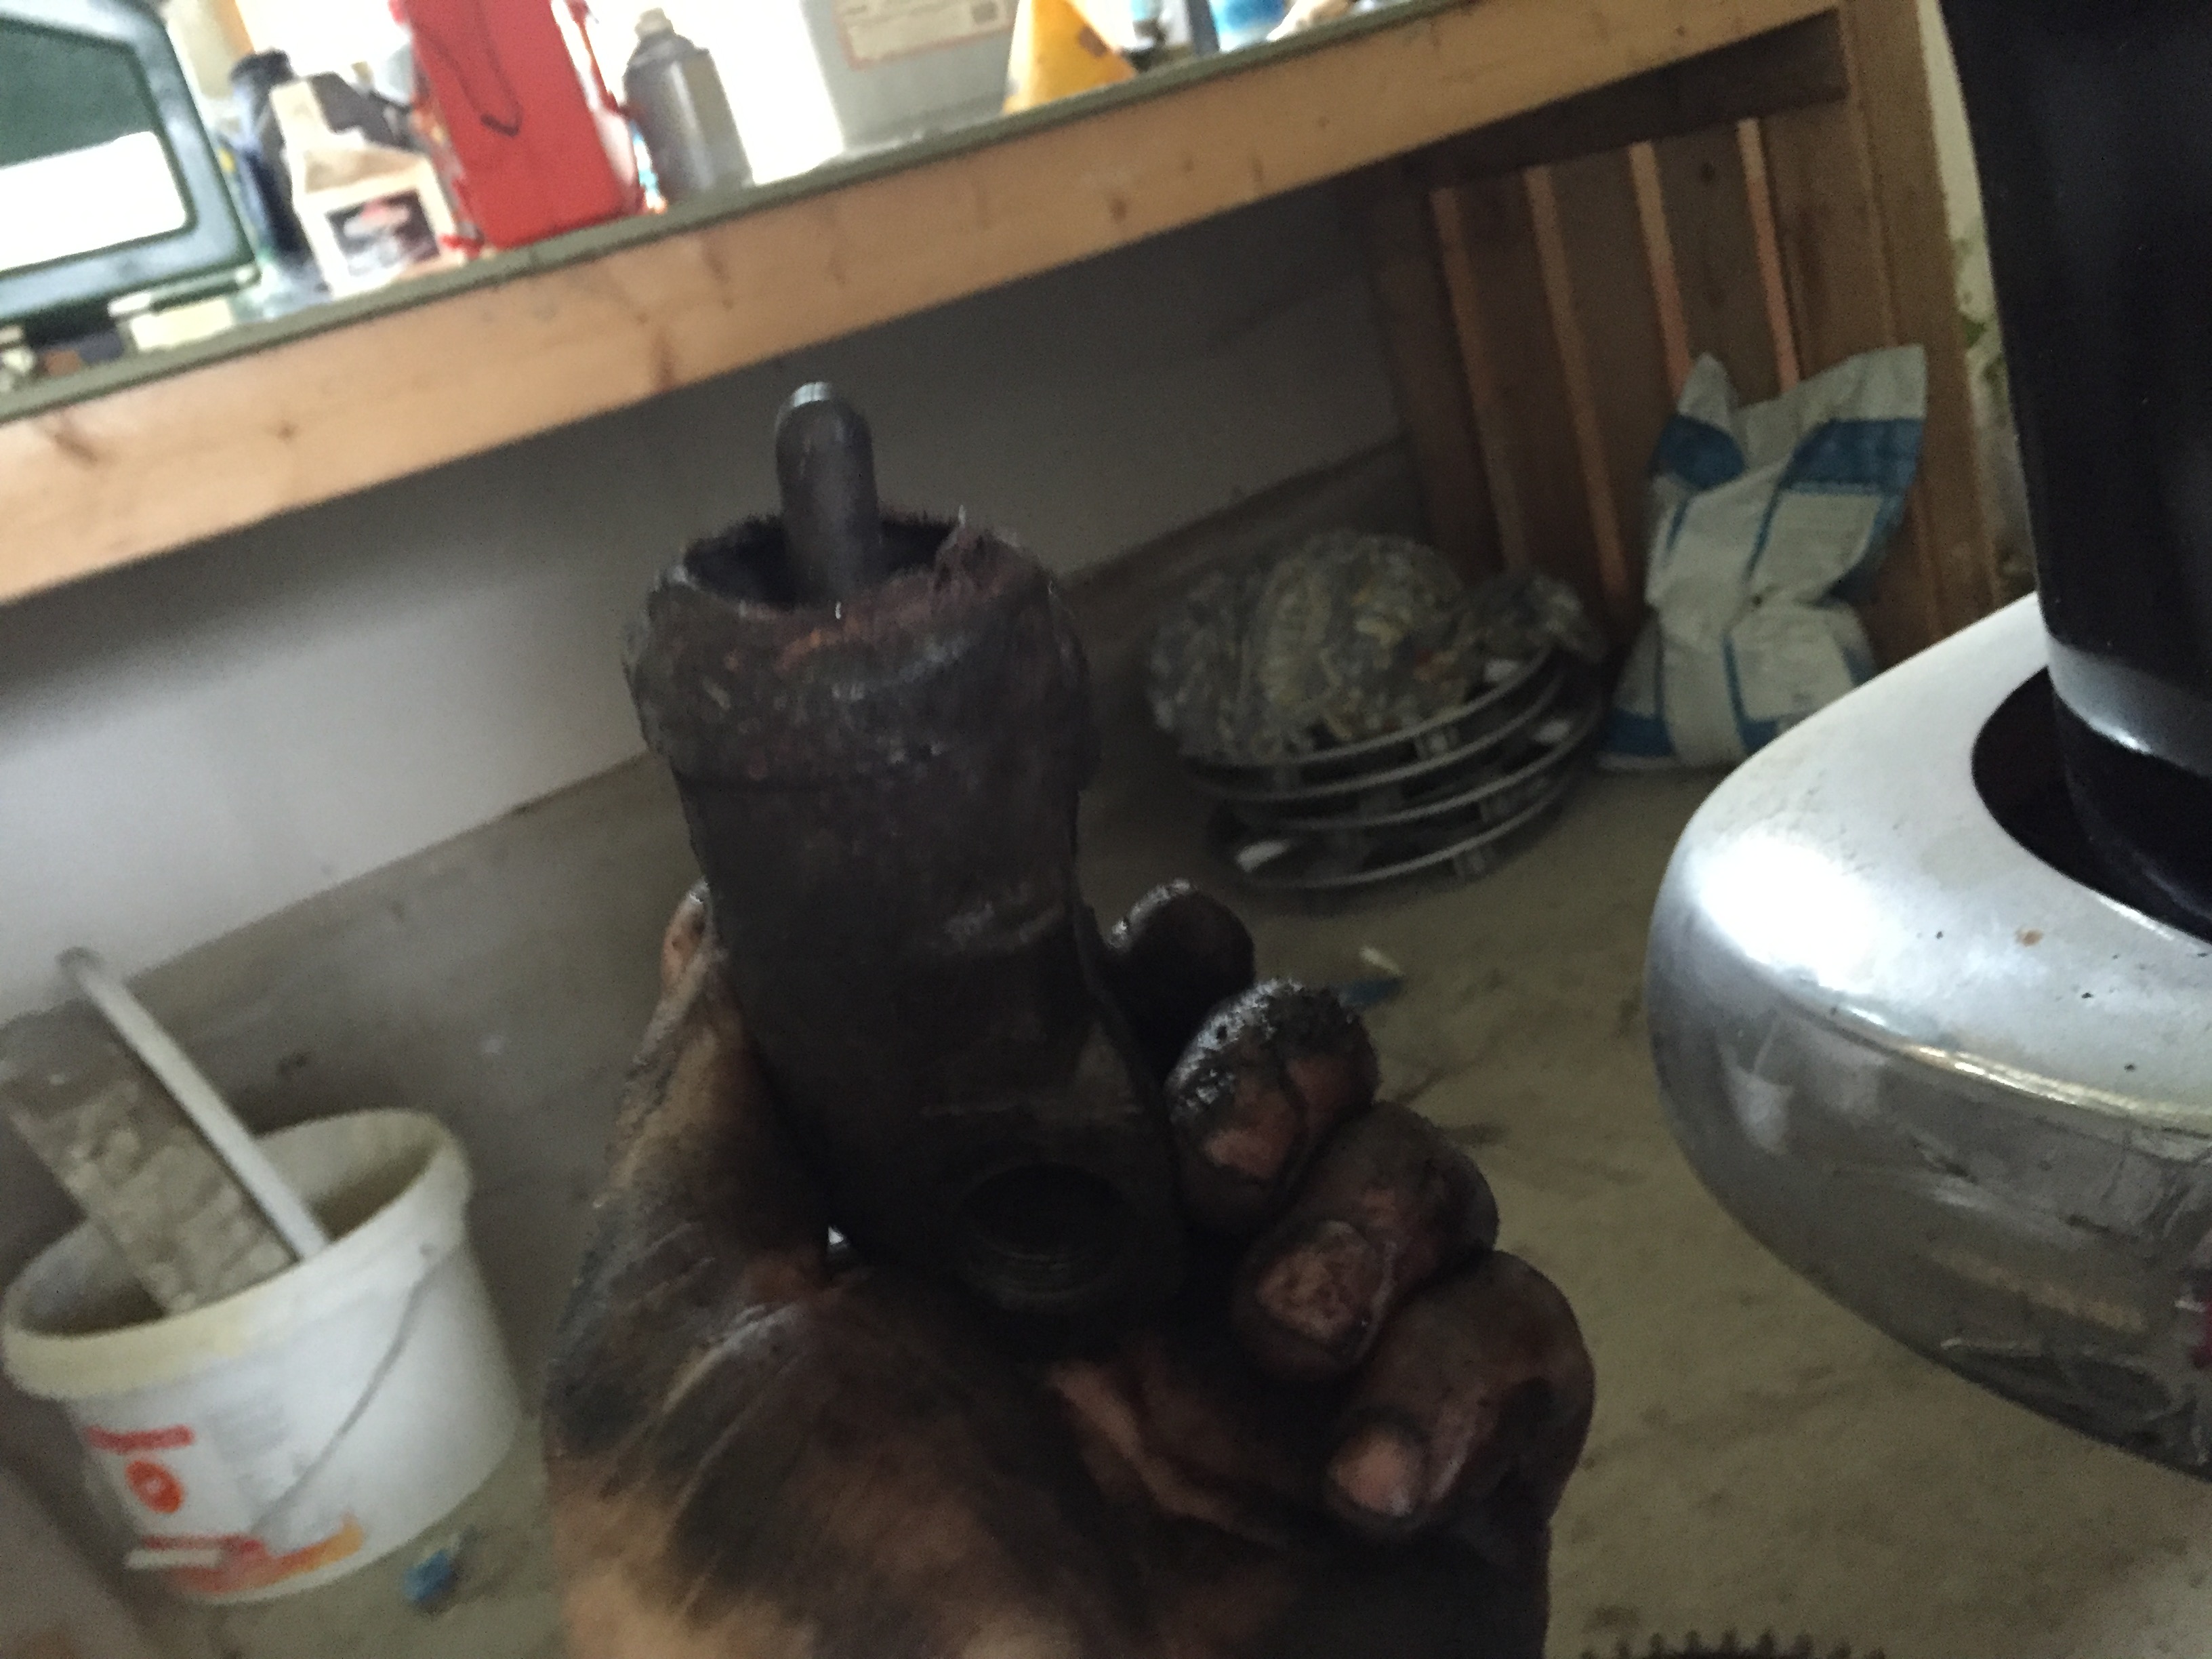
The cylinders look in a very bad shape but i’ll get to work on them soon enough and report my progress.
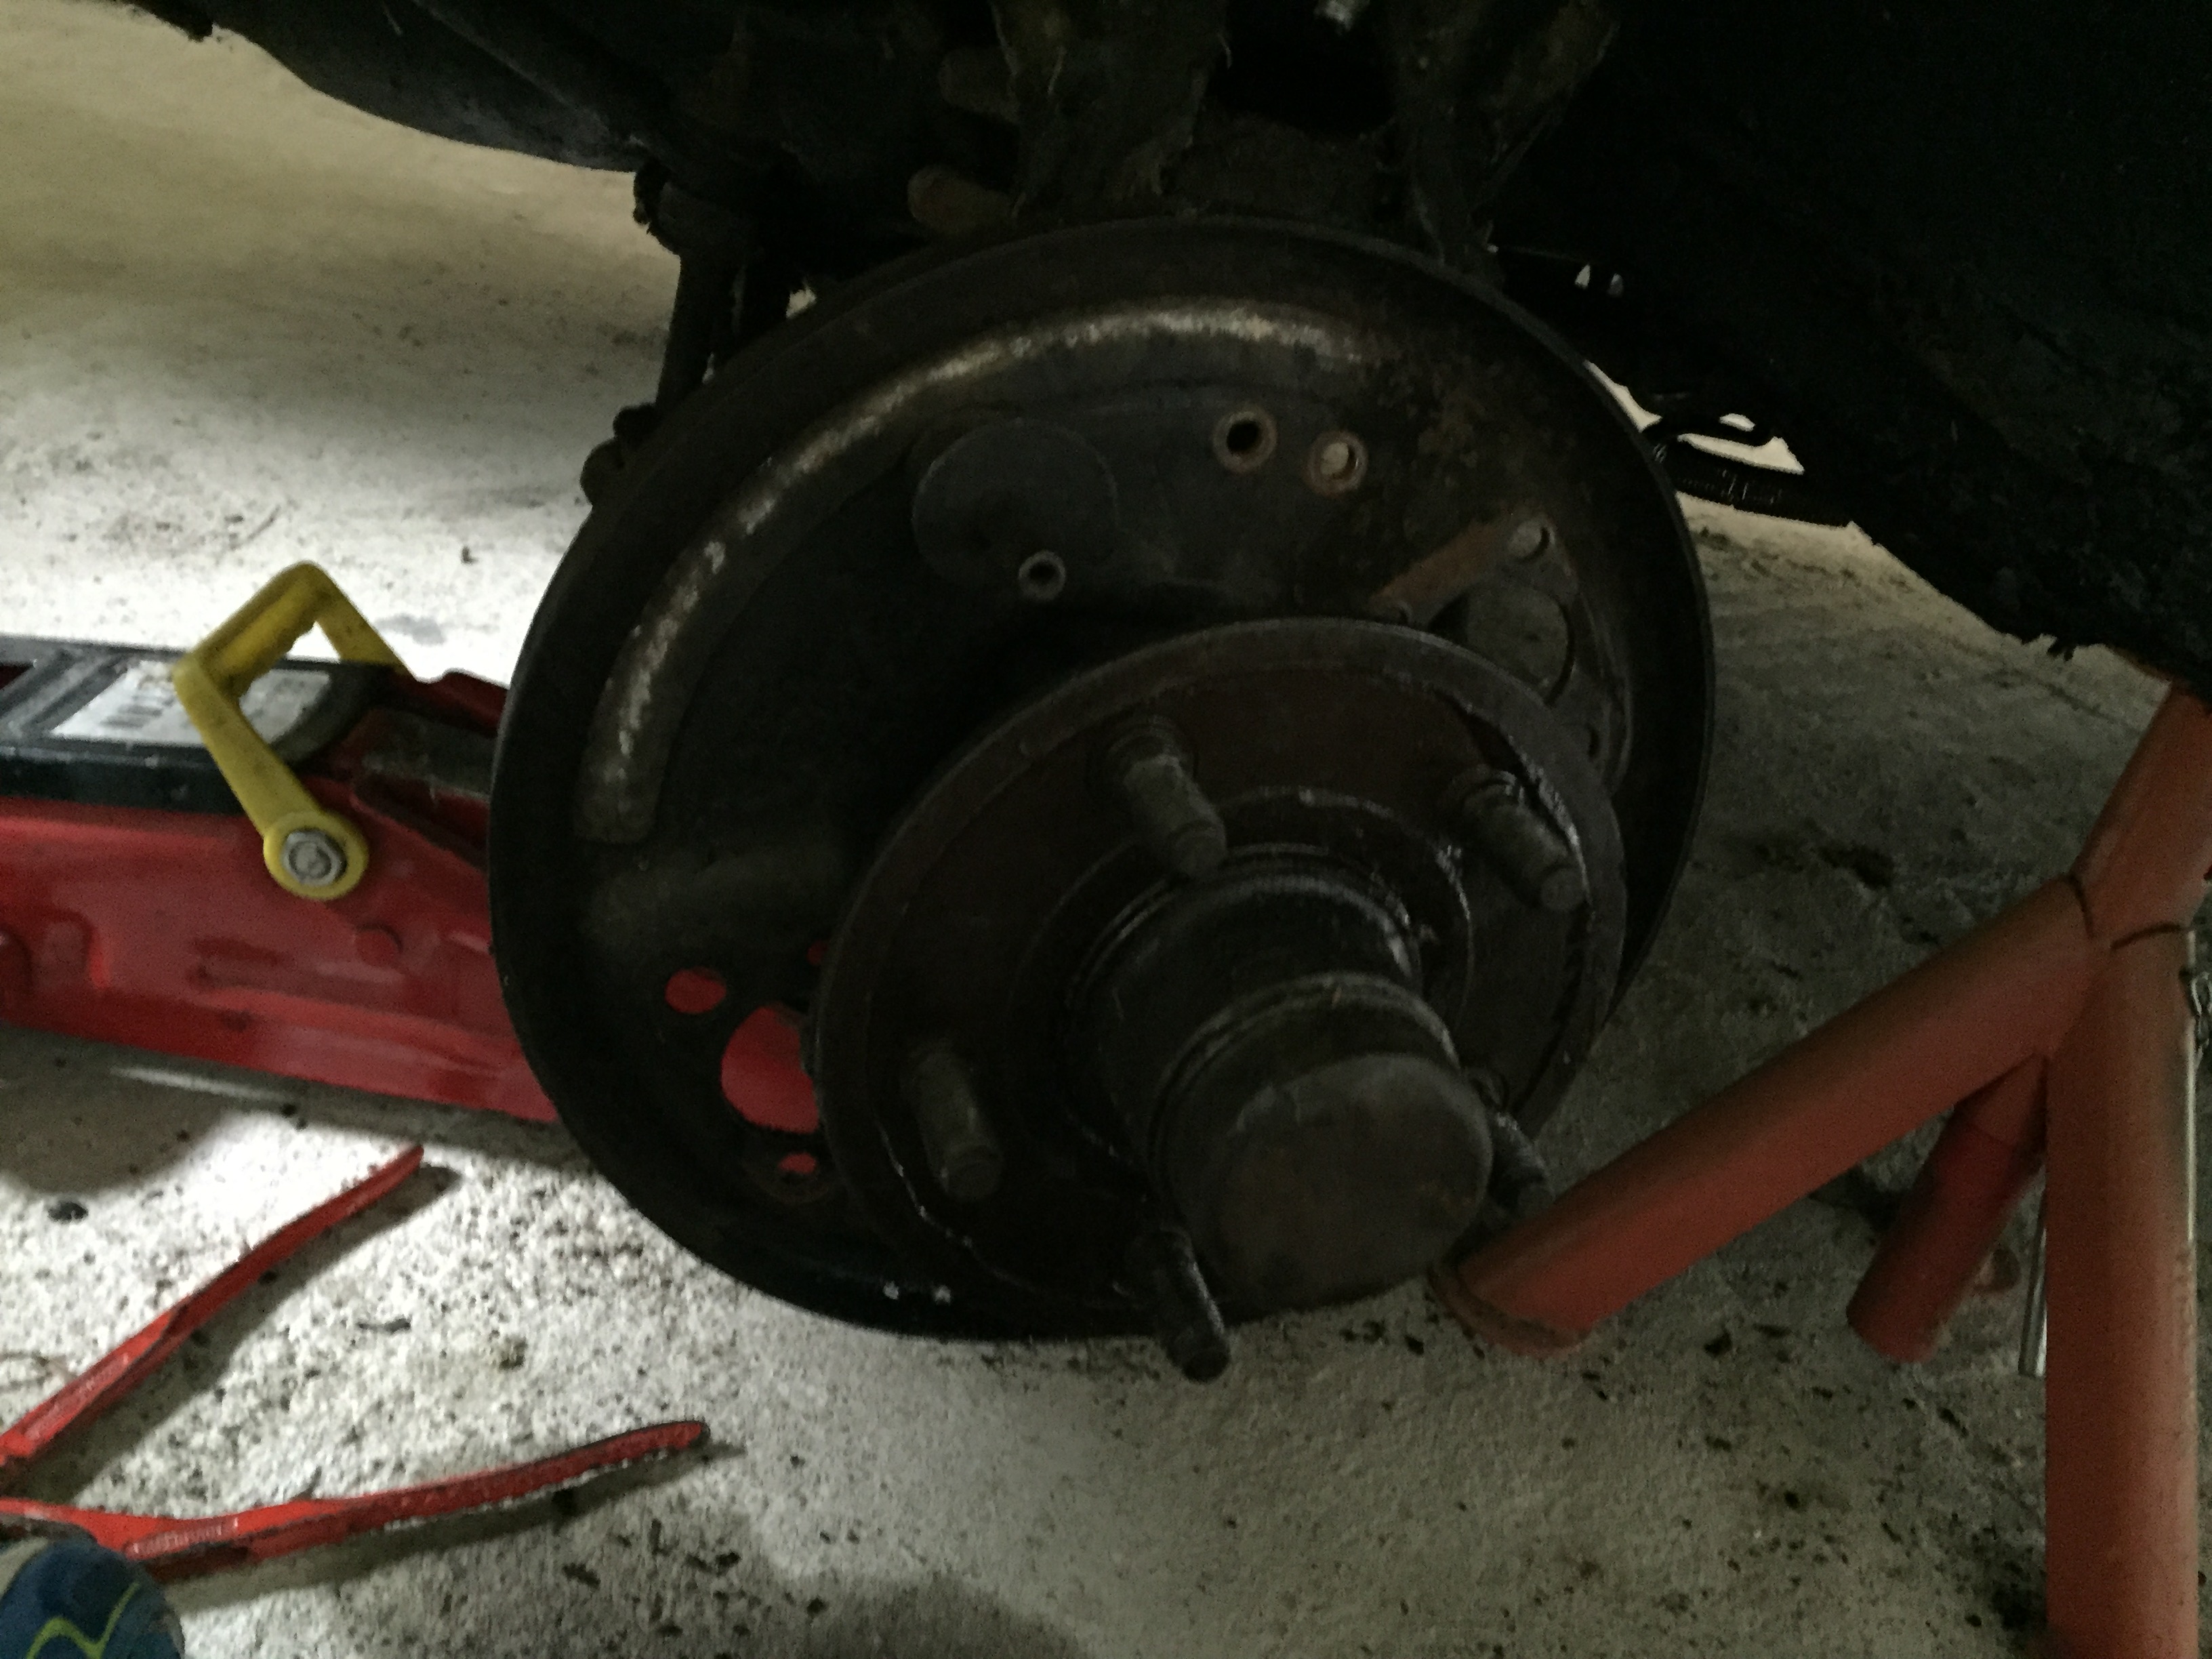
Here’s the brake back plate with brake cylinders removed. Result !
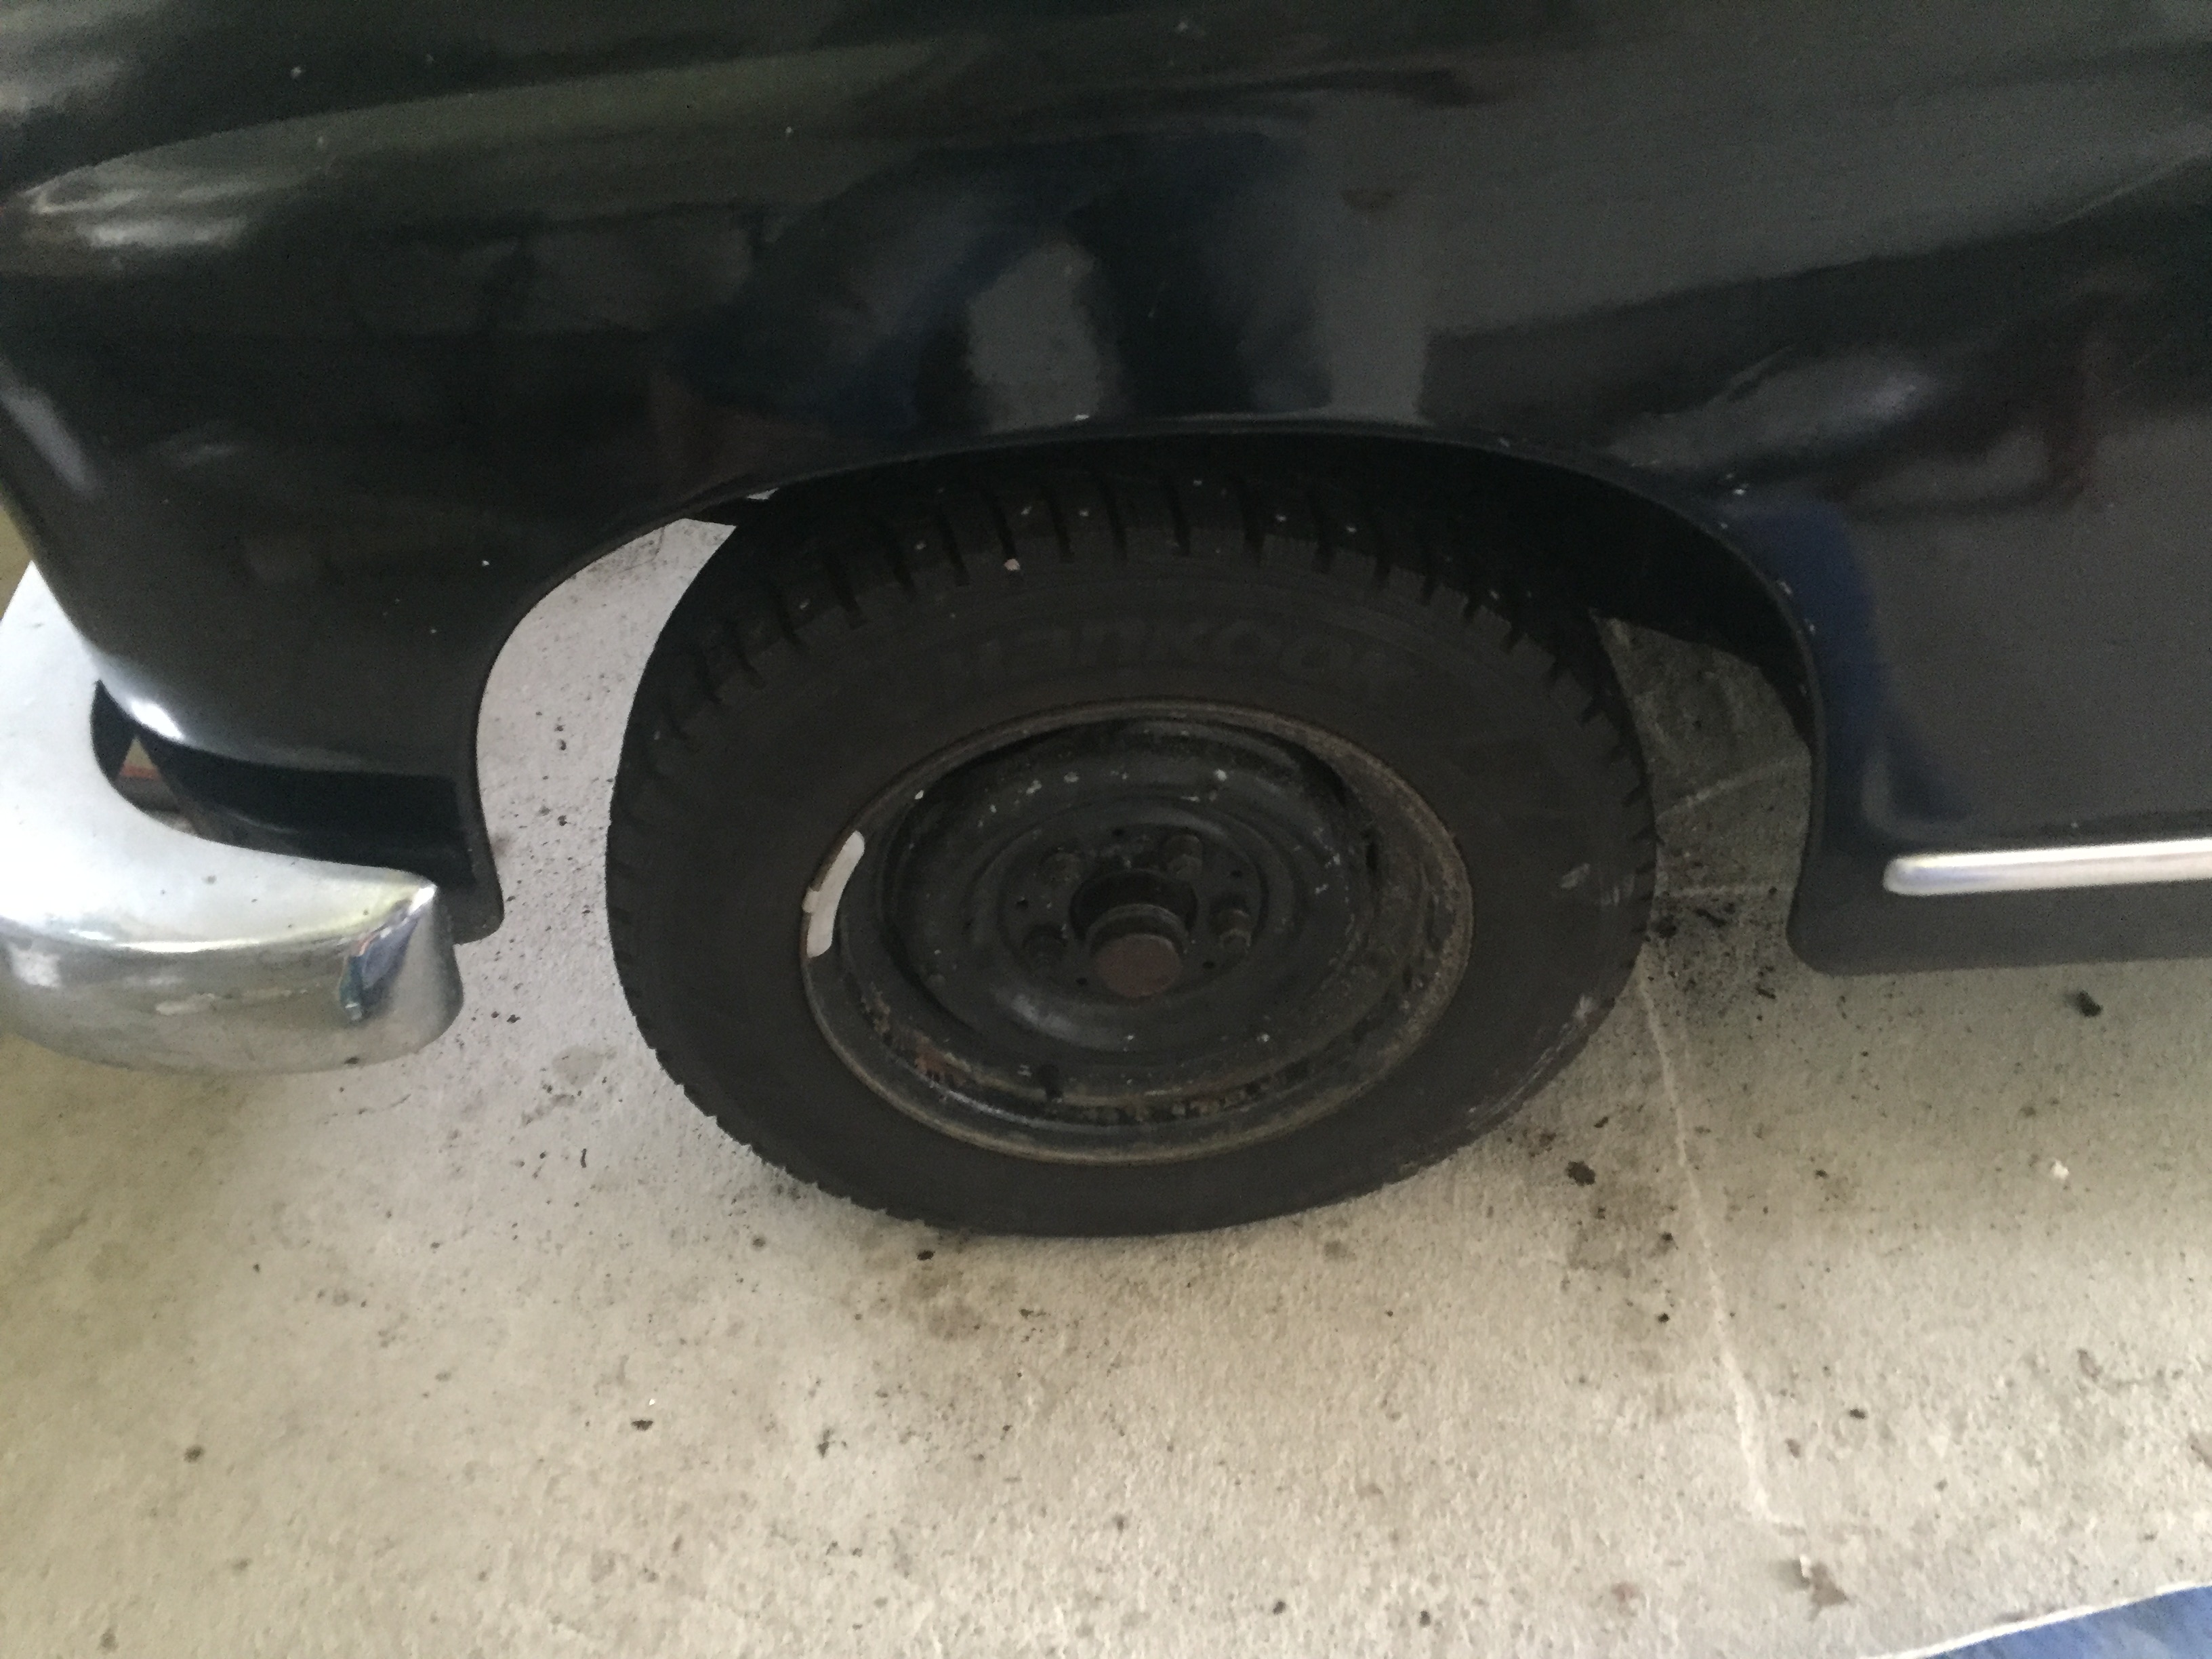
And the replacement winter tire/wheel is in place.
until next time, cheers !
If you want to purchase replacement brake hoses, I found the following on e-bay.