Introduction
Now that i’ve bought the car, it’s time to get it rolling, but before I can attempt that I need to inspect the brakes and that means removing the wheels.
Removing the wheels
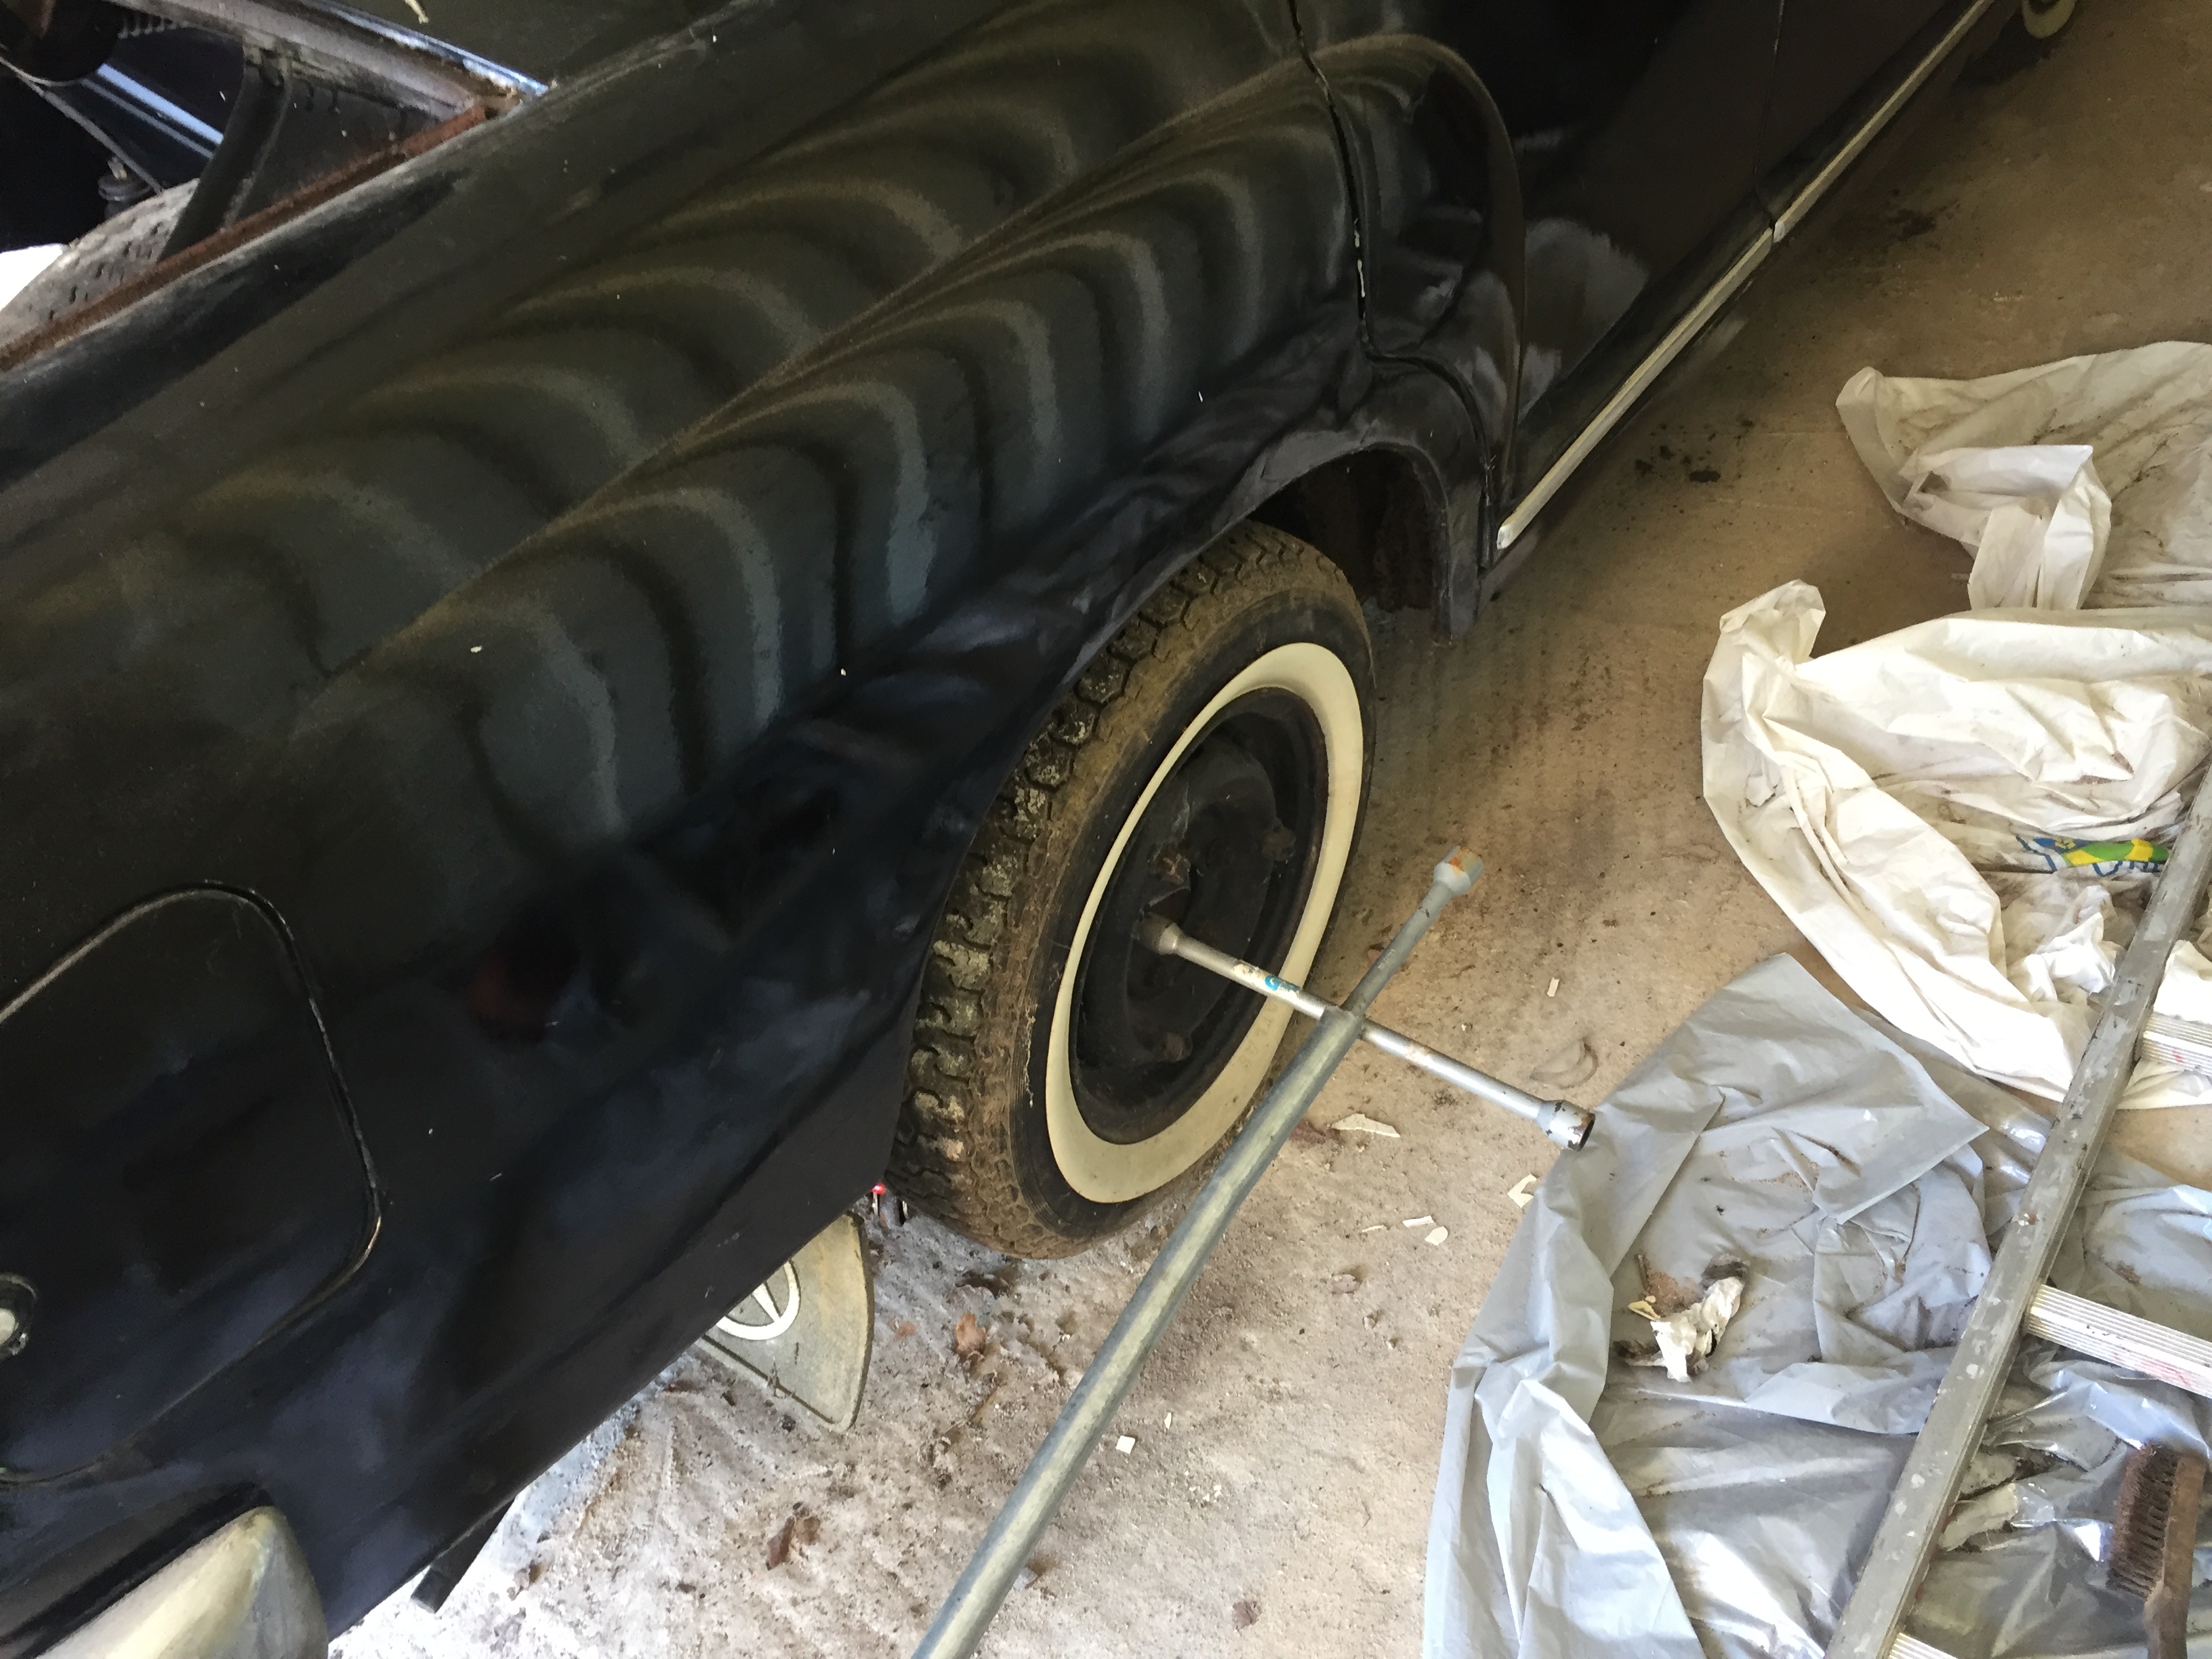
The current wheels have been in place probably for the last 30 years, the one on the rear right is flat so the car is jacked up to keep pressure off that tire, I decided to replace all four wheels with my own winter wheels from my other ponton as those tires are modern and new.
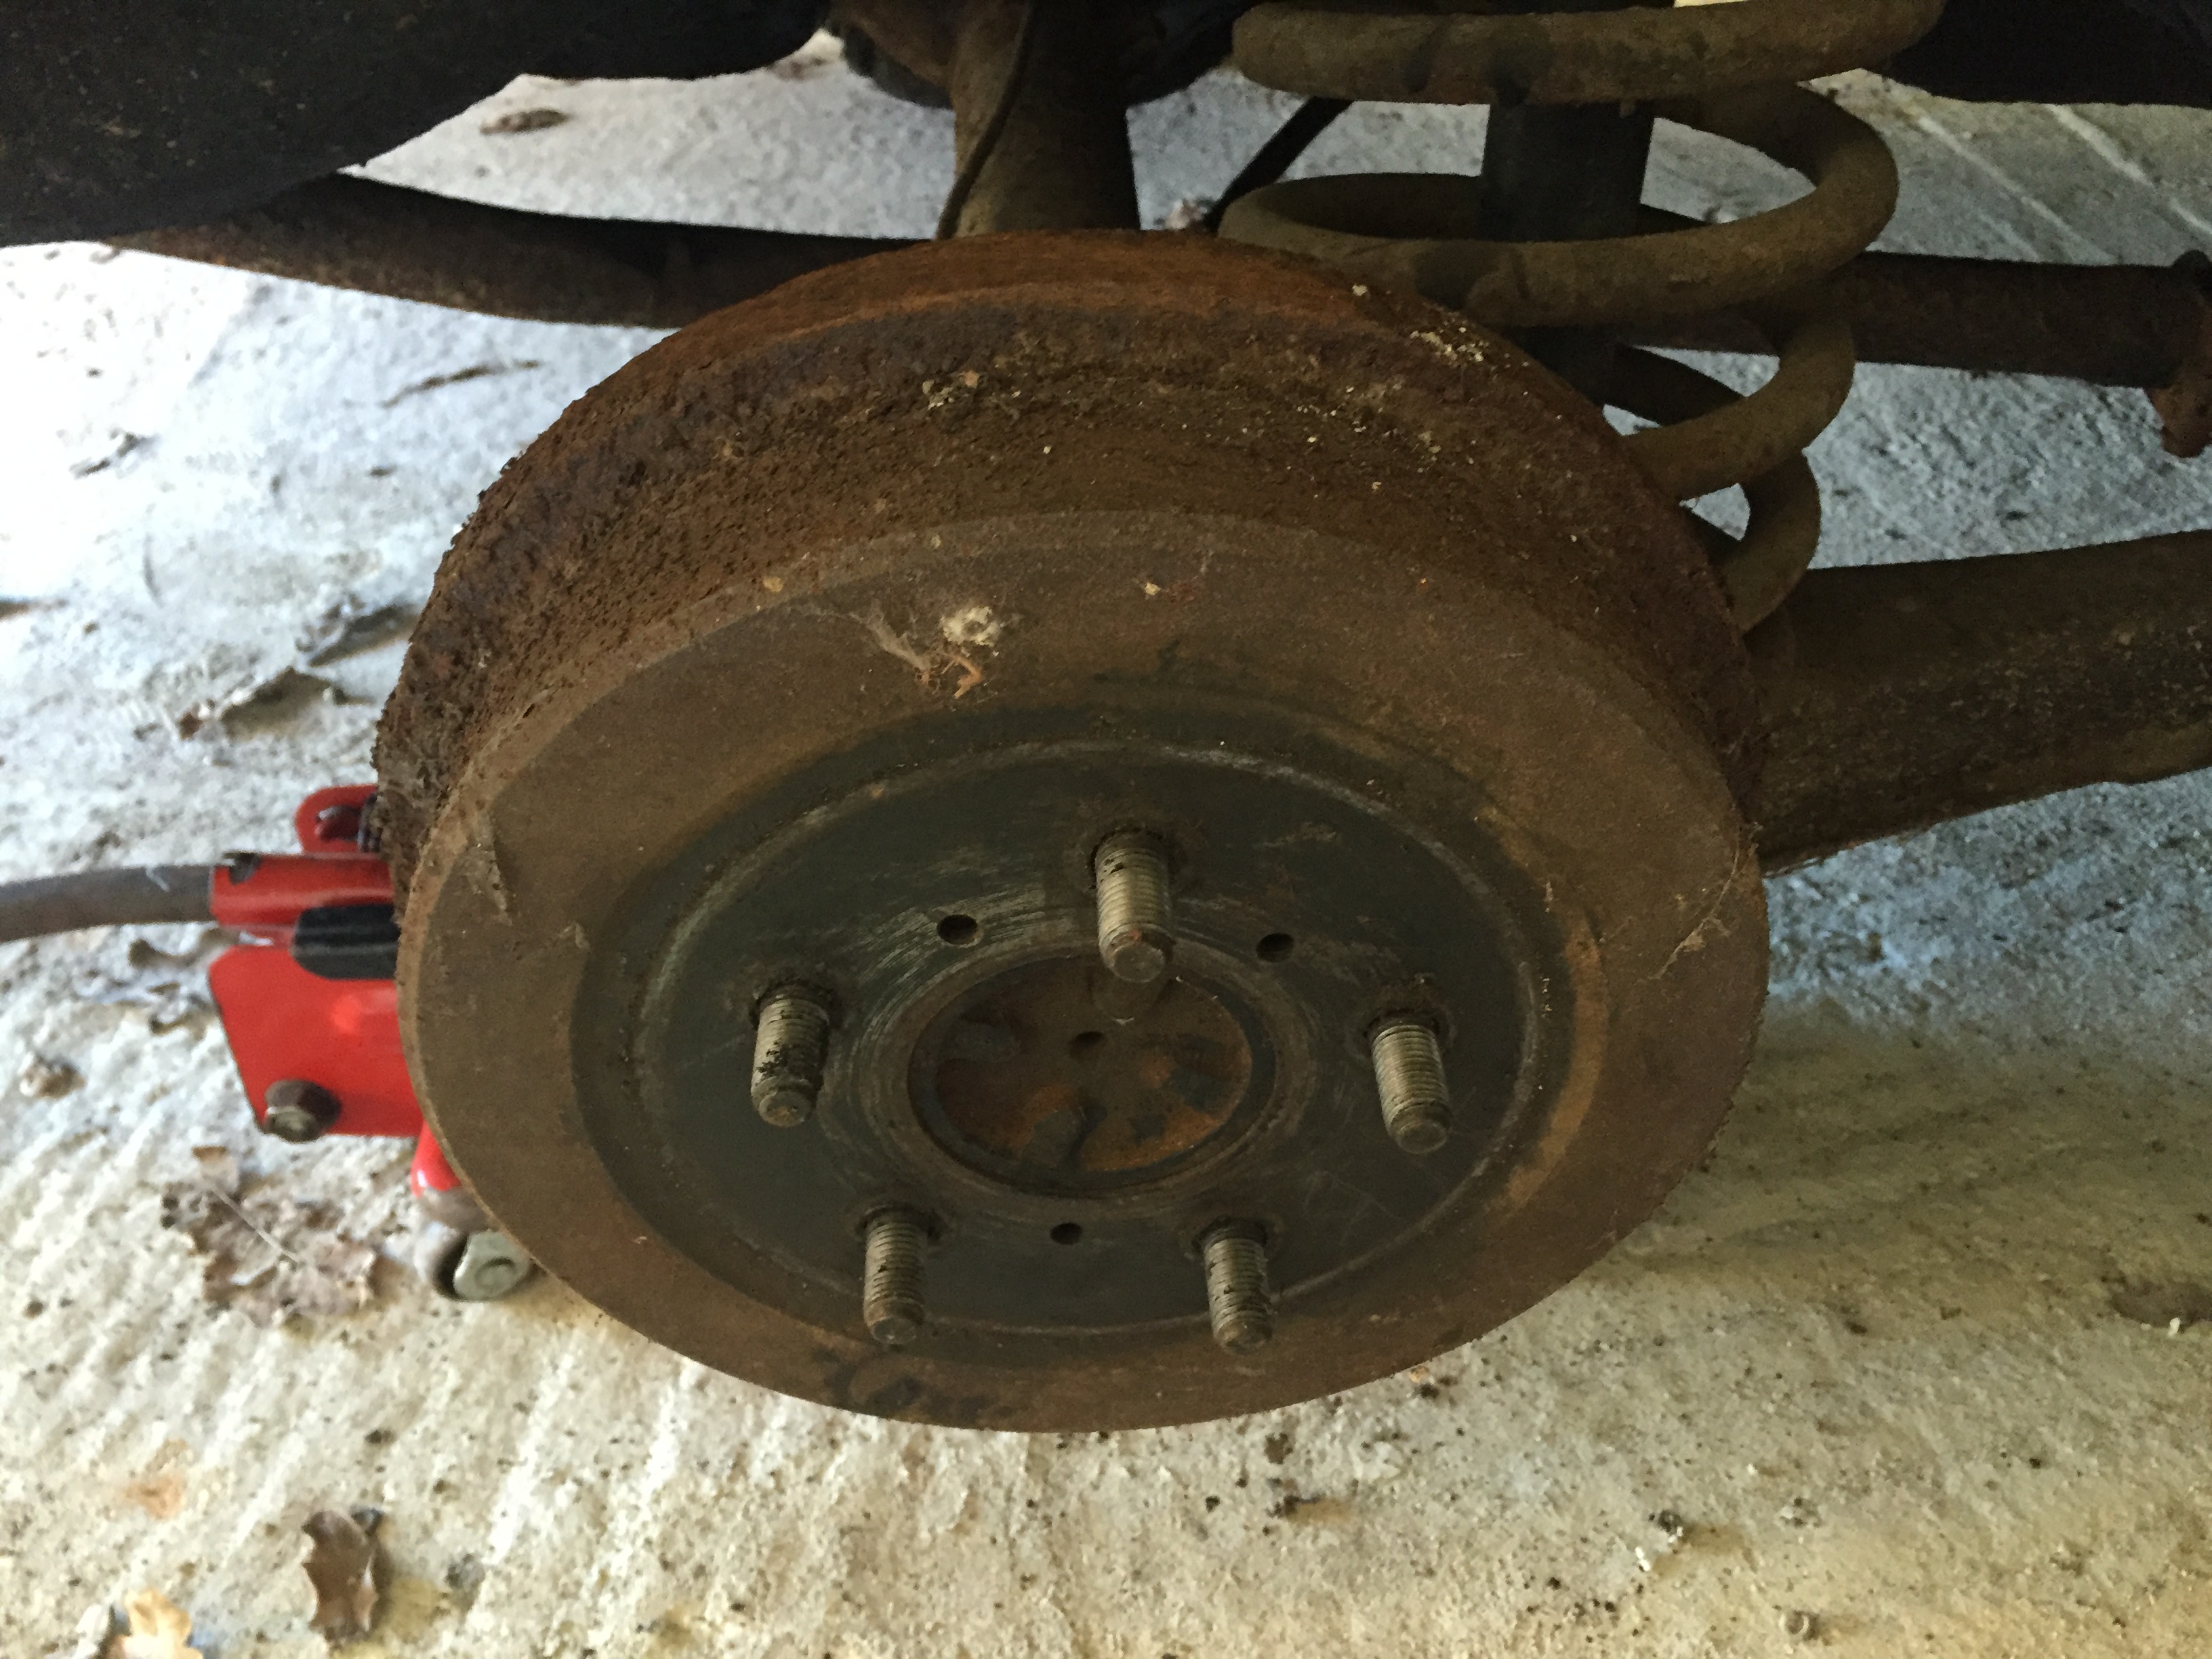
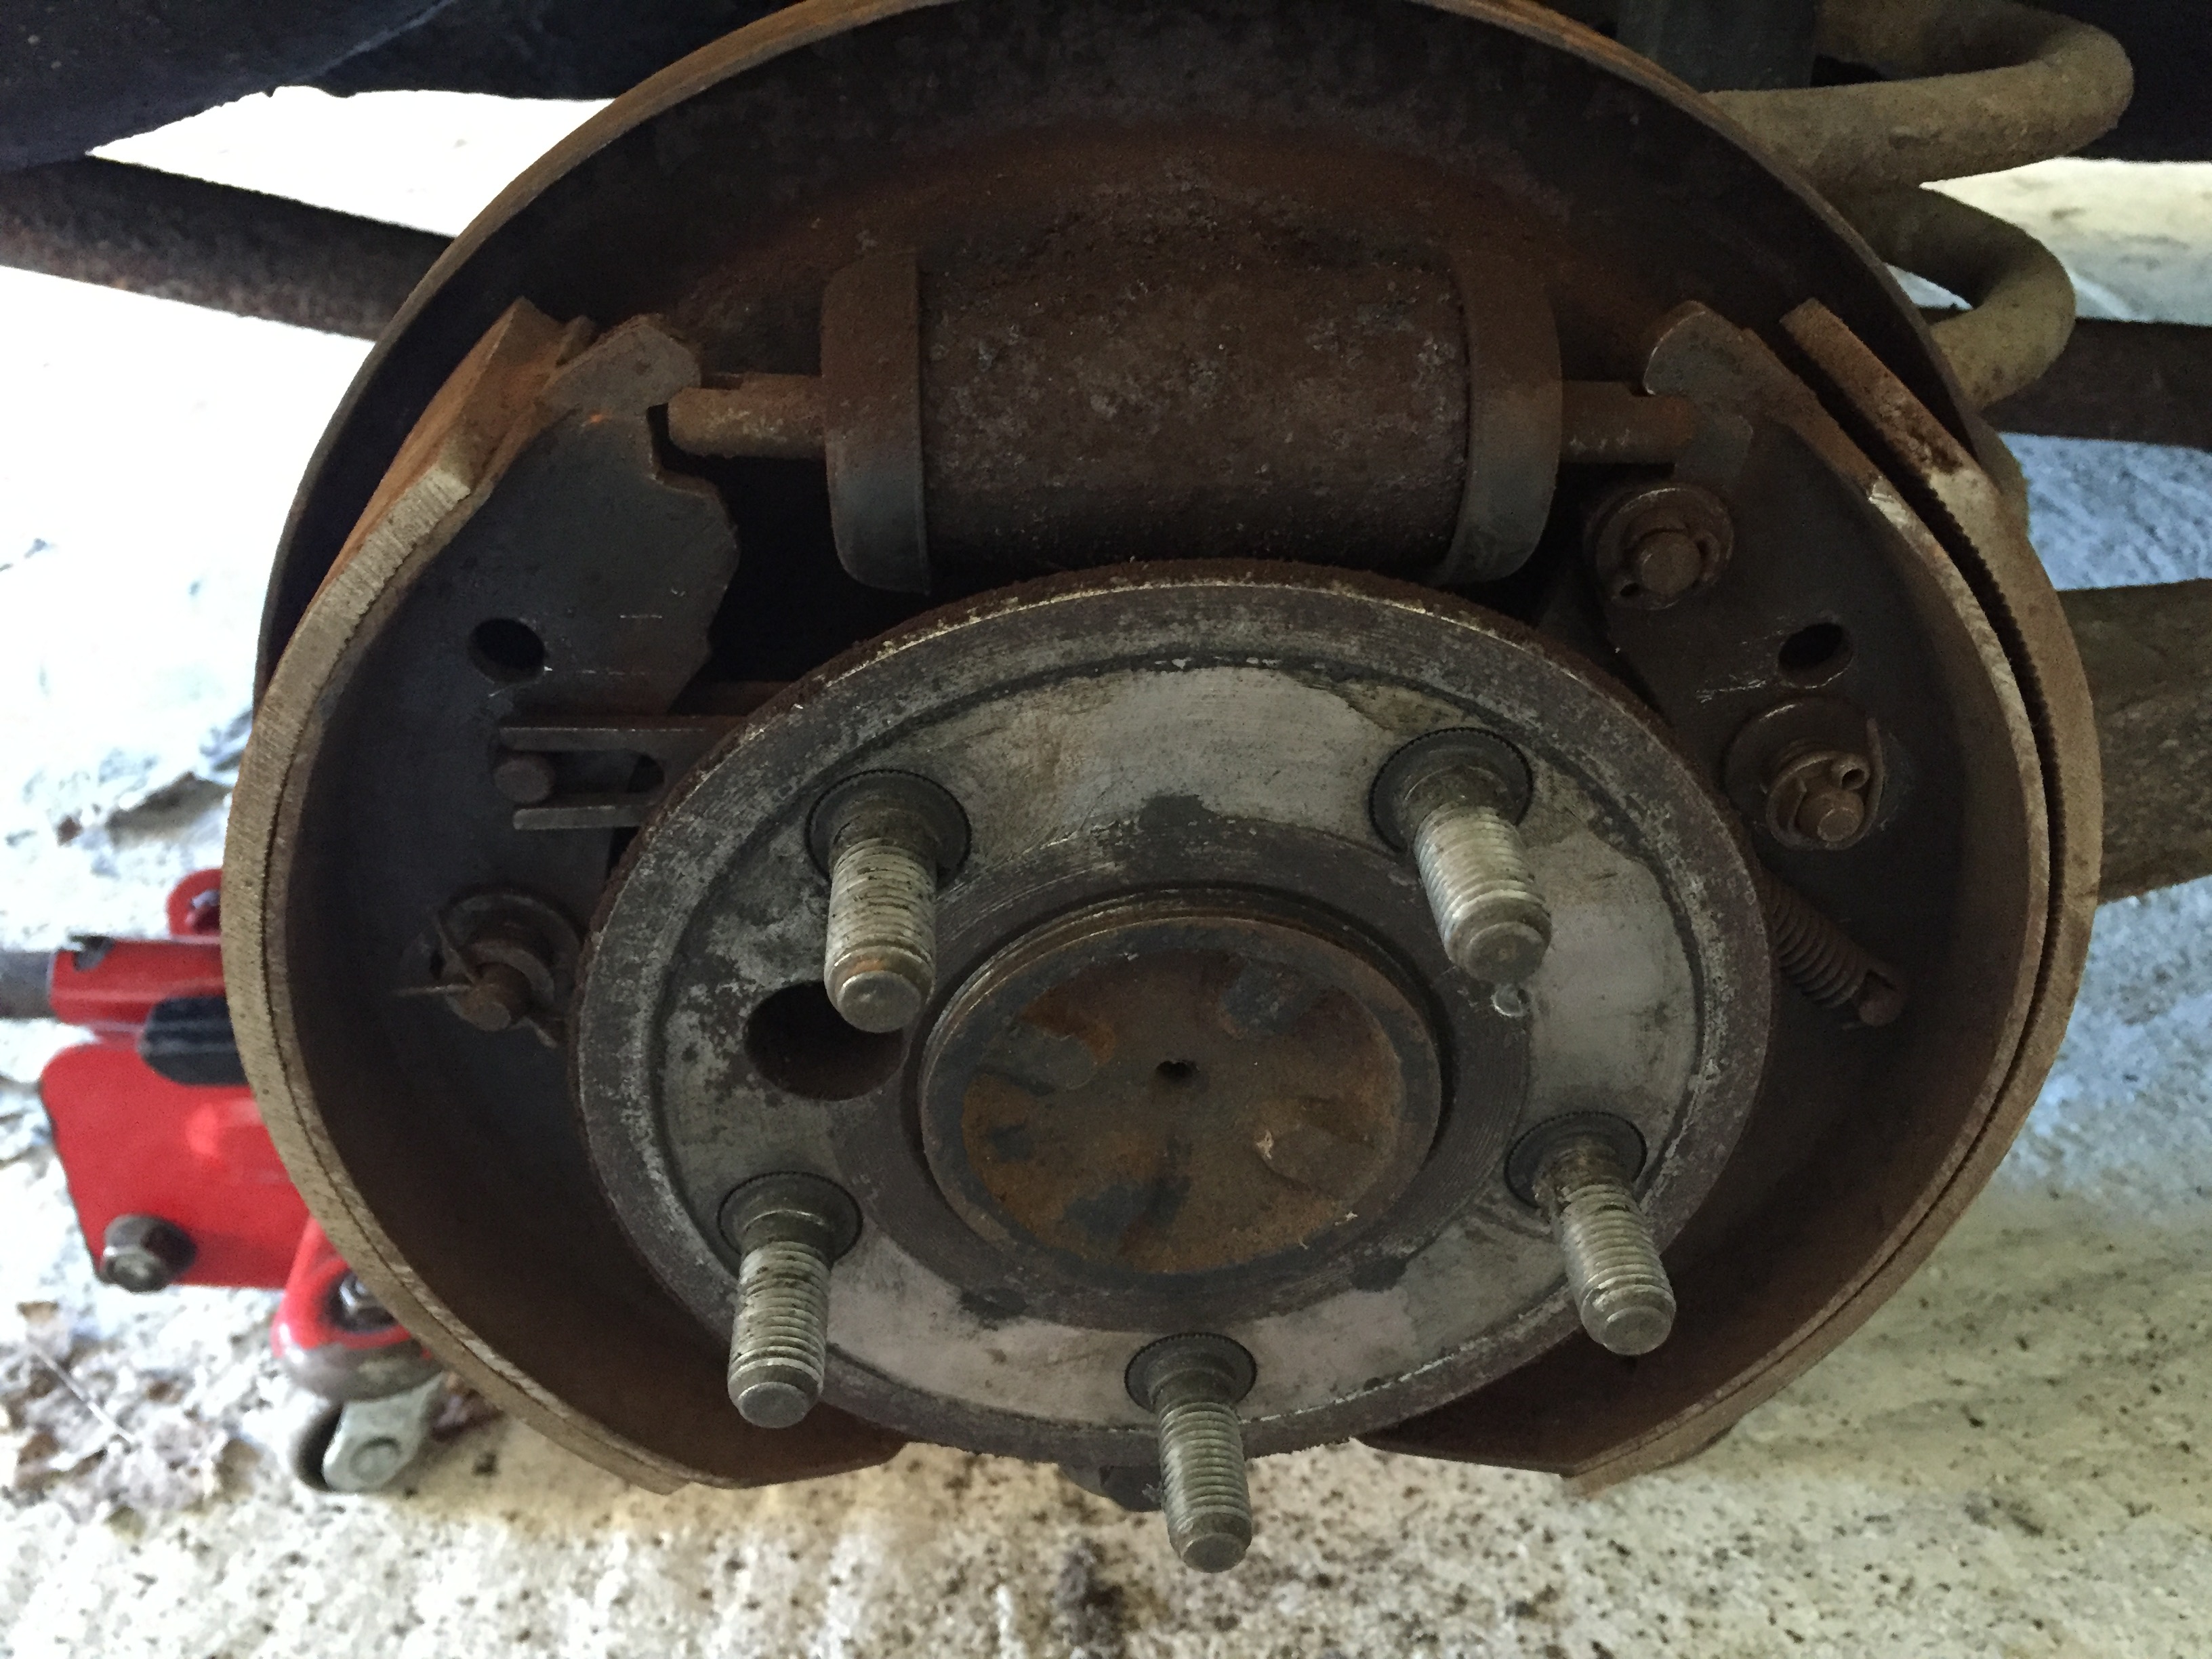
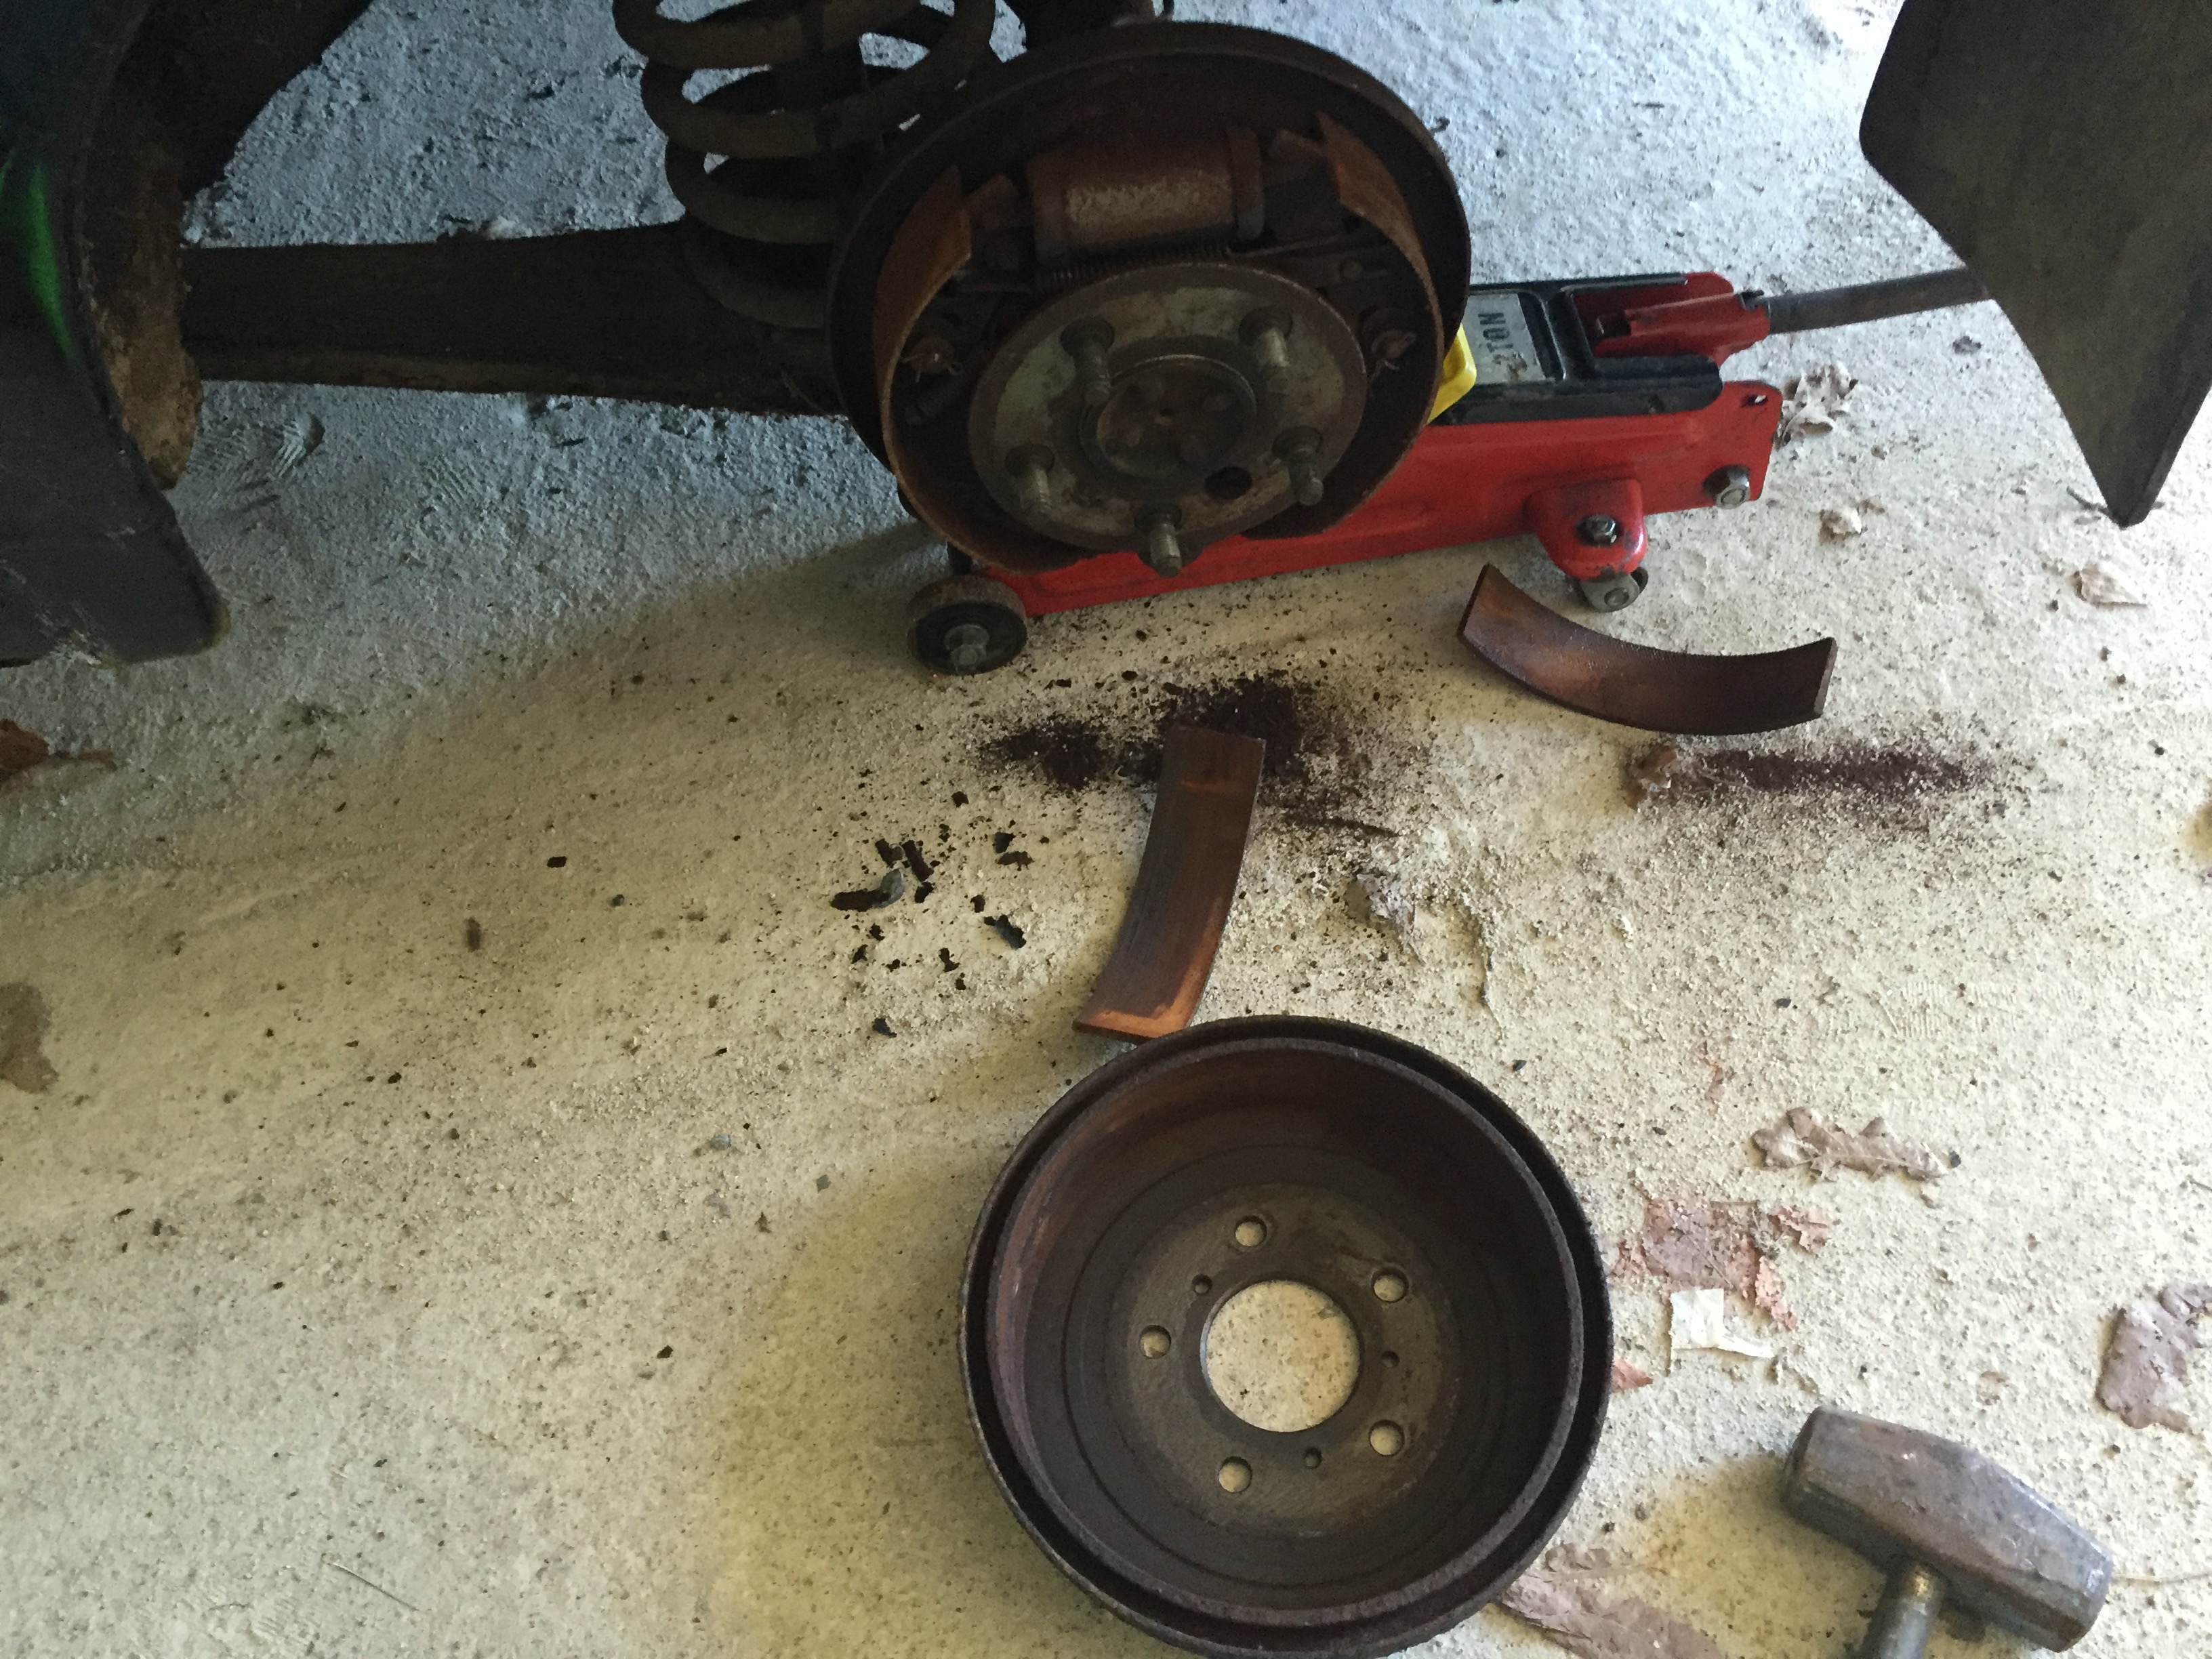
I brought my four winter wheels with me and some tools and proceeded to remove the flat tire on the right rear, got it off ok. Look at the rust sitting on the brake drum, it’s positively caked in it, and understandable after 30 years of zero movement.
I tried to turn the wheel after verifying that the handbrake was off and it was out of gear (in neutral), it didn’t budge.
To my surprise I managed to free the brake drum with the use of a 8 x 1.25 mm bolt which you can screw into the three holes in the center (in line with the five protruding wheel bolts).
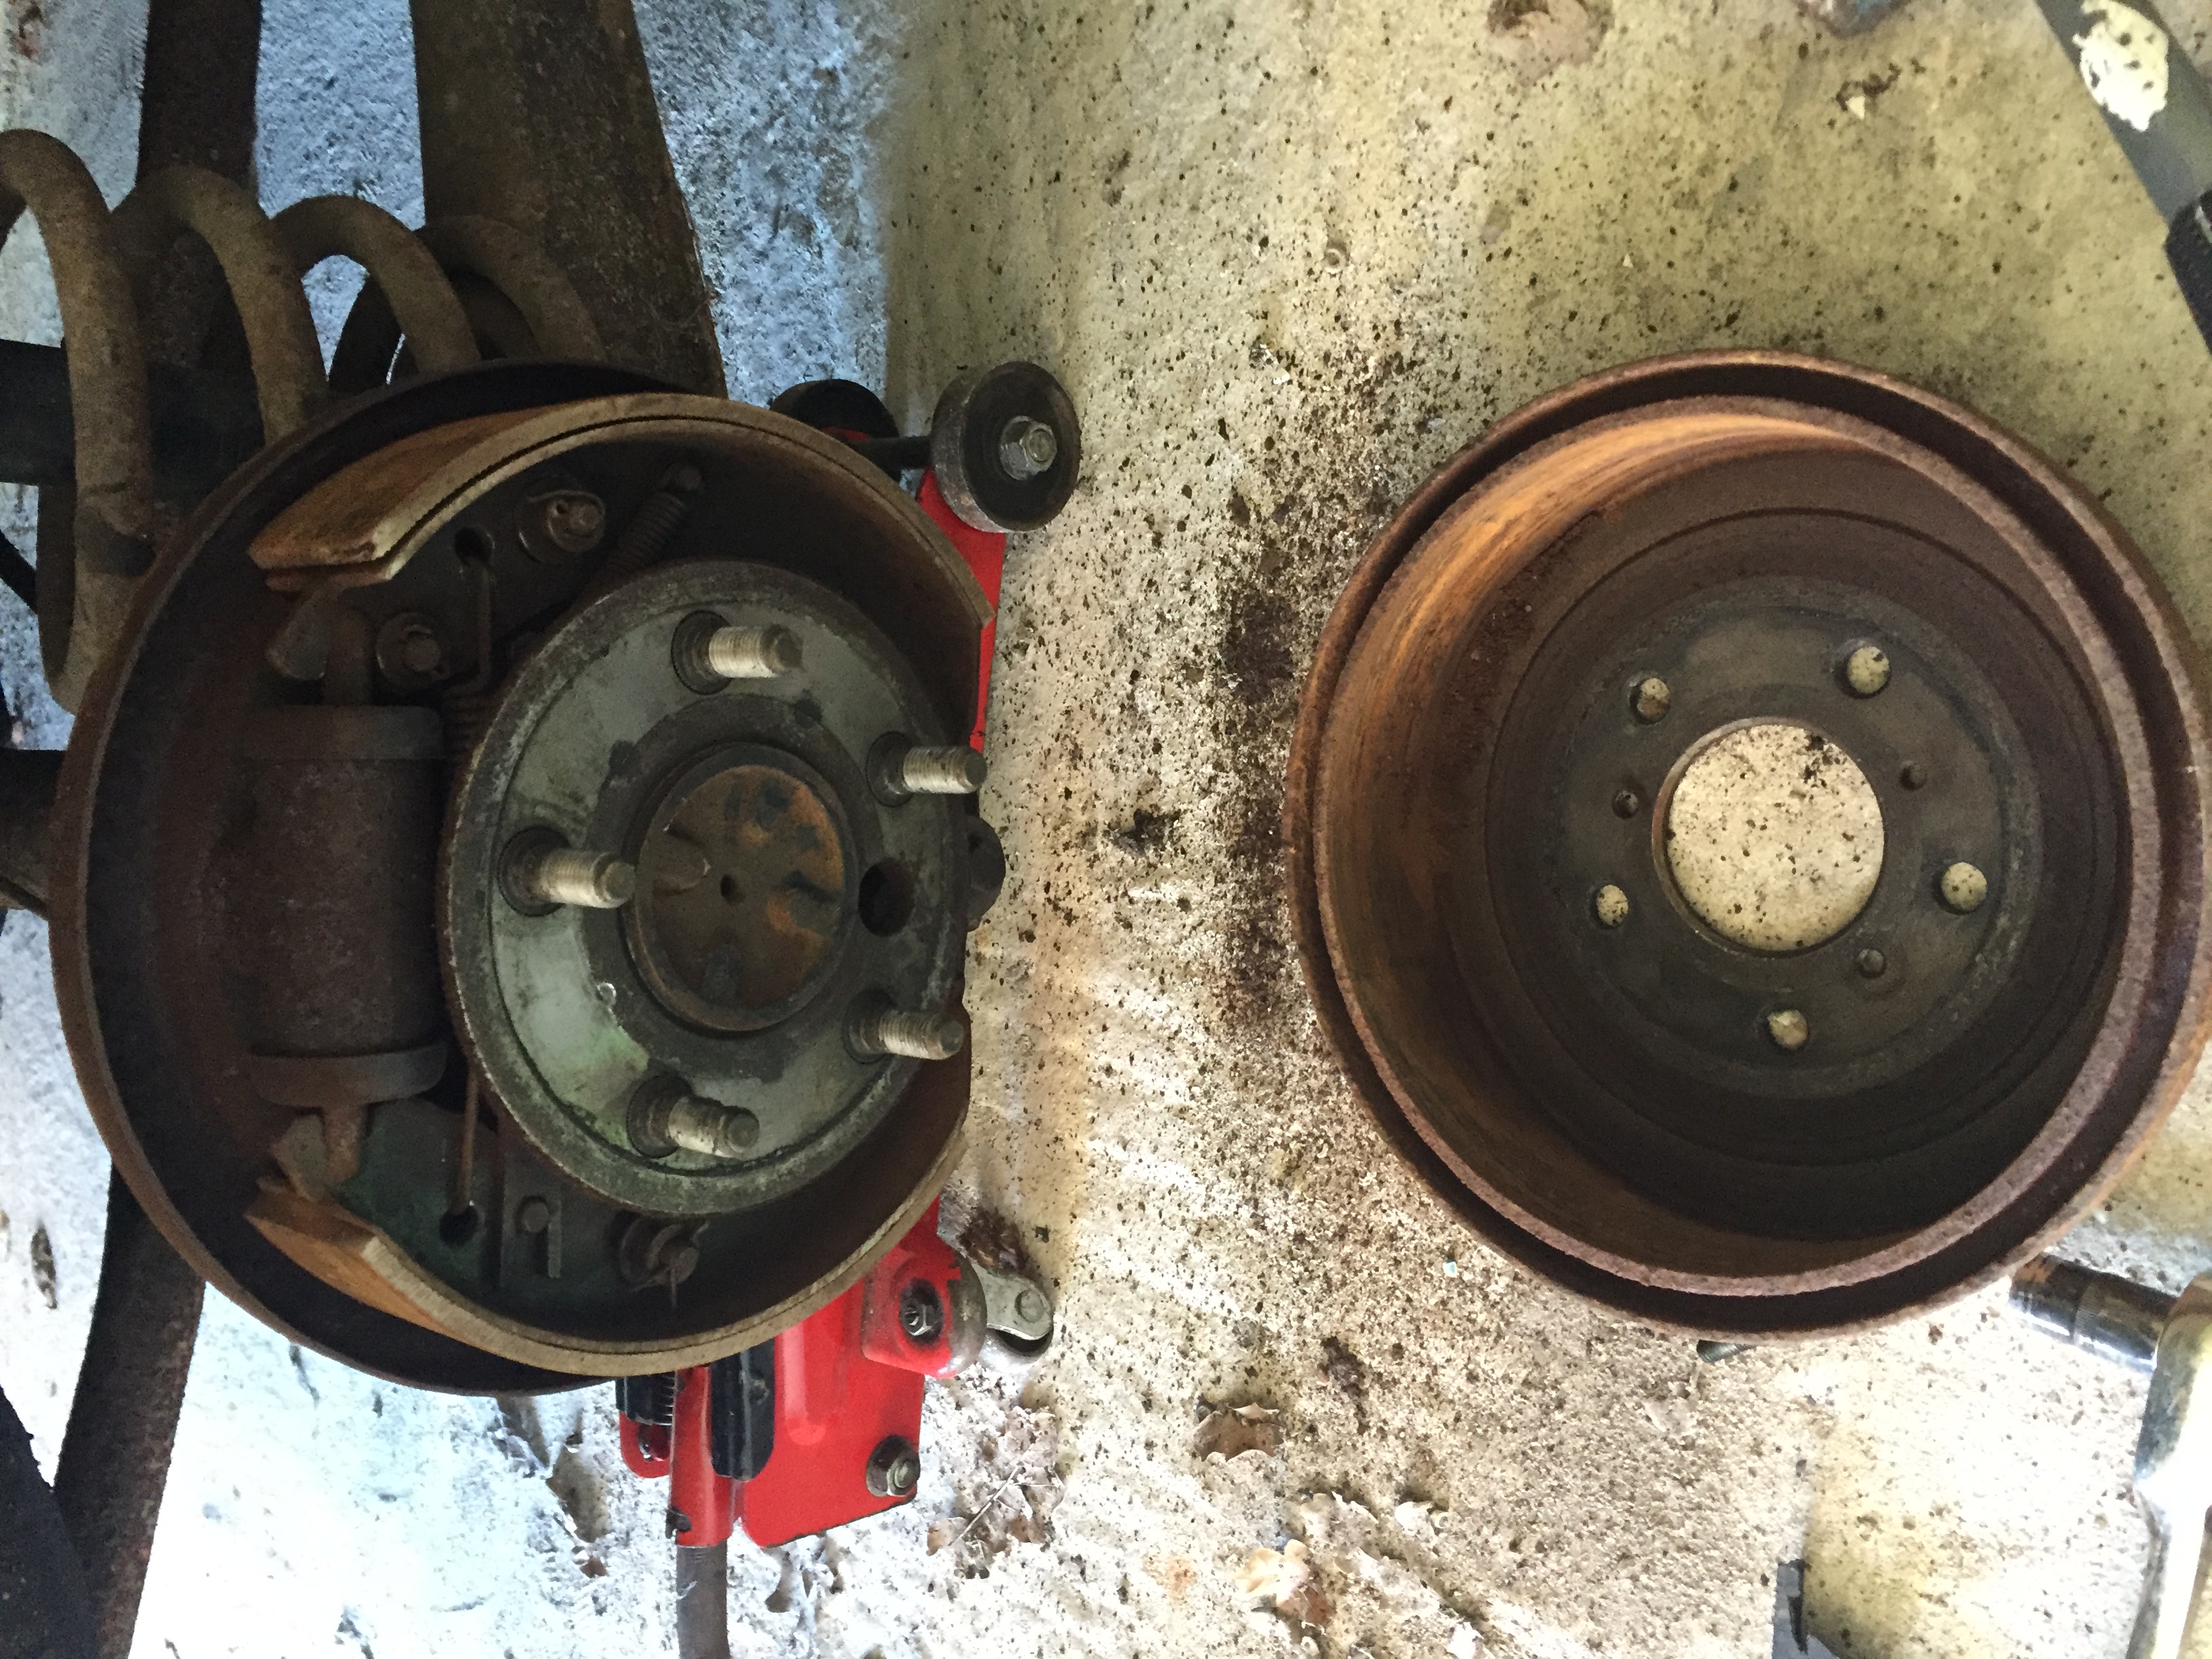
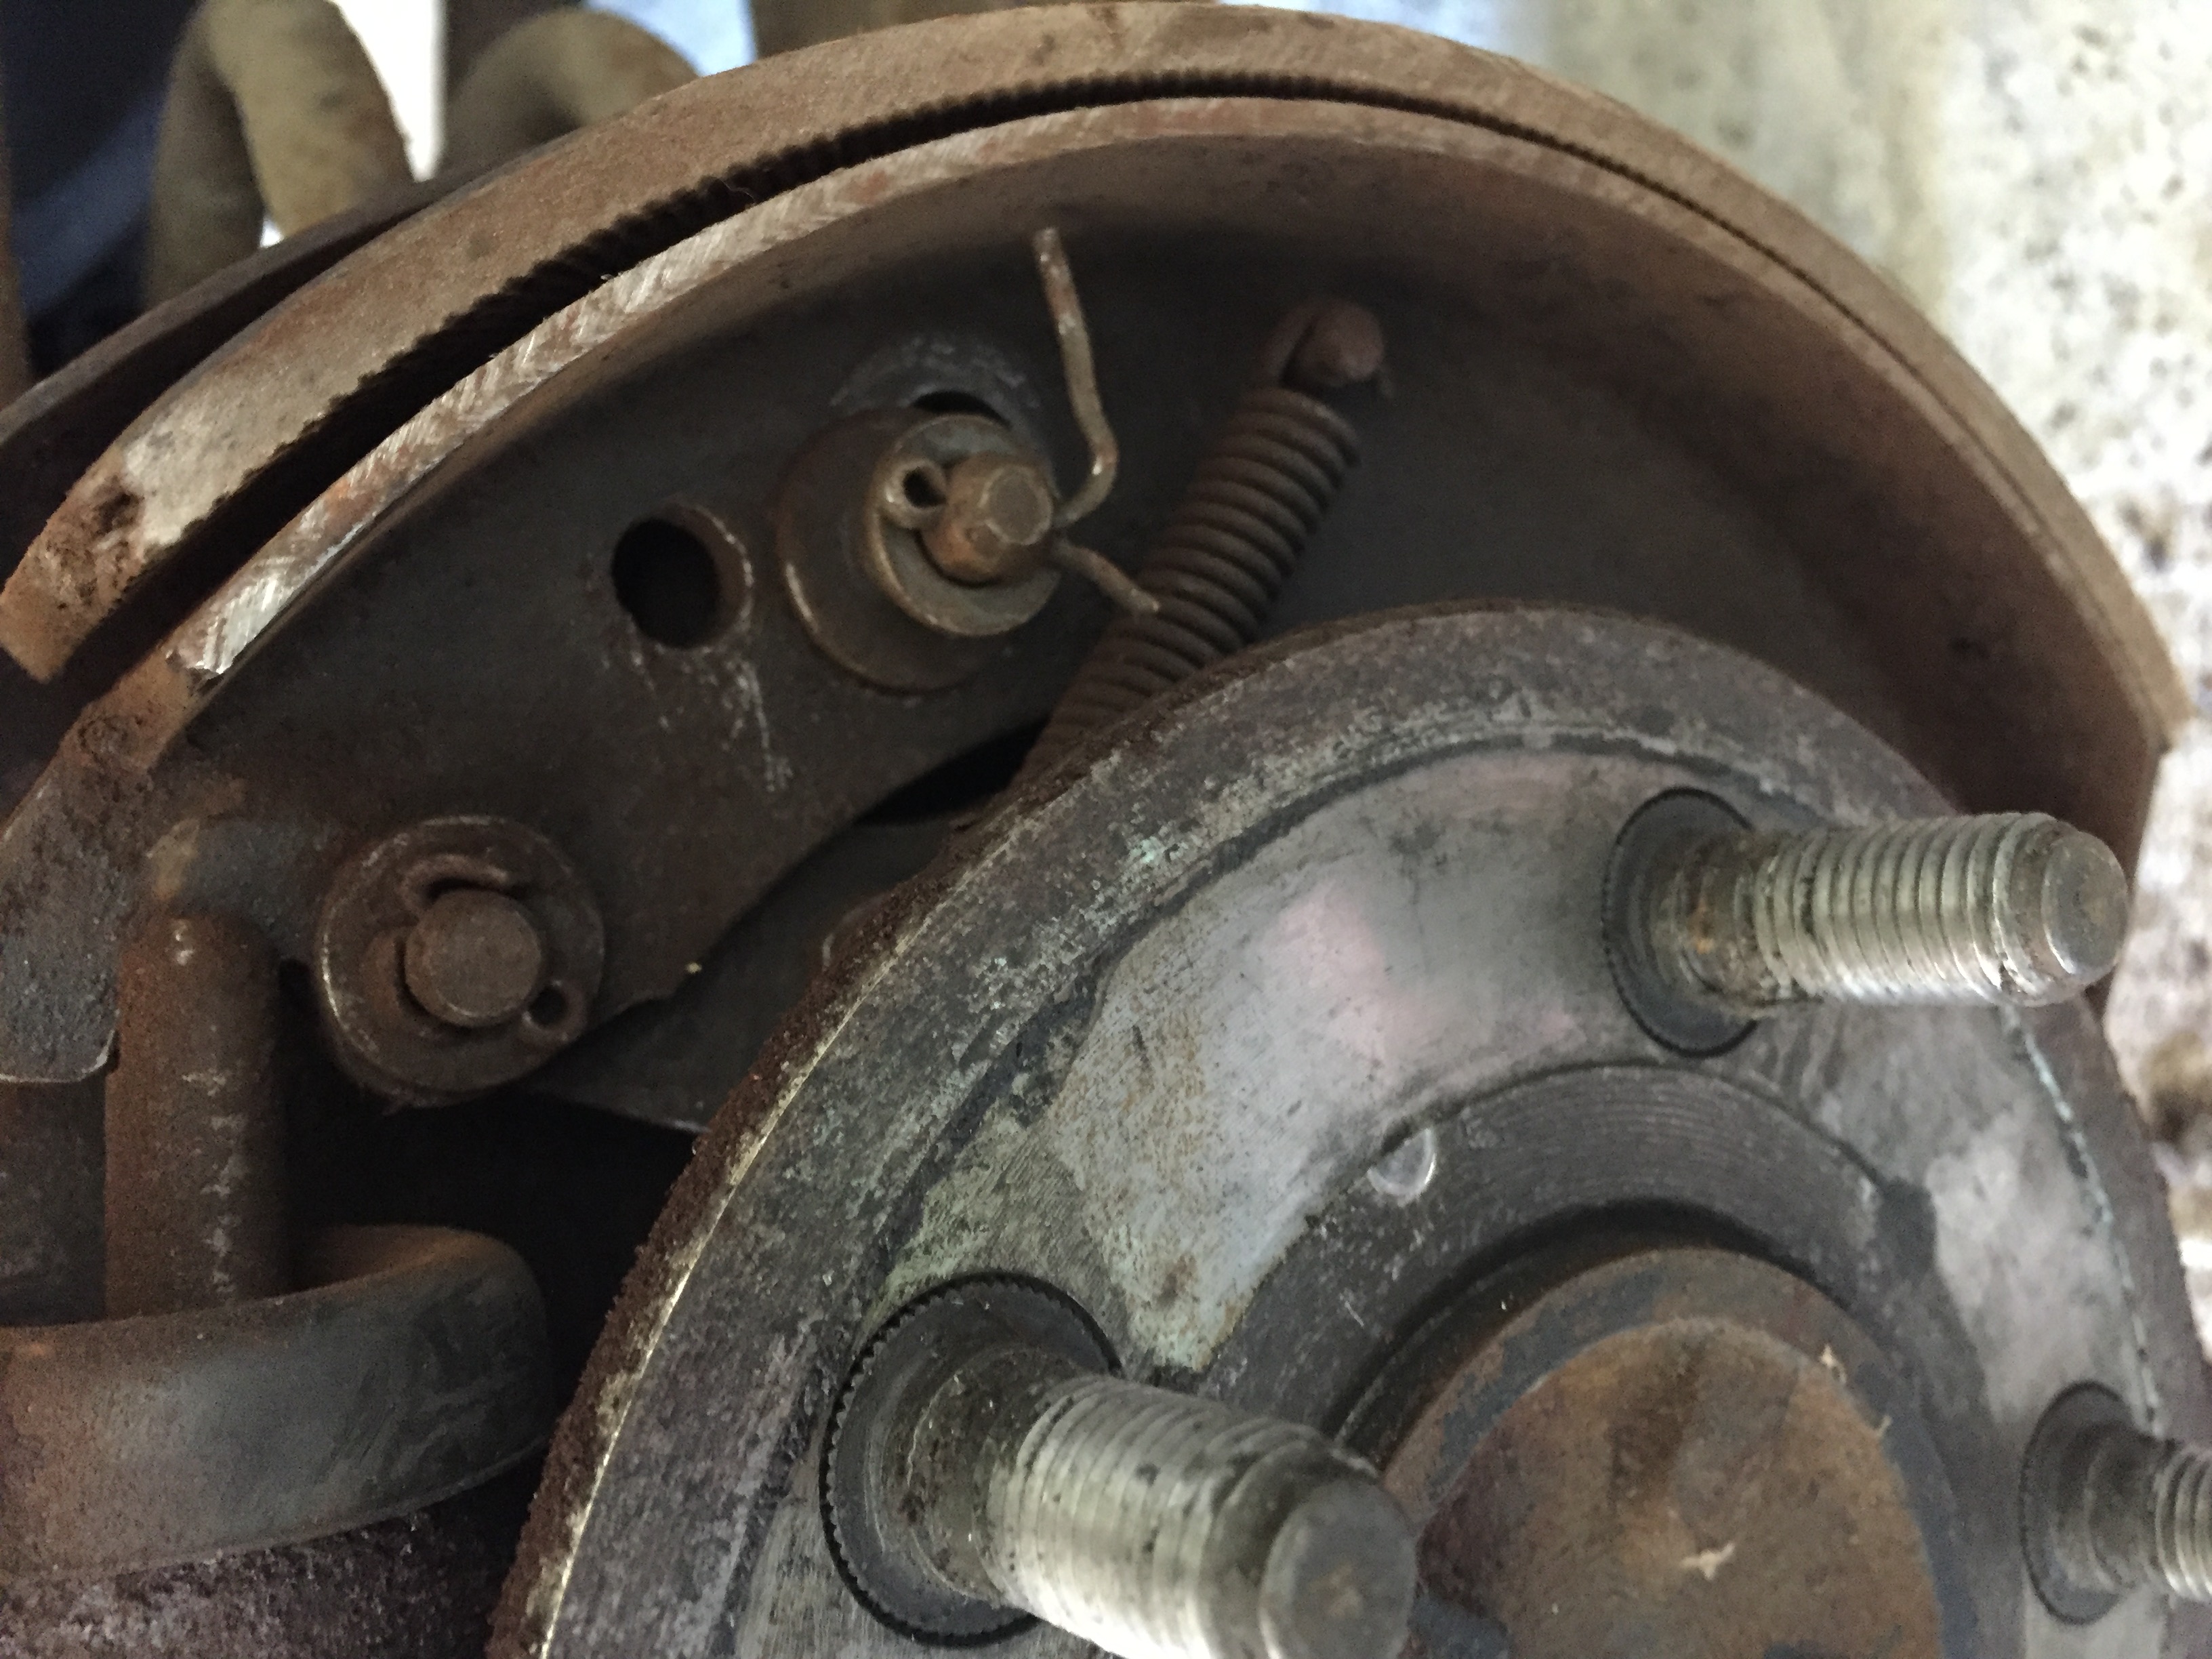
The brake lining on both brake shoes is not good (coming off the brake shoe), I’ll definitely get the brake shoes all refitted with new lining.
In fact, as I had the wheel off I decided I may as well remove the parts I’ll need redone and refit them later when I’ve removed the cylinder and so on.
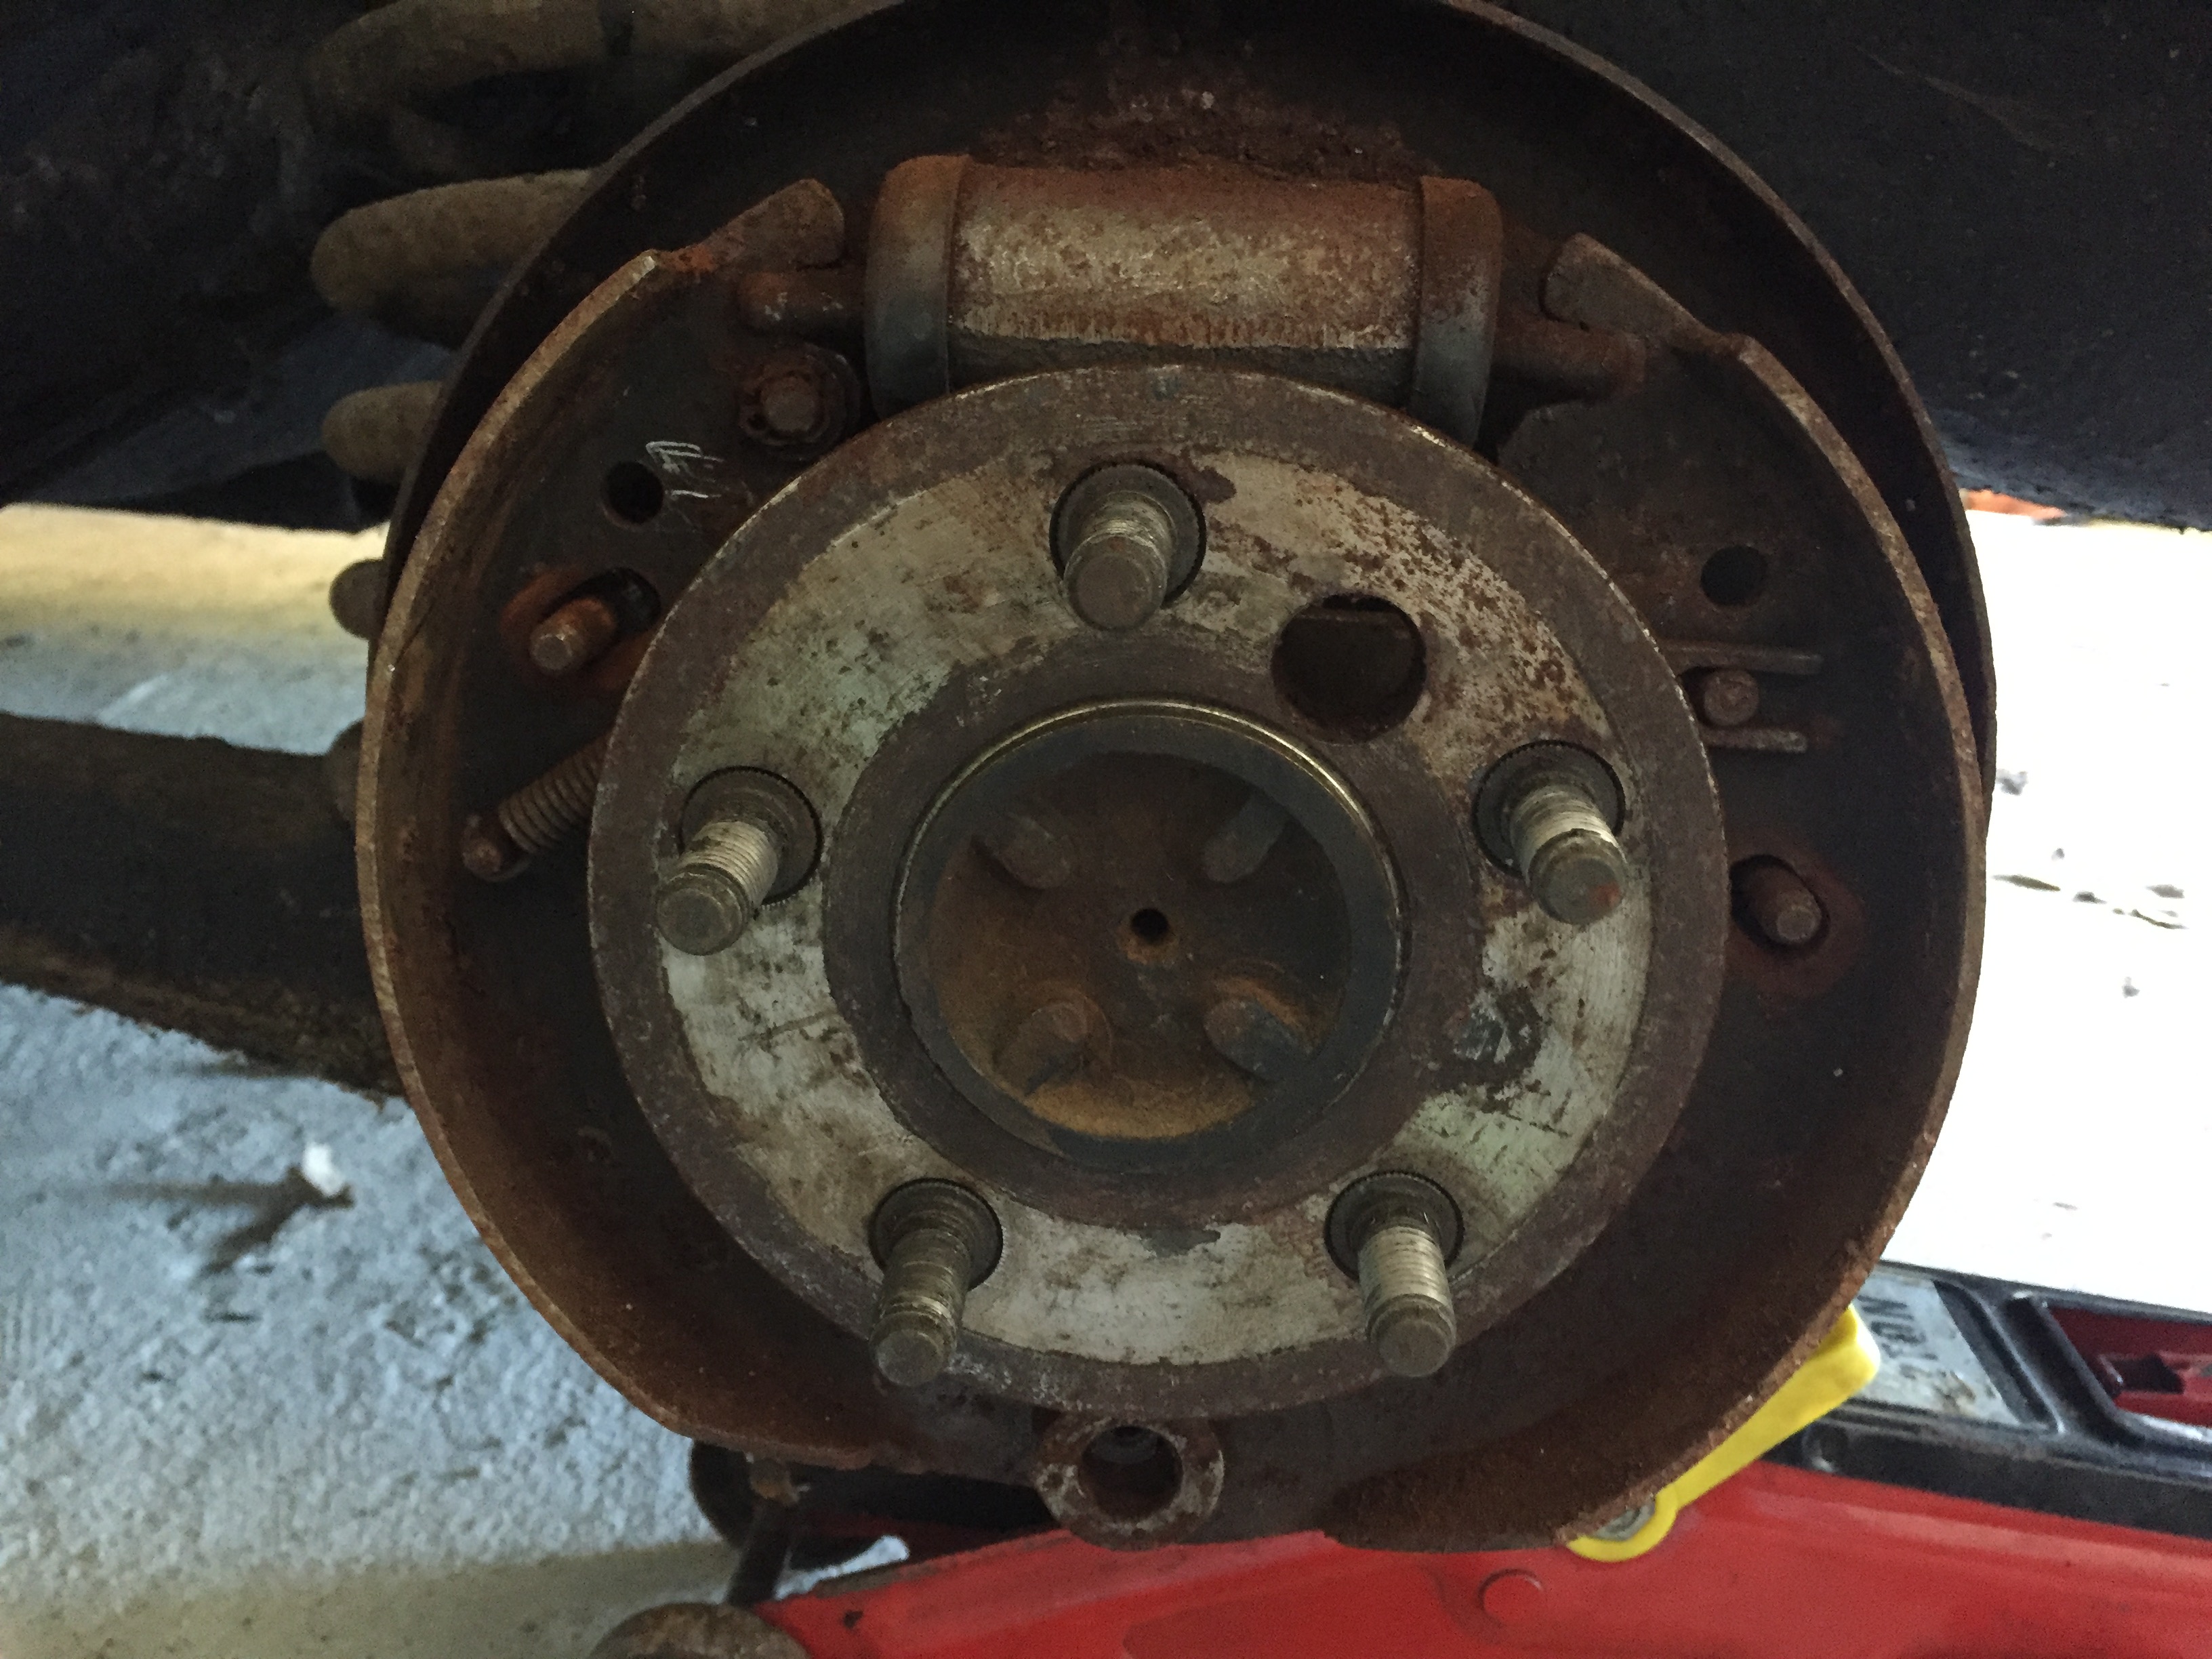
Once the brake drum was off I could turn the wheel no problem, so it’s not seized which is a relief.
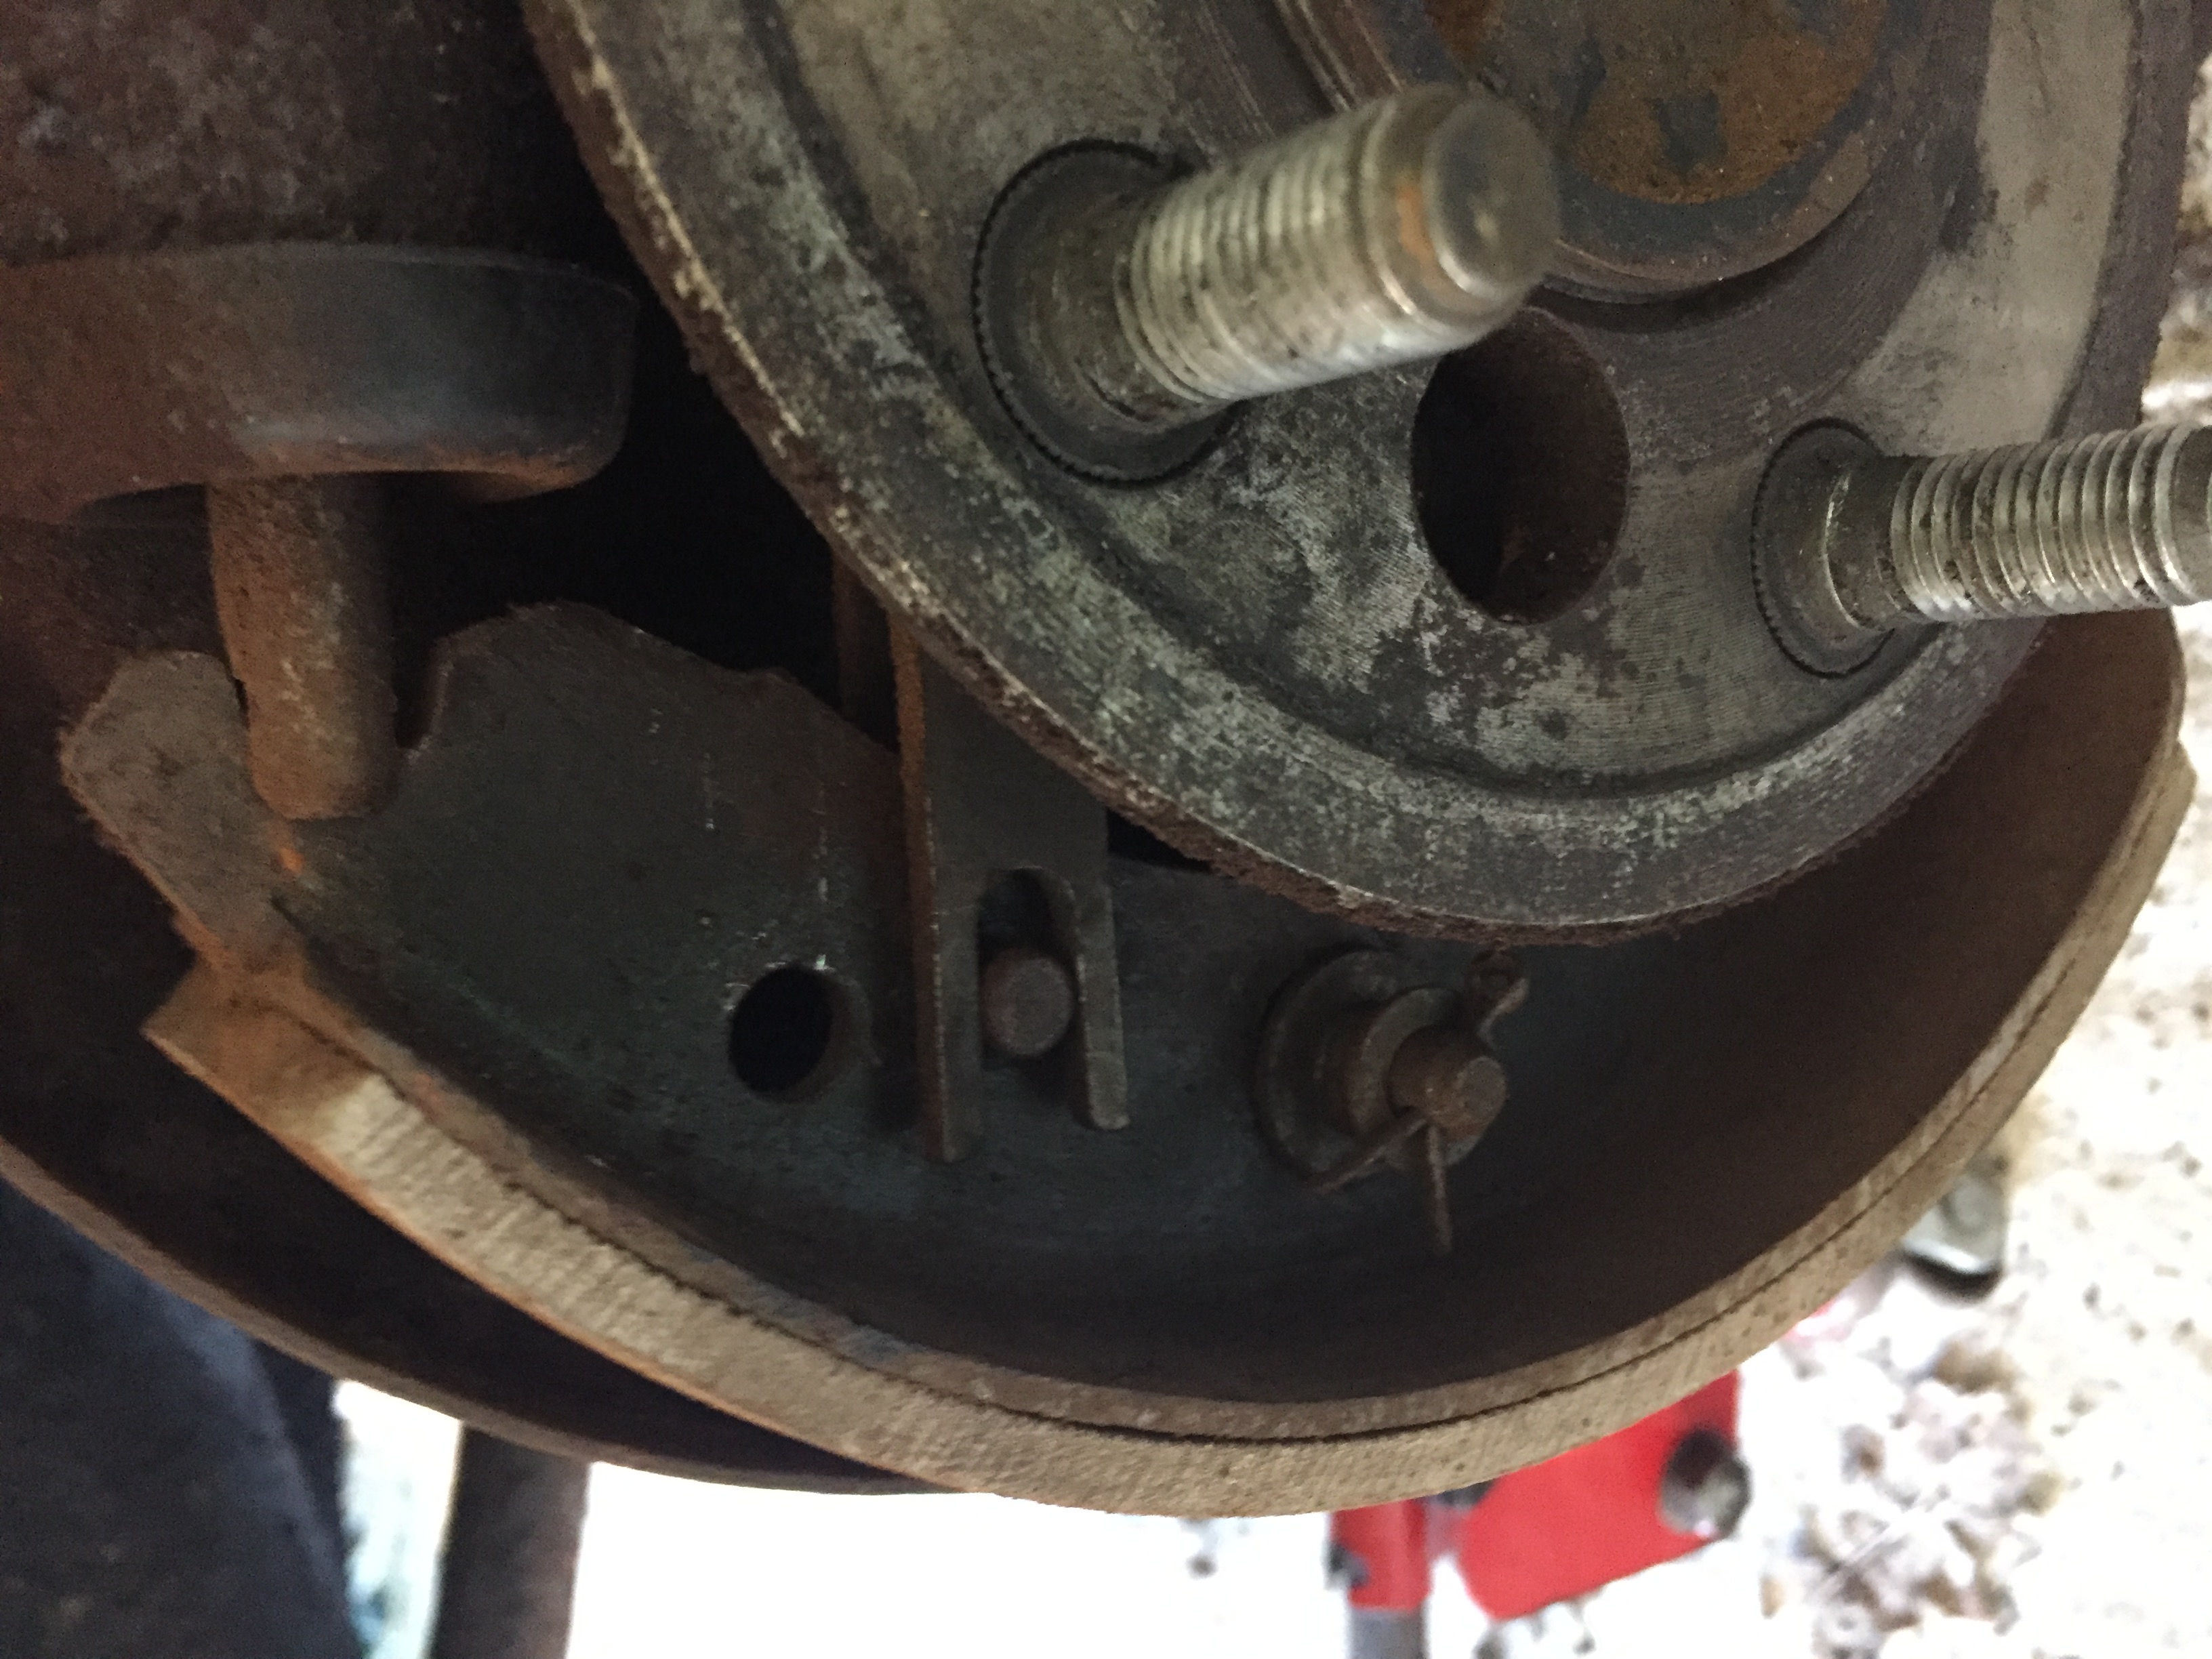
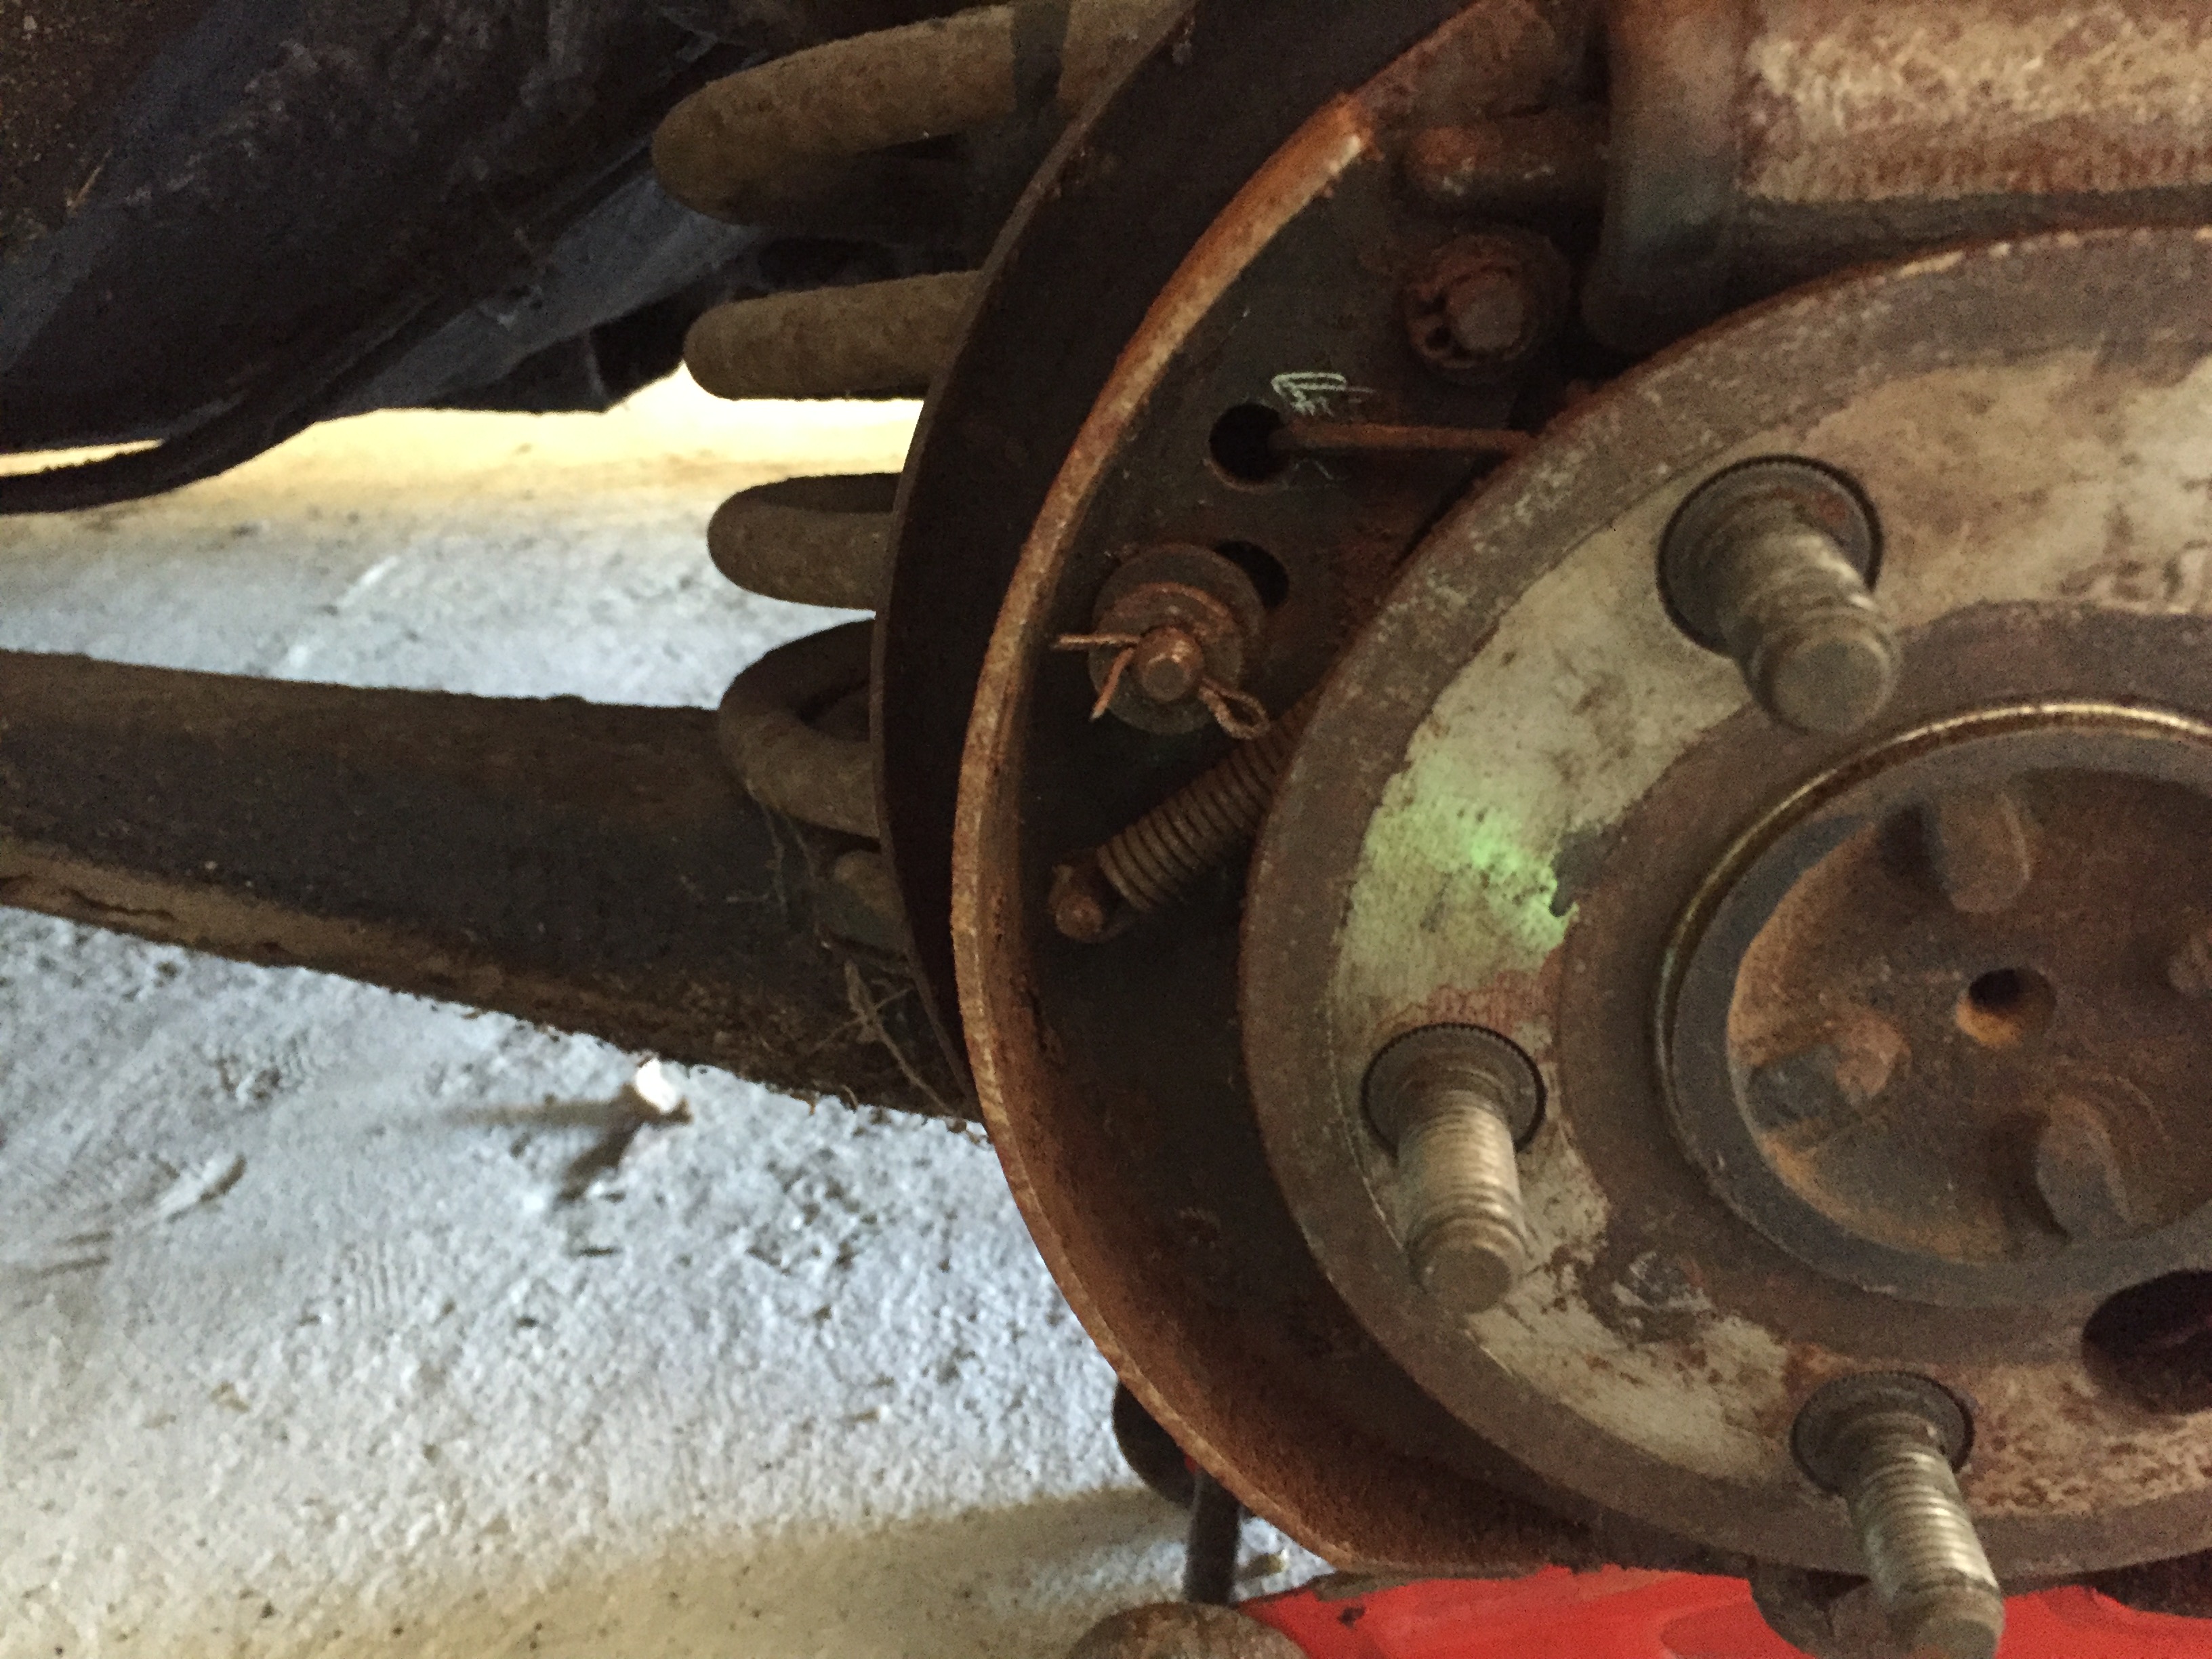
While the brake bits were all in place I took several photos of the layout so that when i come back to re-installing them i’ll have a reference. I placed all the springs, bolts and washers in a box so they wouldn’t get lost.
Here’s a selection, notice the state of the brake cylinder, it’s rusty as can be.
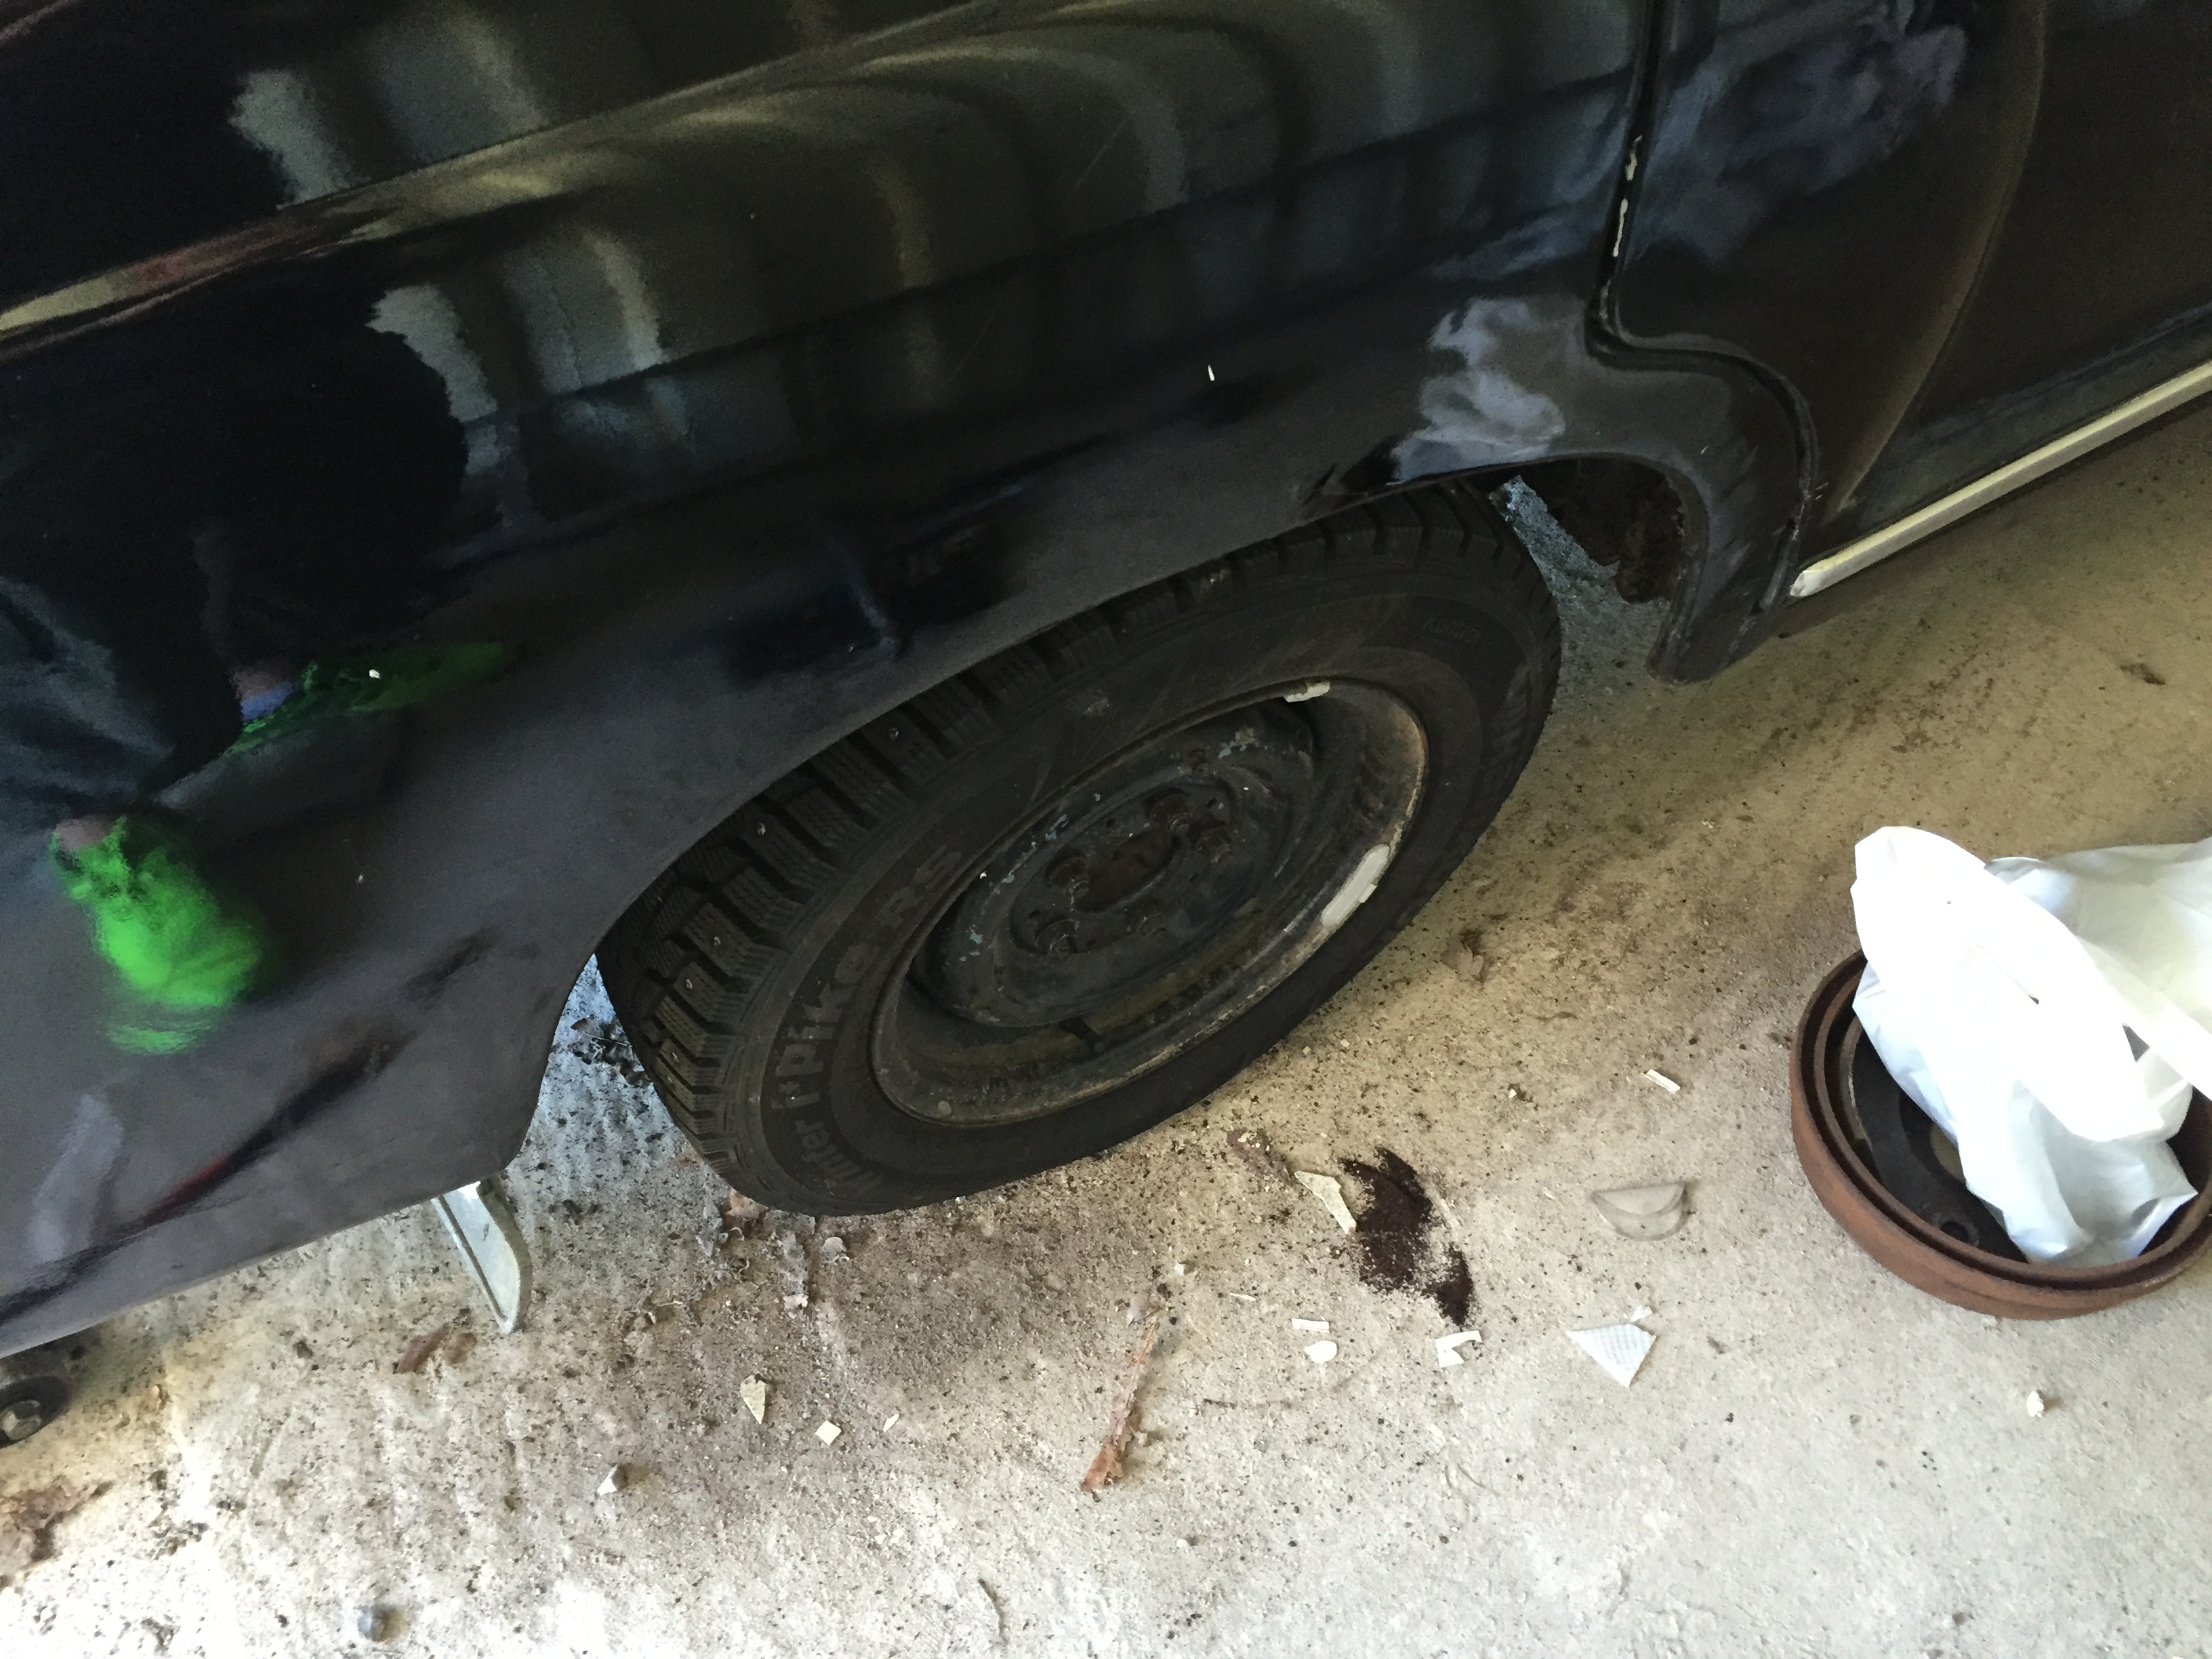
Once I had the brake drum, brake shoes and springs, bolts etc off, I put the winter wheel on.
I’m not too concerned about the looks at this point, the idea is that the tires that are on it now won’t go flat any time soon.
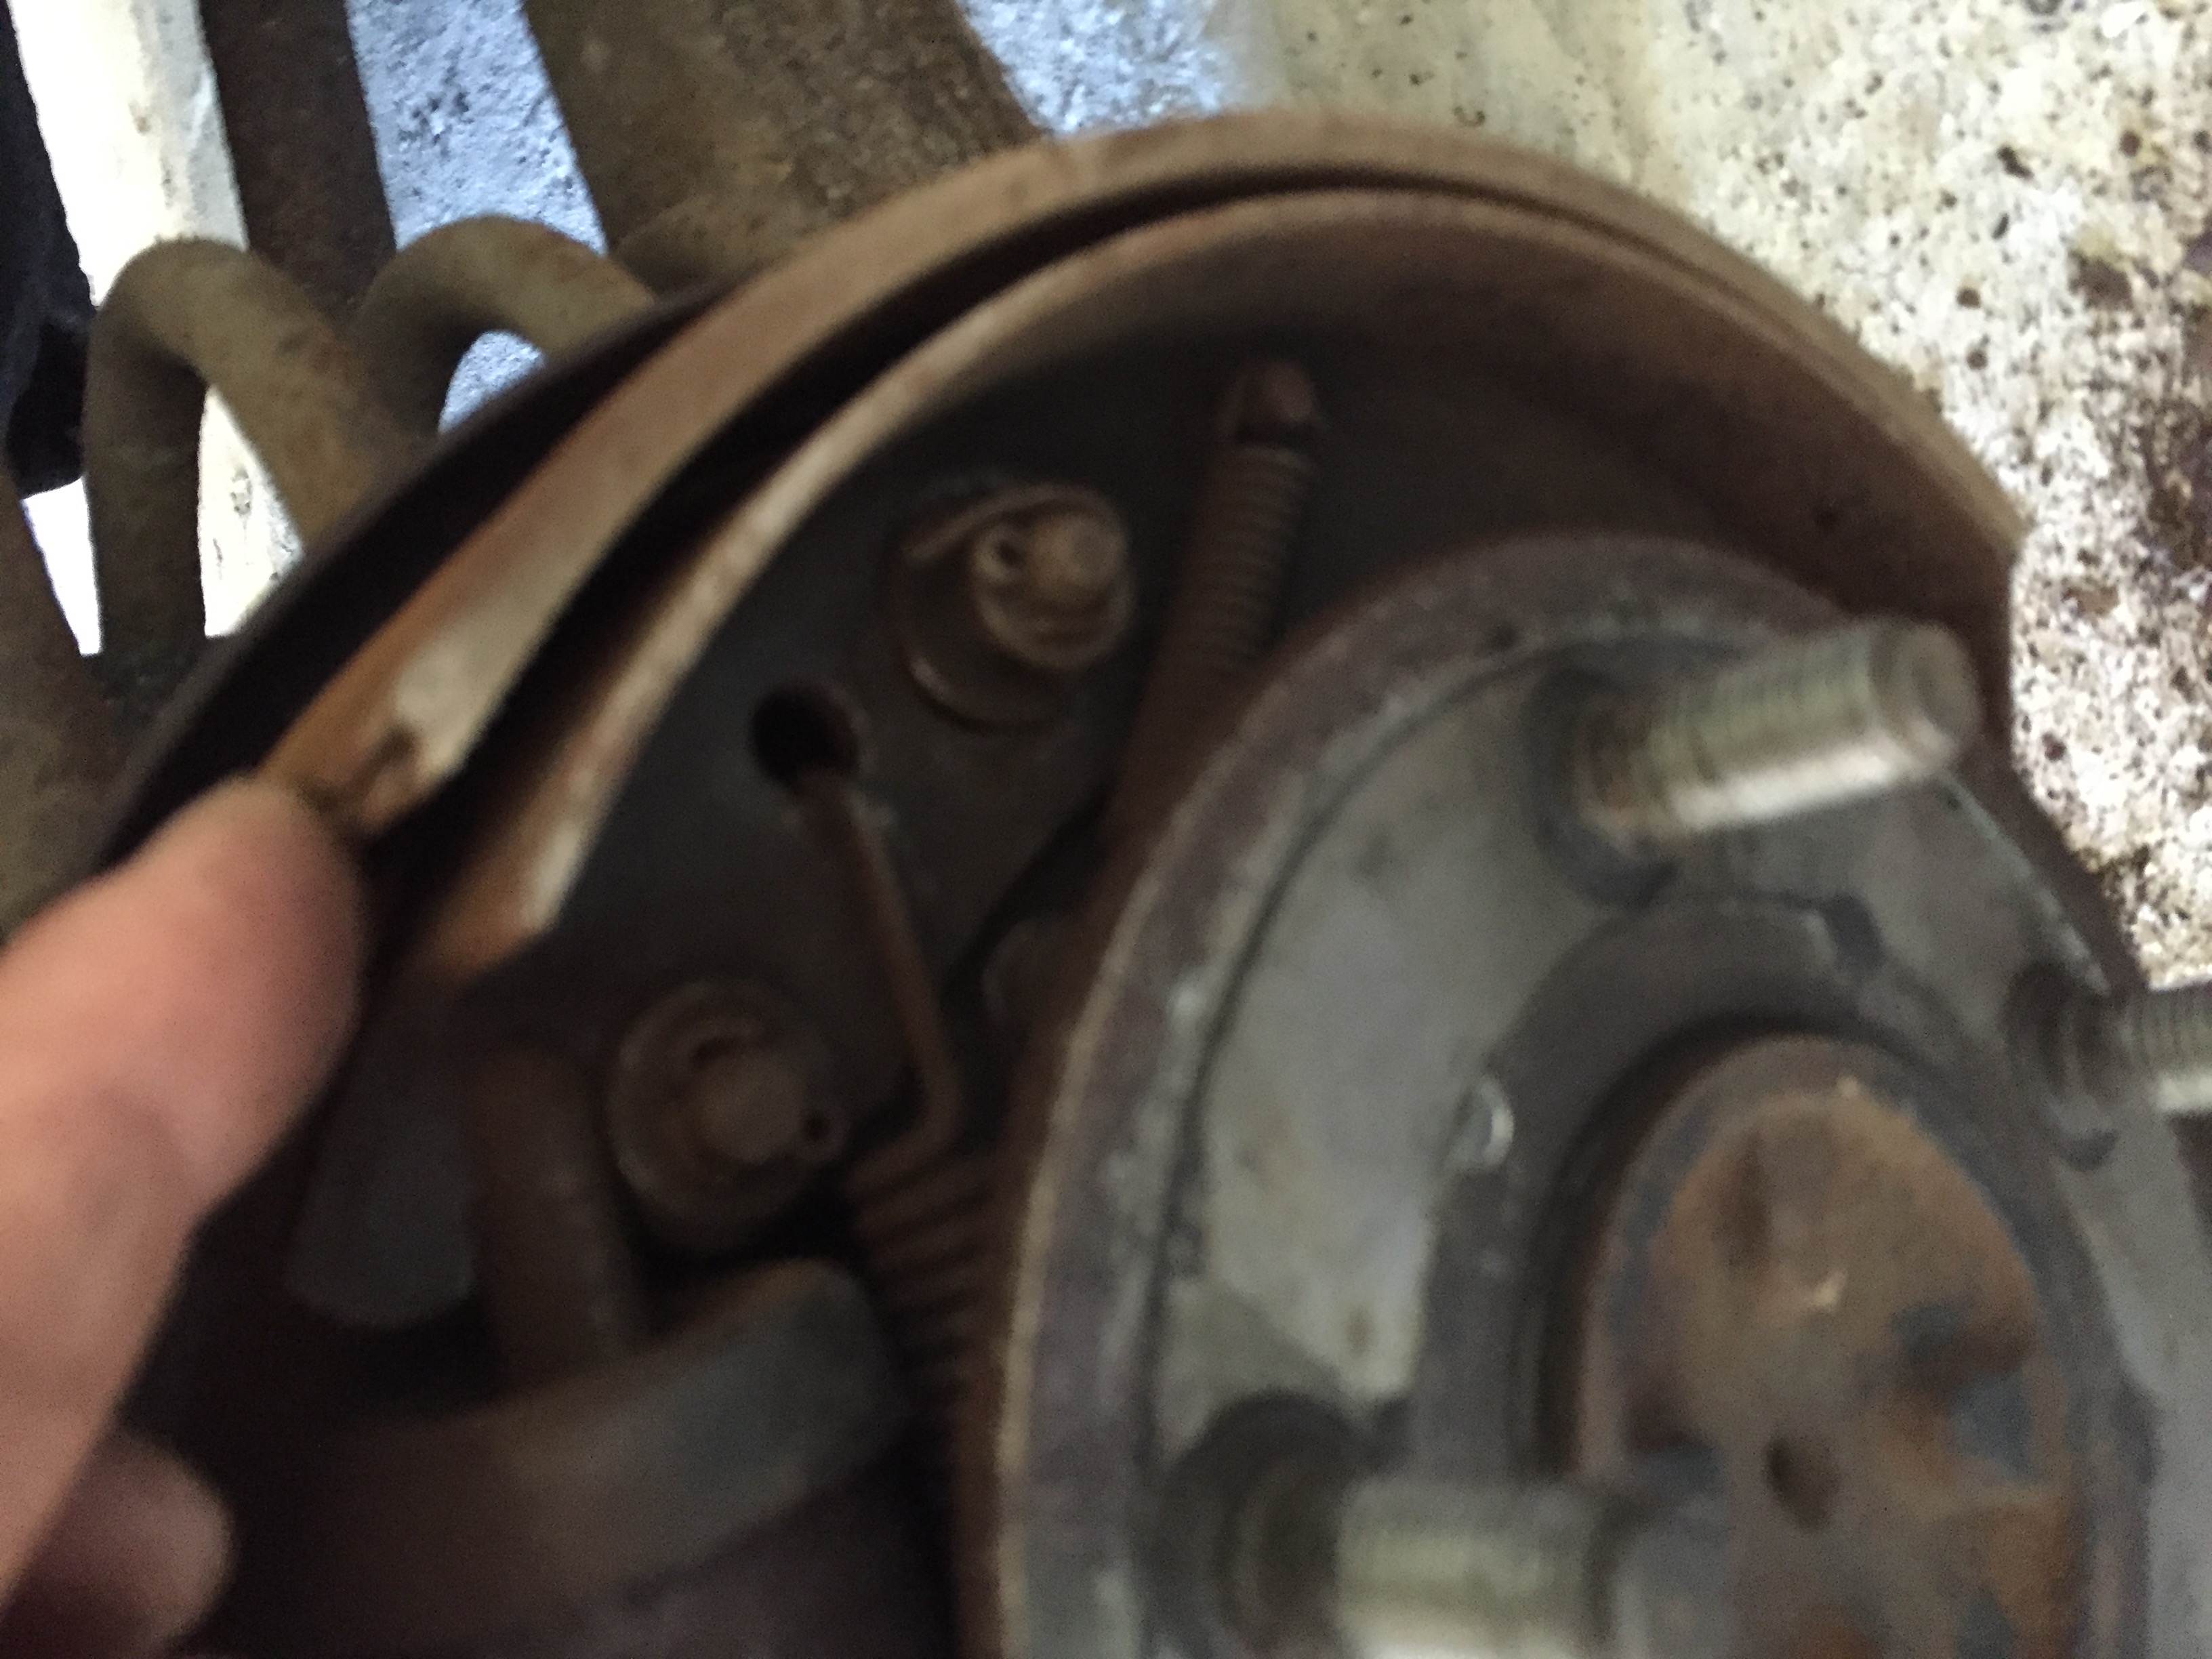
Next, I did the left rear wheel, it was also rusty as could be and the brake shoe lining fell off as soon as the drum came off.
This is a clear indication of why you need to work on the brakes first when you start working on a car that has stood still for many years.
And here is how the brake shoe looks like (missing the lining).
another view
I’ll try and get the brake drums and brake shoes off to be sand-blasted and then get new pads glued to the brake shoes as soon as time permits.
Below are the drums plus brake shoes, the one on the left is from the rear left of the car, the one on the right is from the rear right.
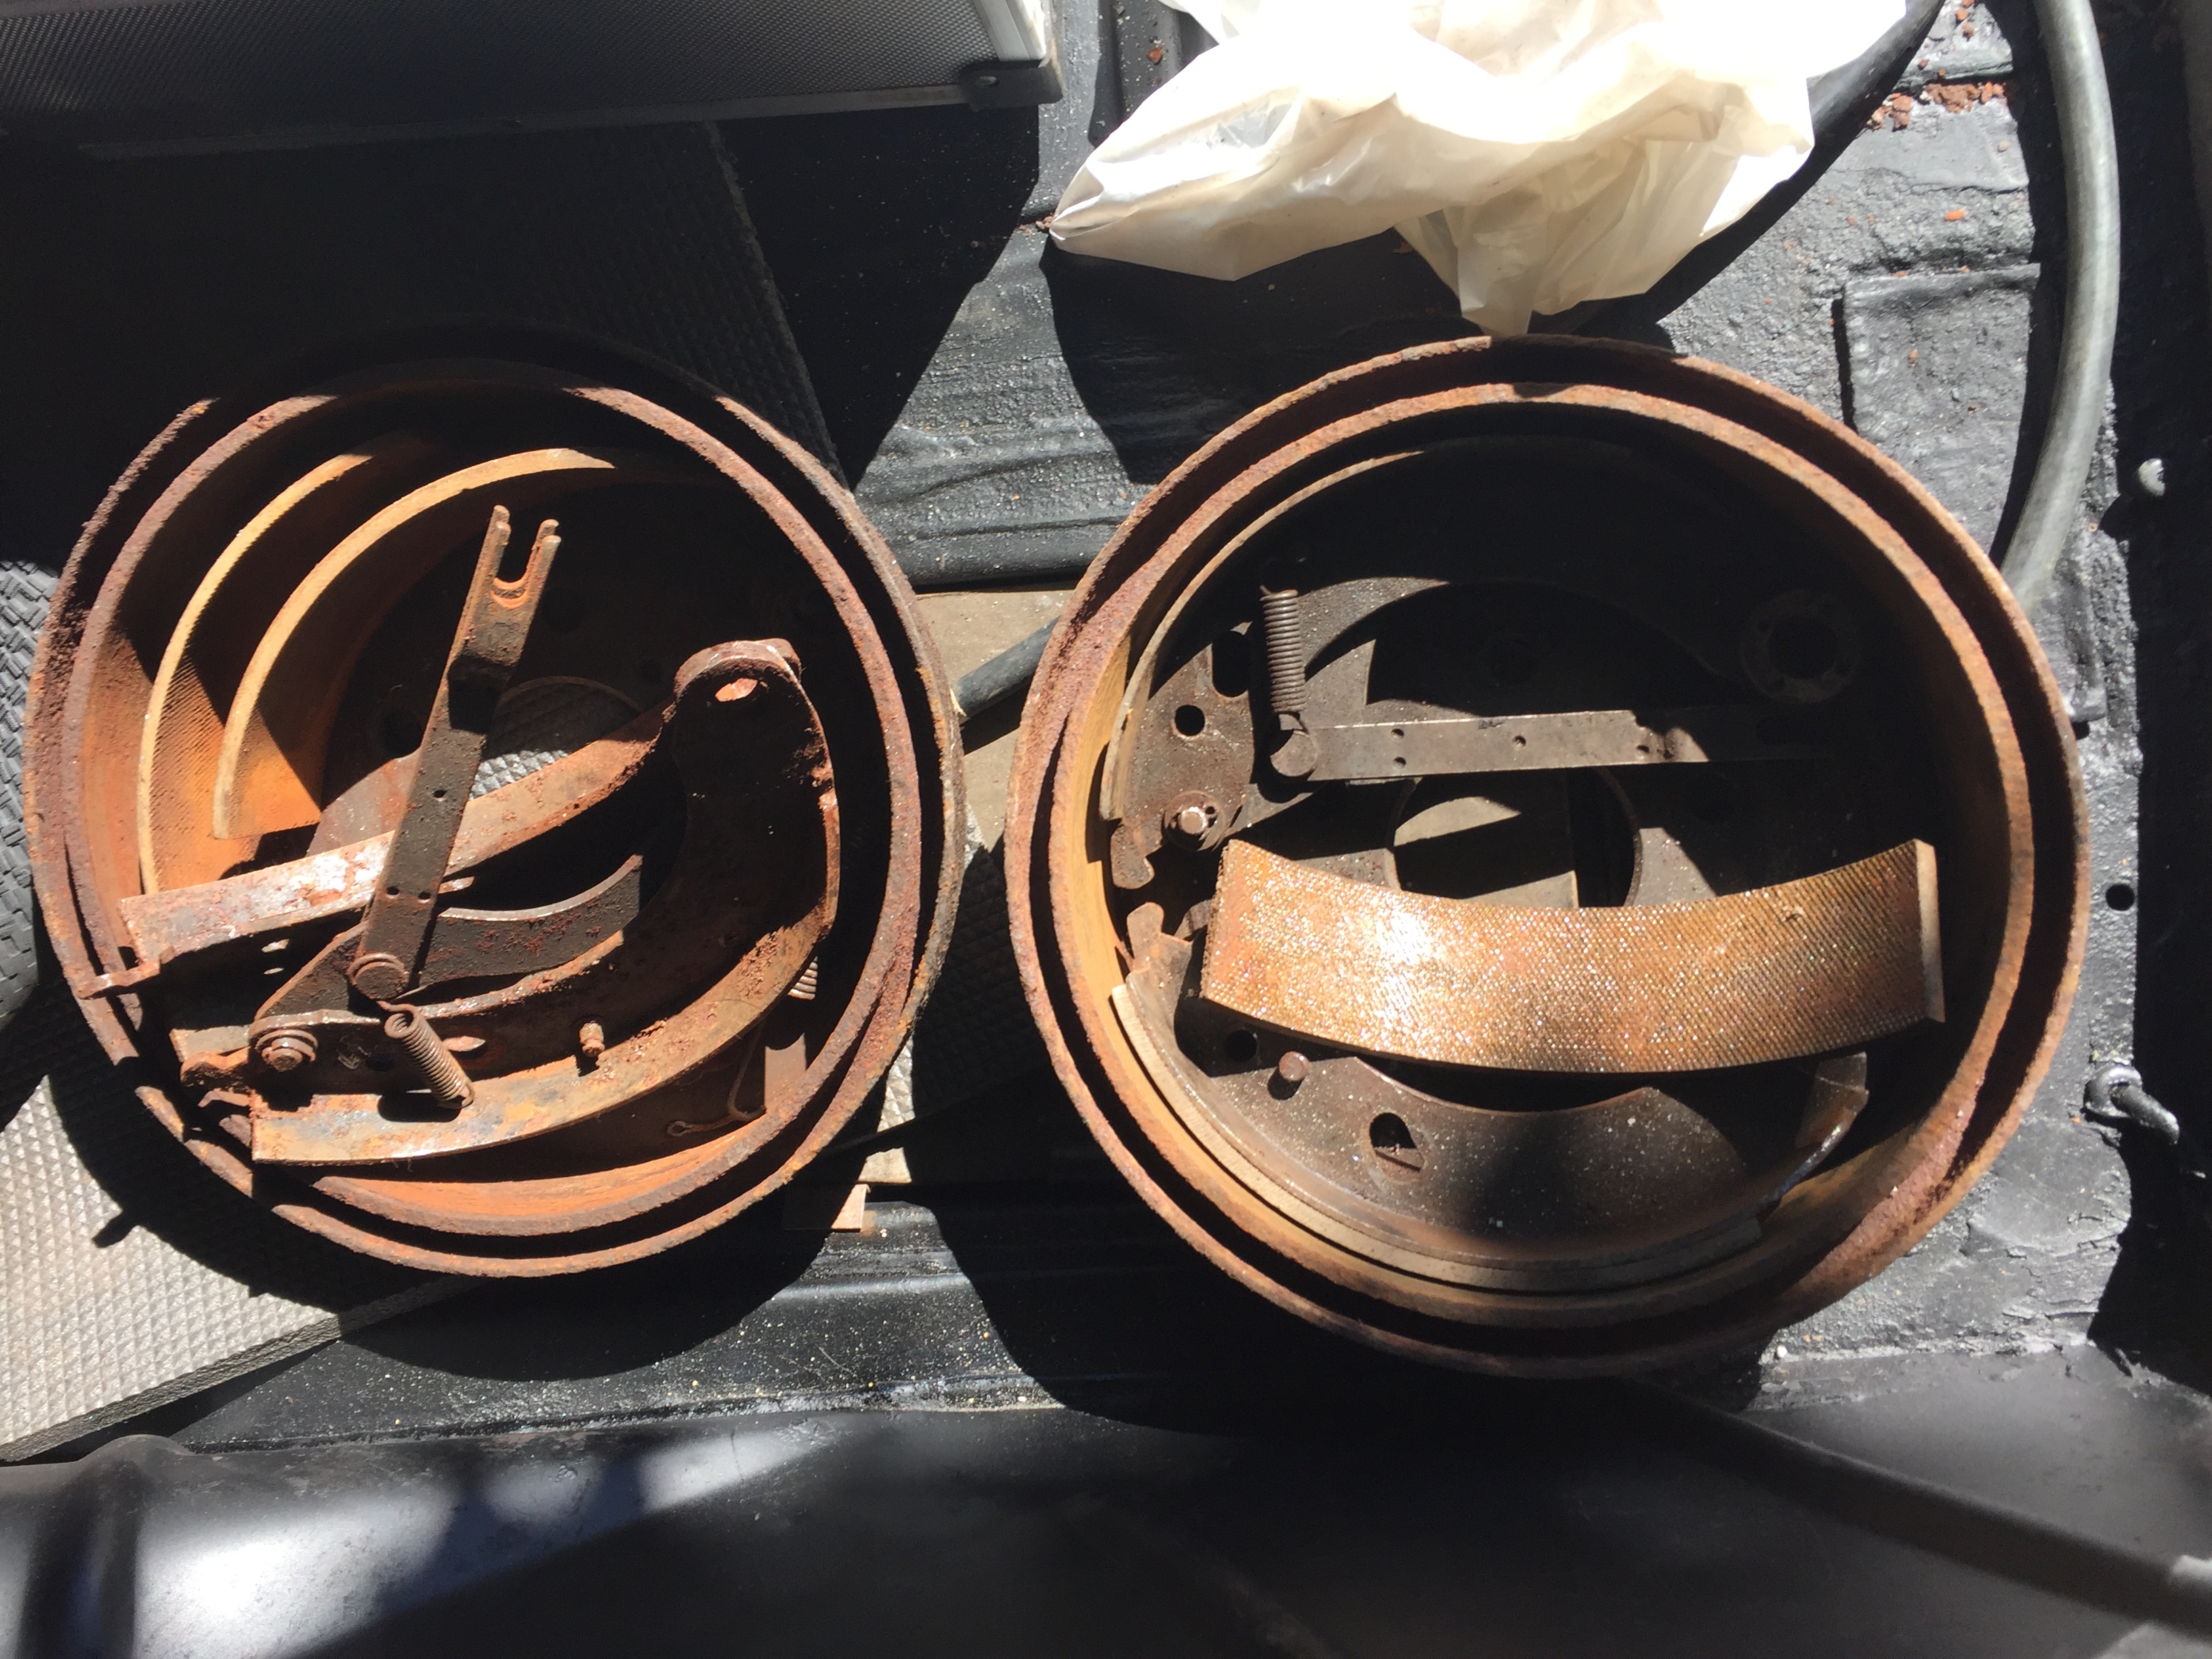
When I eventually re-fit these, I want them to go back to the original sides they were on so I’ll keep track of which one is which.
Recommended reading
Take a look at the following post where Jeff Miller explains the work he did on his brakes.